So, having perused the various harnesses/cables/autofire protos and other stuff I have on the go, I decided to ignore them all and instead attempt my first PCB repair!
I looked in my logbook to see what I fancied tackling, and chose a poorly copy of Blood Bros., the western based sequel to Cabal. I had it marked down as being a worker, but with some control issues on P1 and zero sound - seemed like an easy enough start!
30 minutes of swearing later, I had retrieved it from the cupboard of doom, and proceeded to fire up the board. A few minutes of playing the game and messing about with the volume pot confirmed that a) the sound was non-existent and b) player one UP was not working.
Task number one - fix the controls.
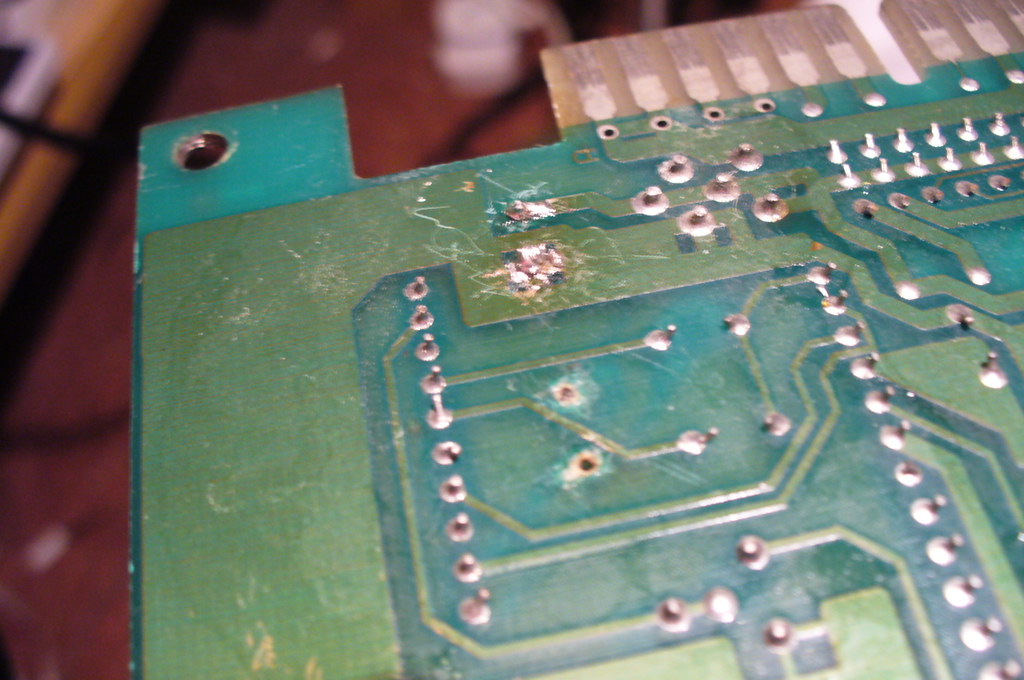
I had a close look at the board all over with a magnifying glass and was not sure what was going on as I couldn't see anything obvious. A tedious 20 mins later - I noticed a tiny scratch through the traces next to the JAMMA edge on the parts side, which proved to be the culprit when metred! Yay!
Whilst I *could* have scraped back the solder mask and used kynar to bridge the scratch; I decided it was a bit too ambitious for my first repair as the trace was very short and I've not got a very steady hand, so instead, I decided to wrap a wire round the board, through a spare screw hole to the back of the next component on the trace:
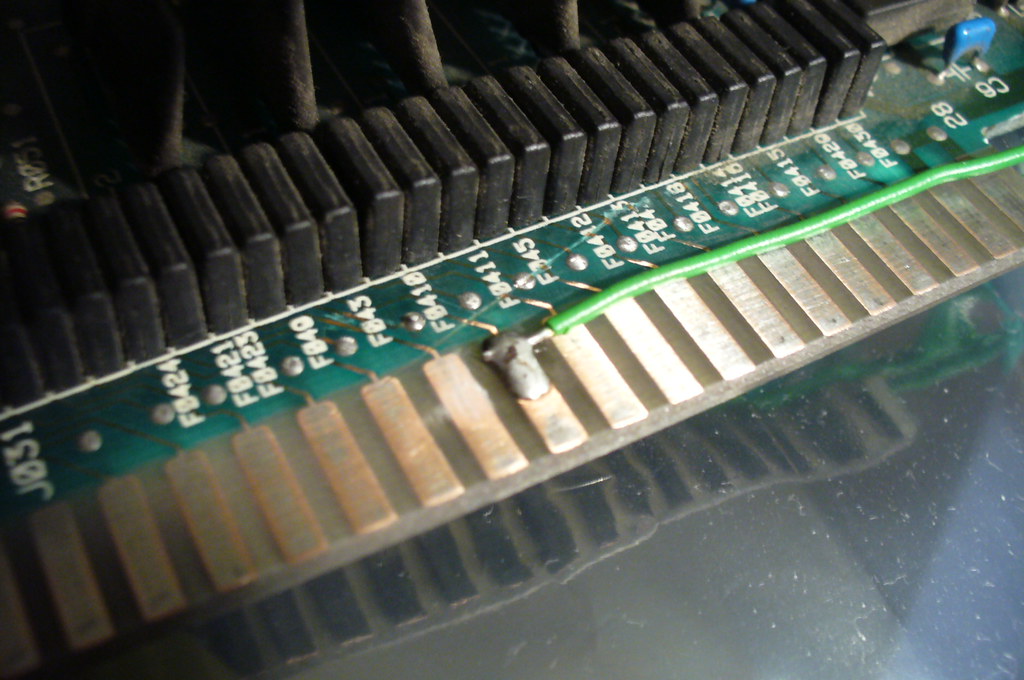
Note the scratch. It's weird that the cut appears deeper over other tracks but they were unaffected. Odd!
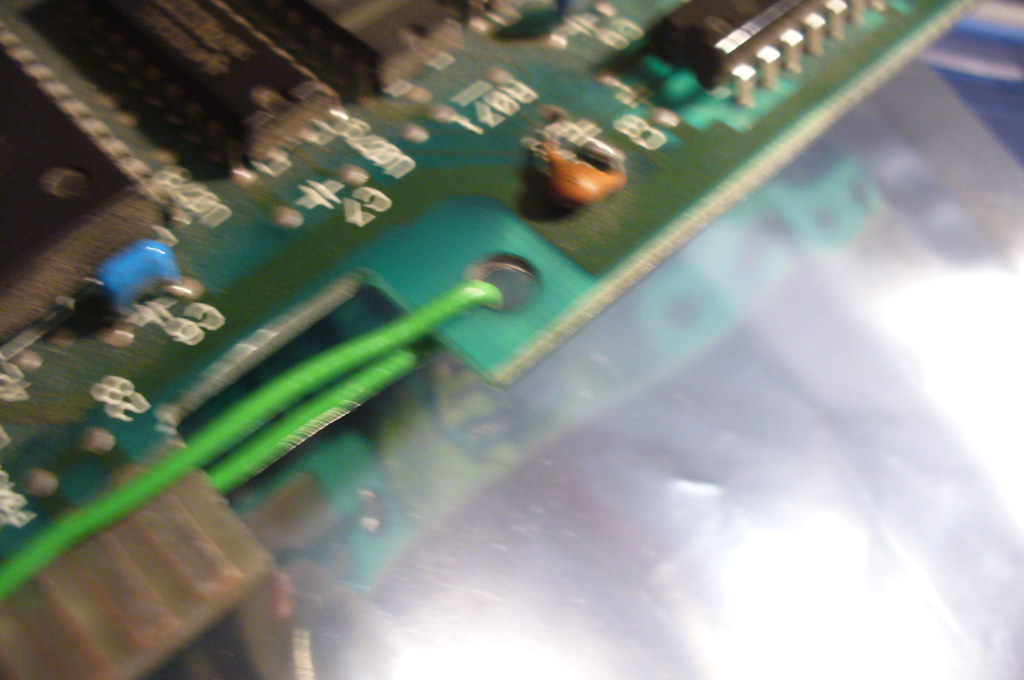
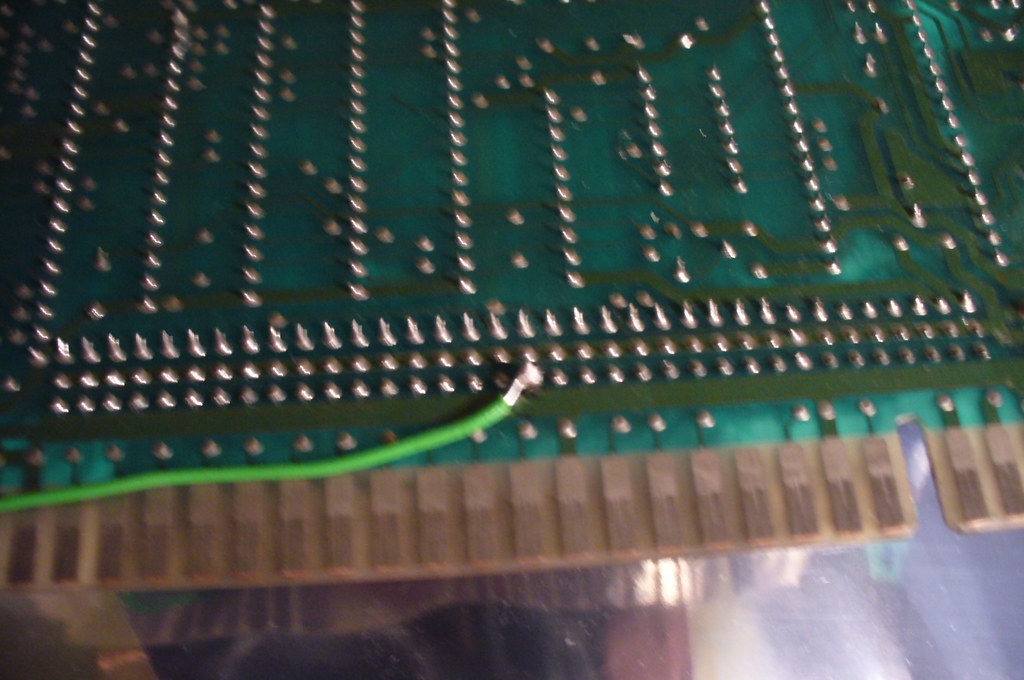
So, first attempt in - I decide to test and see.
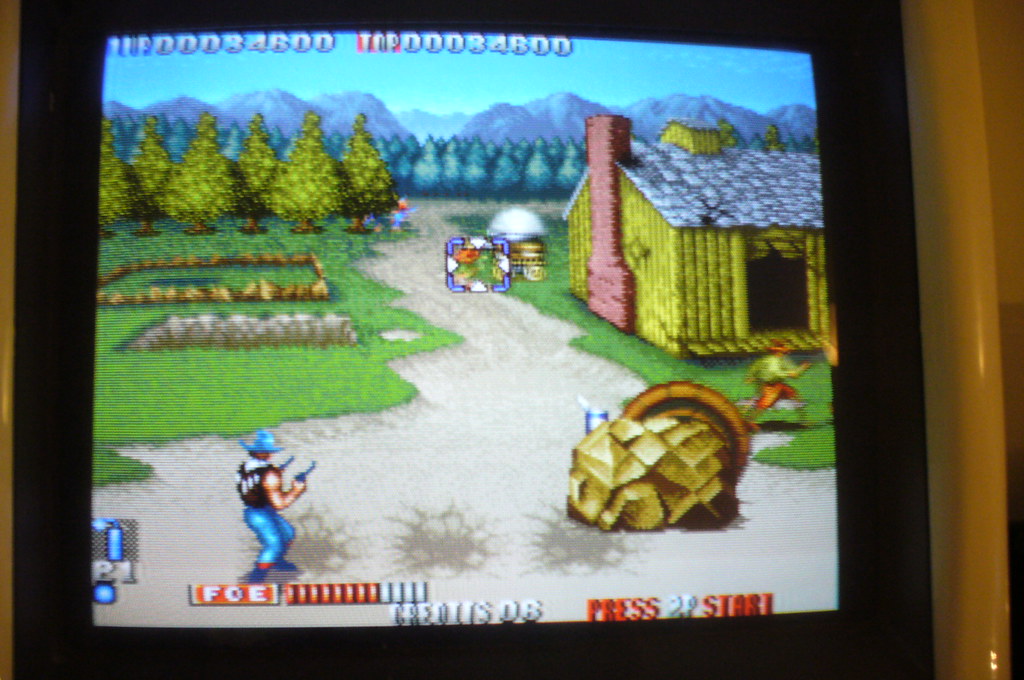
Fire it up and start a game, and reticule is in the middle of the screen:
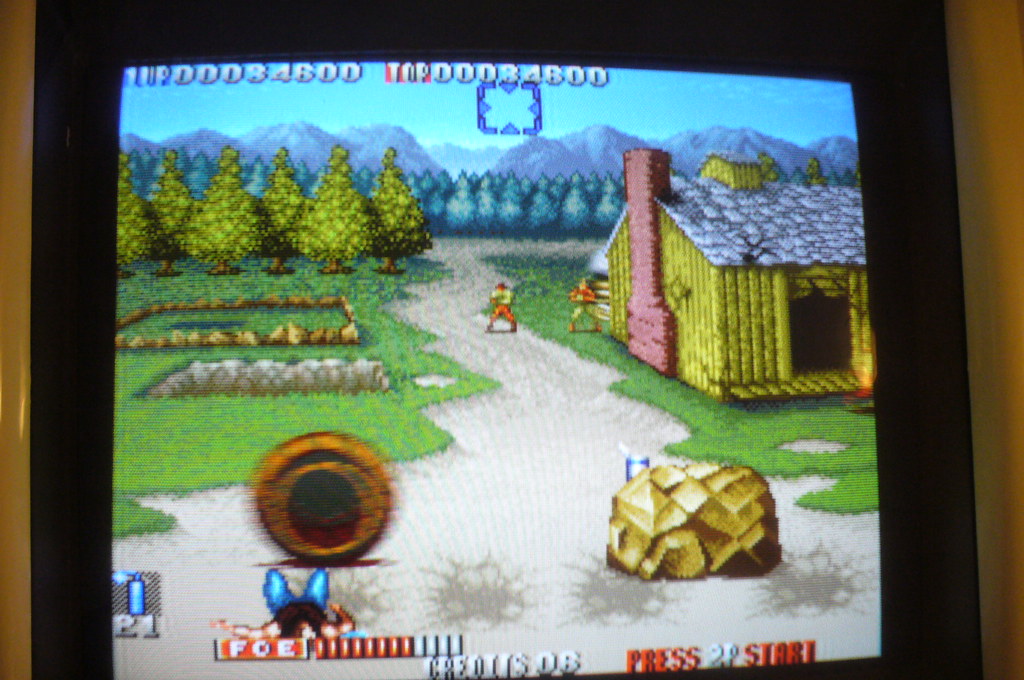
Take a breath and push up and... SUCCESS!
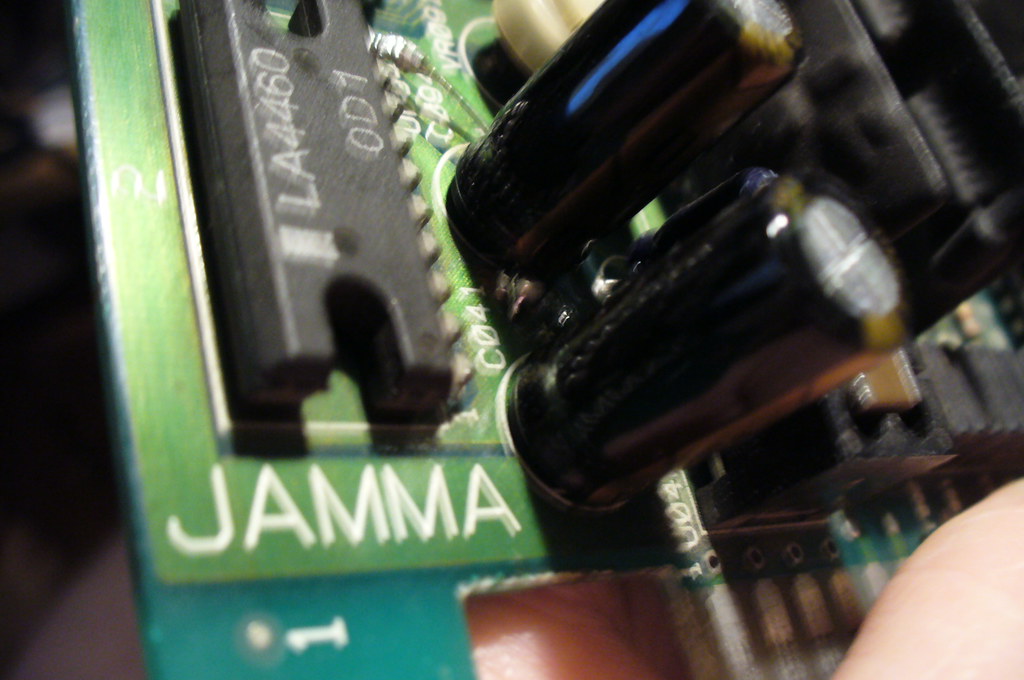
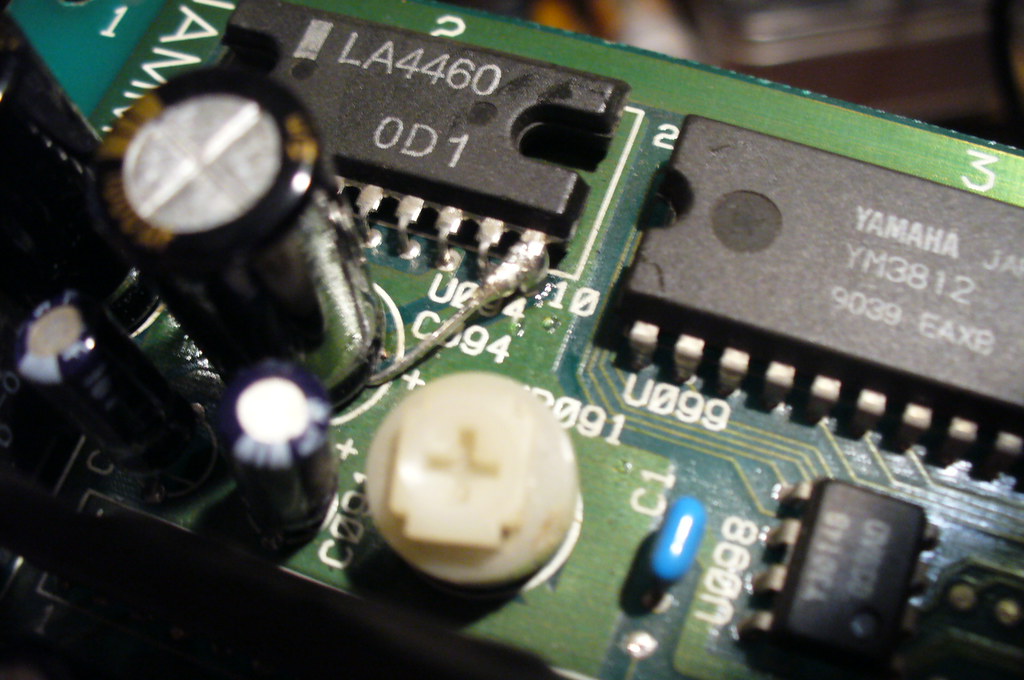
Bouyed by my mini-win, I moved onto the sound. Looking at the soundstage, the culprits seemed pretty bloody obvious:
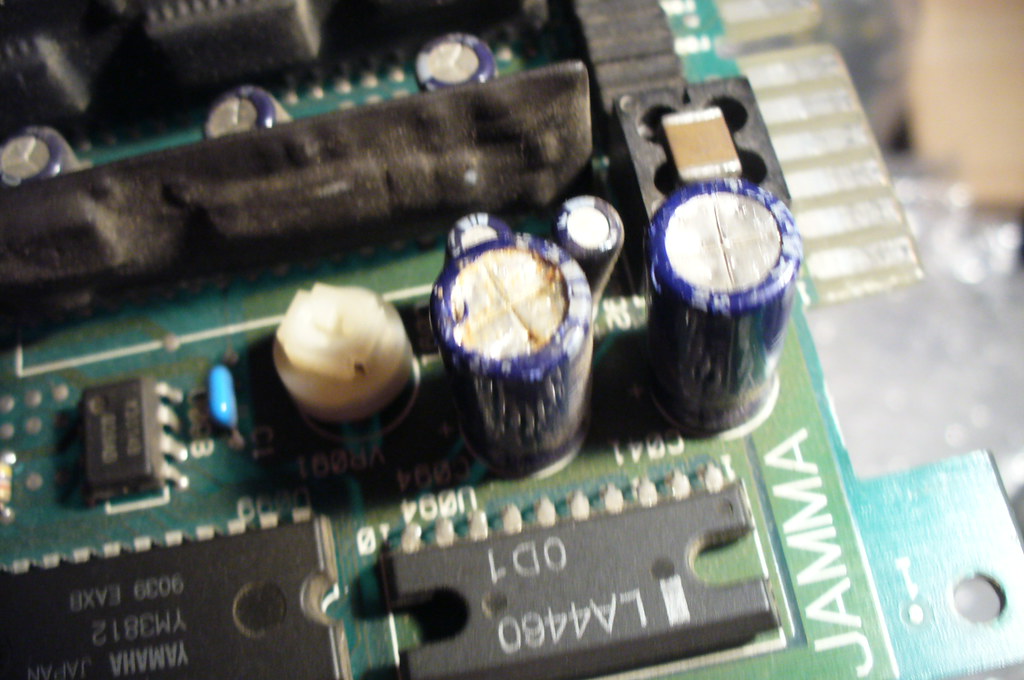
Two 1000uf 16v caps, both battered, one appearing leaky.
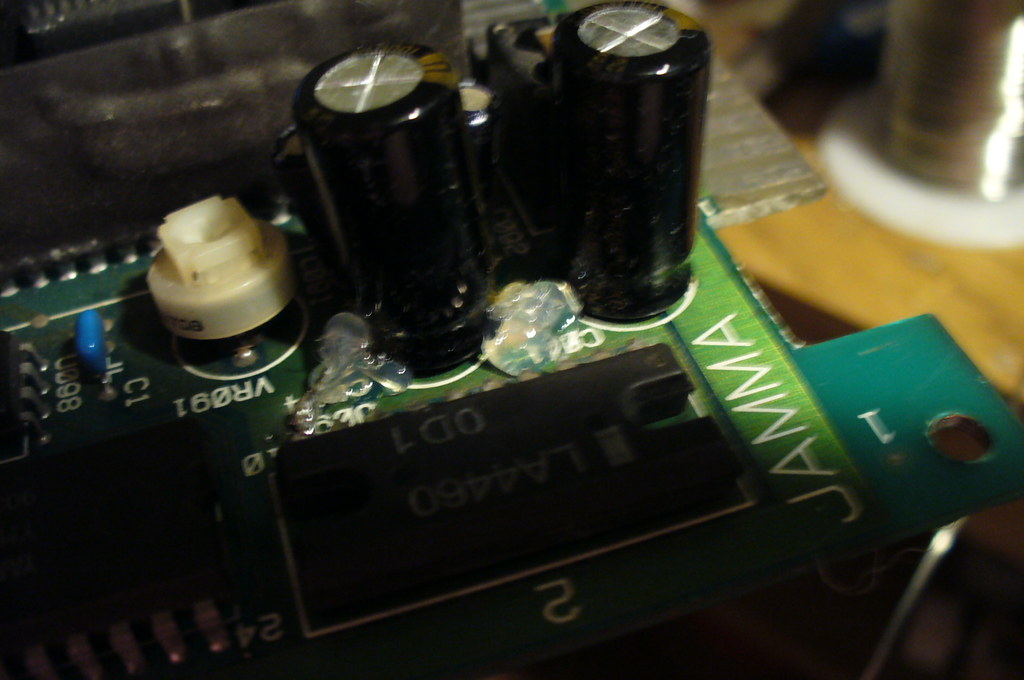
Now here's the interesting bit - on turning it over to desolder the caps - I find that they appear to have been messed with by someone before judging by the surface scratching and the amount of solder on each point:
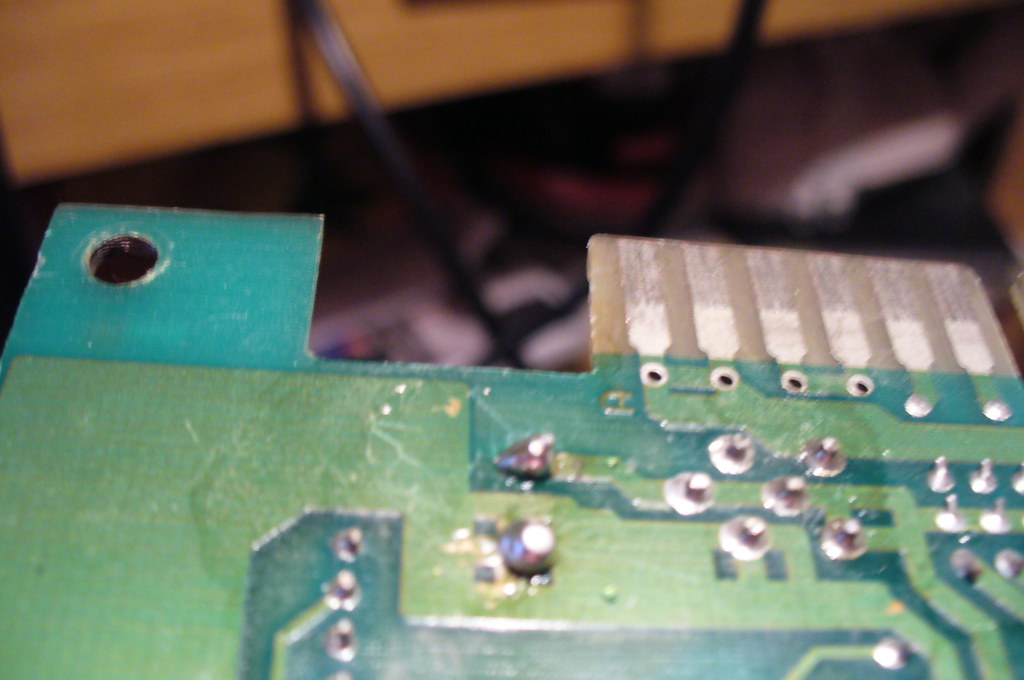
Disappointingly, when i had removed the caps, I wasn't pleased with what I saw. The board traces around two of the vias had been pretty much ruined by the previous owners botch-job.
I soldered a new cap in the good spot. Admittedly it looks messy, but tbh the vias on that one where a bit borked also, but luckily there was just enough to solder to. You can see the two traceless vias below it:
At this point, I was about ready to give up, so I decided a break was in order. I had a cup of tea and tried to decide how to go about dealing with the screwed vias.
In the end, I decided I'd just have to scrape back some solder mask for the negative pin:
And solder the positive pin directly to the next component in the circuit:
So - had it done the trick? I fired it up and... SOUND!
Finally, I put a couple of blobs of hot glue next to the "surface mounted" cap to give it stability.
Pretty simple I know, but I'm feeling very pleased with myself.