Taito Egret 2 restoration
-
pheonixman
- Please Continue...
- Posts: 1
- Joined: March 19th, 2015, 10:26 am
- Location:
Re: Taito Egret 2 restoration
looks really nice always fancied an Egret 2 to join my Astro side by side 
-
Stompp
- Posts: 732
- Joined: July 10th, 2012, 10:58 am
- Location: Stockholm, Sweden
- eBay: uridium
- Initials: DAD
Re: Taito Egret 2 restoration
That's just beautiful  Pure passion at work
-
OlDirty

- Posts: 311
- Joined: January 12th, 2015, 8:26 pm
- Location: Switzerland
Re: Taito Egret 2 restoration
Finally it's DONE  . Still can't believe it . The whole sticker reconstruction may needed the same amount of time as the whole rest of the restoration will need
  . But i hope some of you can also use those stickers. Do whatever you like with them (size color,etc.). The color will be very different on every printer i guess. I printed many sheets to tune the colors with the original stickers. But it's still far away from beeing perfect. Because i have no idea from color mixing the process is just too difficult for me
  .
.
Here are a few pics of the stickers. If some one can give me an advice how or where i can upload the PDF file and Adode Illustrator file i'll upload them, so everybody can use those (just about 1MB).

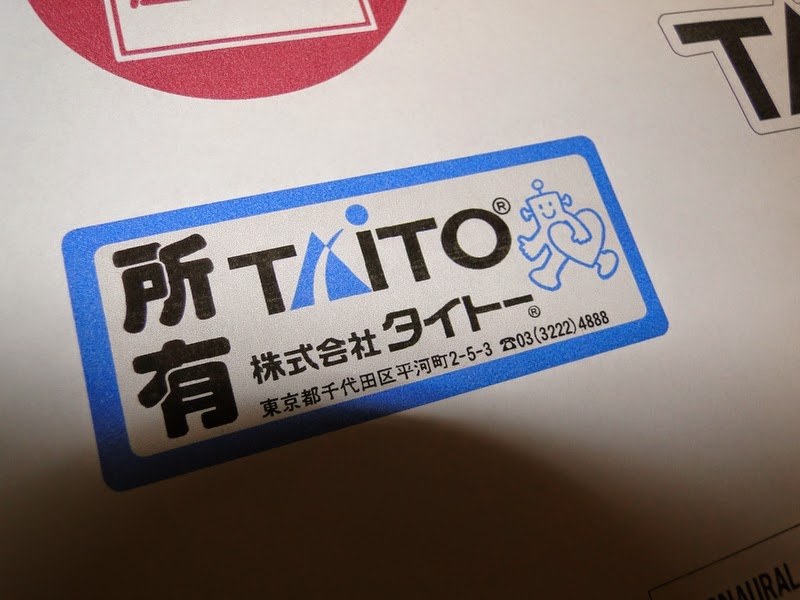
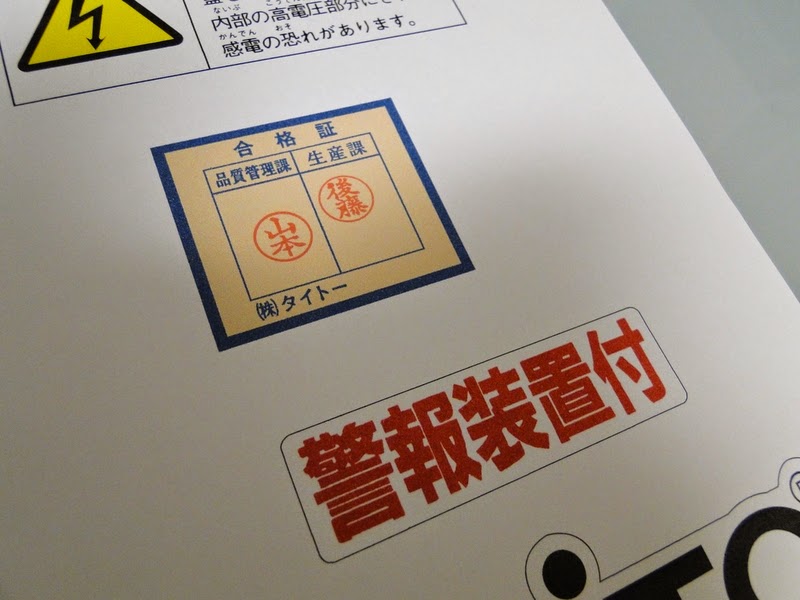
PS: If you really upscale the graphics you can see the hundrets of dots i did for all the japanese letters. You're really getting crazy with the time . But I didn't wanna use simple rectangles to reconstruct those, because it would just look too "clinical". I think many of those letters (f.e. the ones on the coindoor) are hand made, so i tried to reproduce that look also.
Here are a few pics of the stickers. If some one can give me an advice how or where i can upload the PDF file and Adode Illustrator file i'll upload them, so everybody can use those (just about 1MB).
PS: If you really upscale the graphics you can see the hundrets of dots i did for all the japanese letters. You're really getting crazy with the time
-
eczangief
- Posts: 48
- Joined: December 6th, 2012, 4:48 pm
- Location:
- eBay: eczangief
Re: Taito Egret 2 restoration
Hey those look gret. Thanks for taking the time to do that!

-
OlDirty
- Posts: 311
- Joined: January 12th, 2015, 8:26 pm
- Location: Switzerland
Re: Taito Egret 2 restoration
Here you can download the stickers from uploaded.net. Click on "Free Download", wait 30s and you can download.
the PDF: https://rapidgator.net/file/02ebf6a2197 ... 2.pdf.html
and here the Adobe Illustrator CS6 file: https://rapidgator.net/file/5750ce8ab24 ... 2x.ai.html
the PDF: https://rapidgator.net/file/02ebf6a2197 ... 2.pdf.html
and here the Adobe Illustrator CS6 file: https://rapidgator.net/file/5750ce8ab24 ... 2x.ai.html
Last edited by OlDirty on August 29th, 2020, 7:37 am, edited 1 time in total.
-
moshpit

- Fantasy Zone Finder
- Posts: 1027
- Joined: February 19th, 2009, 9:26 pm
- Location: Germany
- Initials: RON
-
emphatic

- Breastfeeds when required
- Posts: 5910
- Joined: April 7th, 2009, 4:14 pm
- Location: Alingsås, Sweden
- eBay: jorgen_sjolander
- Initials: JOR
-
Stompp
- Posts: 732
- Joined: July 10th, 2012, 10:58 am
- Location: Stockholm, Sweden
- eBay: uridium
- Initials: DAD
Re: Taito Egret 2 restoration
I'm at loss of words The dedication and patience is maxed out with you, man! Dat is just beautiful.
Someone pls put these on the wiki if that's ok with you, OlDirty.
Someone pls put these on the wiki if that's ok with you, OlDirty.
-
OlDirty
- Posts: 311
- Joined: January 12th, 2015, 8:26 pm
- Location: Switzerland
Re: Taito Egret 2 restoration
Thanks for the kind words.As i said,everybody can do with them whatever they like.
-
xDanx
- Please Continue...
- Posts: 8
- Joined: February 17th, 2015, 2:21 pm
- Location:
- eBay: Artorius666
Re: Taito Egret 2 restoration
thats so good dude!
-
yamanote

- Please Continue...
- Posts: 20
- Joined: May 23rd, 2013, 4:36 pm
- Location: London UK
Re: Taito Egret 2 restoration
Stunning job on those stickers, really first class. Need to get me an Egret 2 at some point...
-
OlDirty
- Posts: 311
- Joined: January 12th, 2015, 8:26 pm
- Location: Switzerland
finaly the restoration can start
Today i had a few hours to start with my restoration. Did the last Muchi Muchi Pork game and started to tear down my Egret. As i already learnd during pinball restorations, do A LOT of pics, from different angles, detail shots but also overview shots and such you think you'll never need. And if you think you did a lot of pics, do even more  .
.
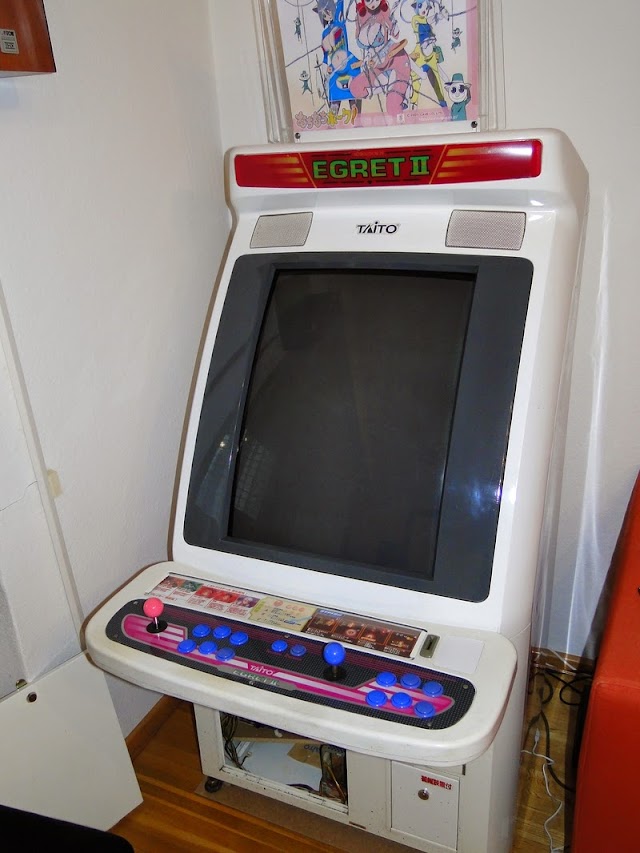
So as a starting point my Egret looks like this. Not bad at all but also not shiny as hell.
As i said i wanted to only buff the machine but with all those paint chips it would look like sh**, in MY opinion. So it needs to be completely repainted.

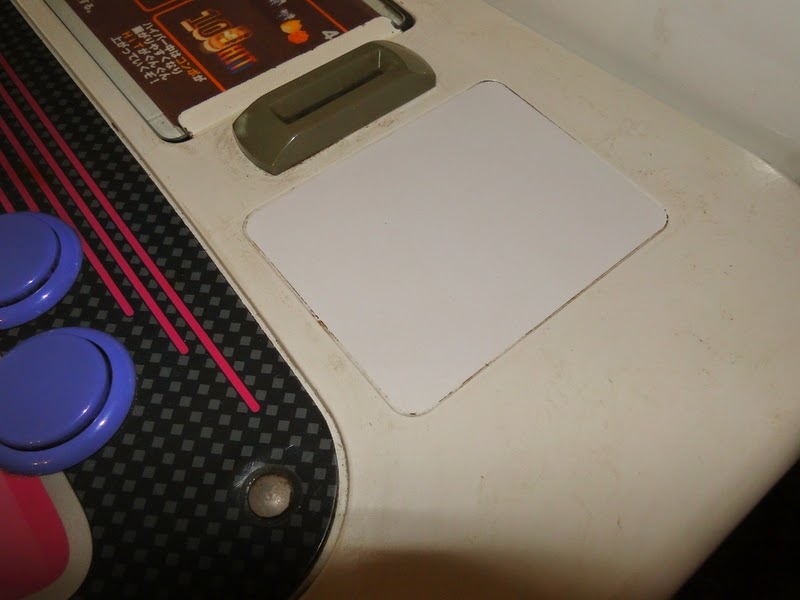
Here you can see the original color which was hidden under the sticker. My panel looks pretty filthy and can't be cleaned more, so it also needs a paint job.
Doesn't look too bad but the screw heads suffered from all the sweaty hands . Does anybody know if they can be bought? Otherwise i'll let them chrome plating.
I'll wetsand and buff the whole panel so the swirls are gone and it should look like a mirror afterwards.
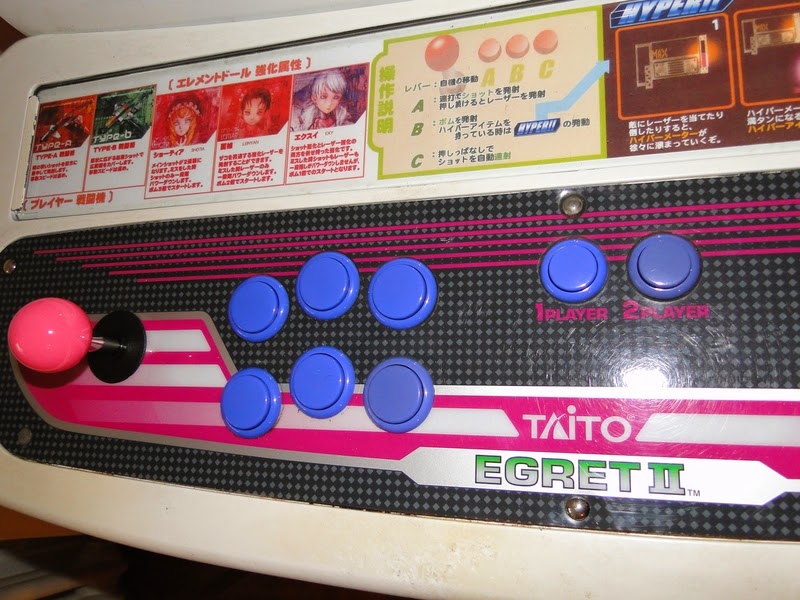
From the distance you don't see that the Egret 2 sign is broken, but it is . This is the biggest problem on my machine. Will look like a model, but with a scar in her face. So maybe i'll find one which is nice and not broken.

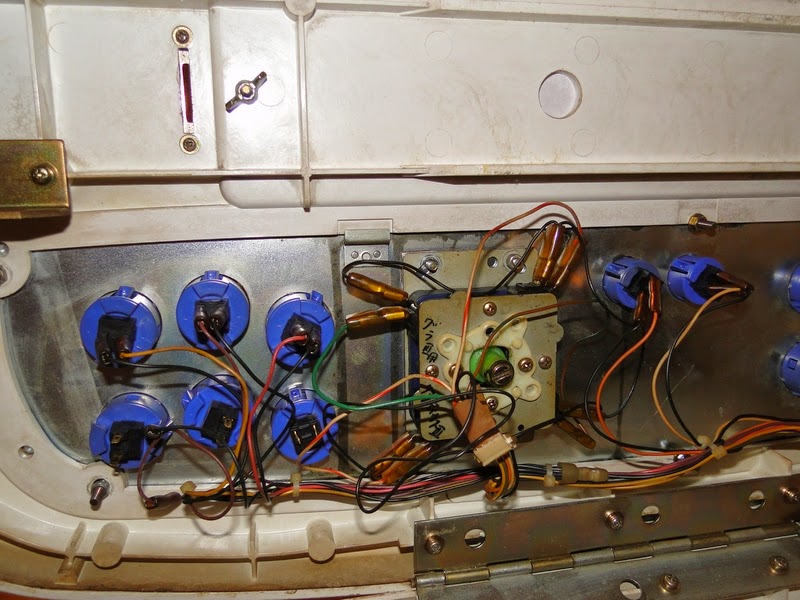
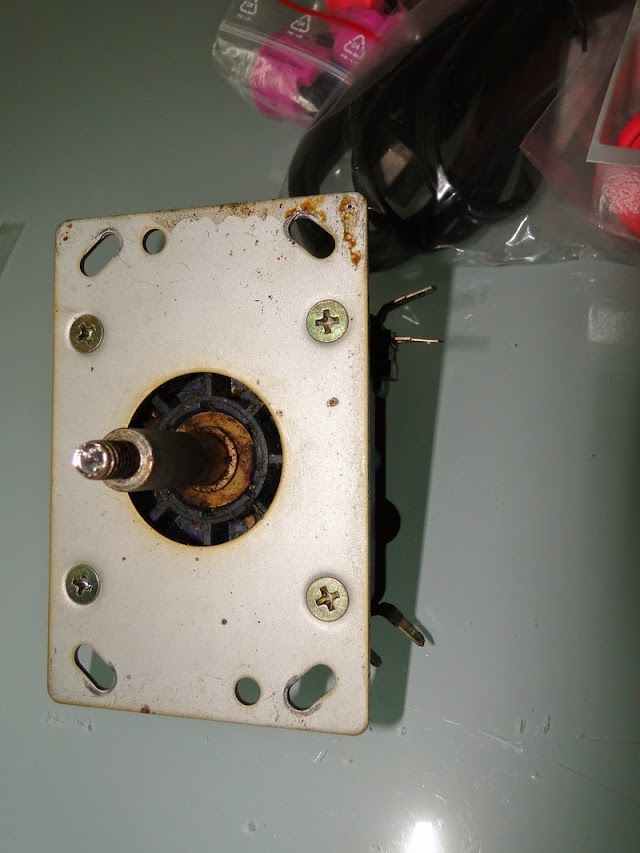
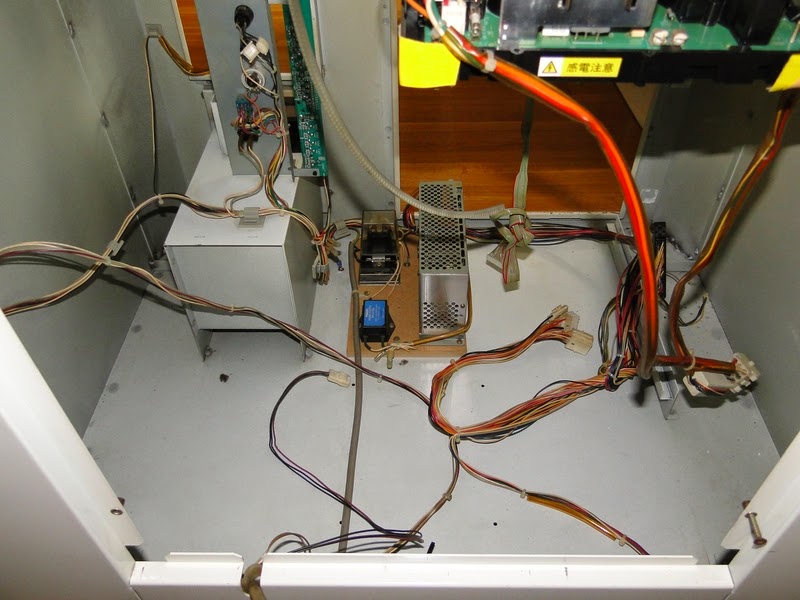
Ikkk... a look under the hood.
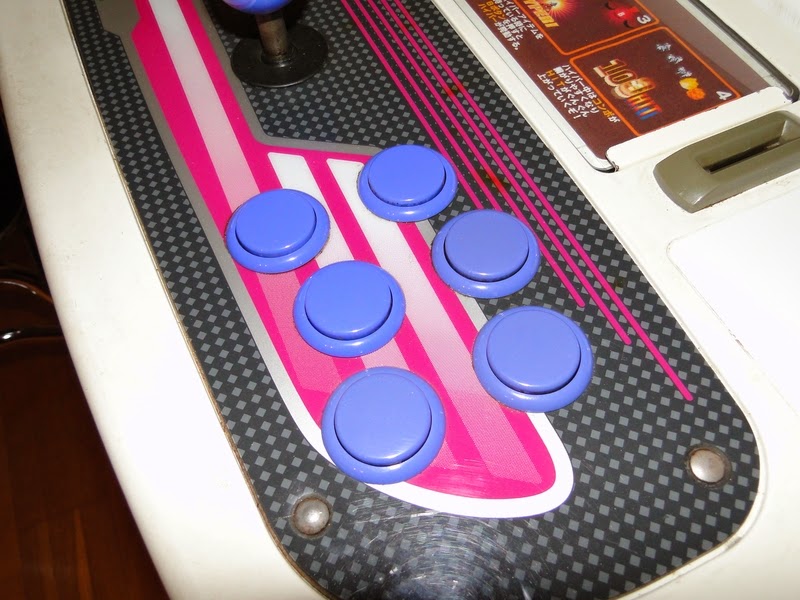
Couldn't wait to test my new Seimitsu stick so i mounted it a few days ago.

during work

All new parts.

candies
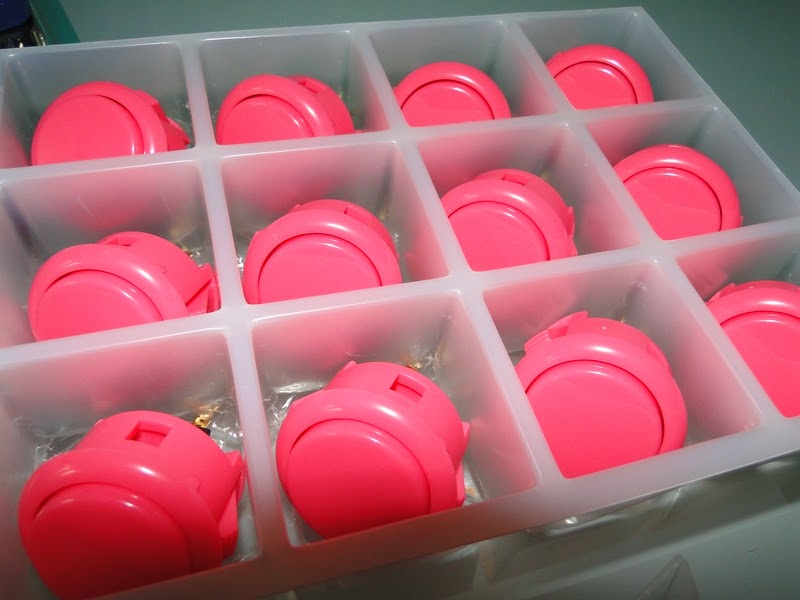
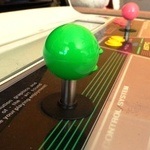
here you see the slight color difference between a Seimitsu and a Sanwa ball. Bought 2 separate Sanwa balls so they match the color of the Sanwa buttons, even i prefer the Seimitsu pink .
.
left: Sanwa right: Seimitsu

Straight to the trash
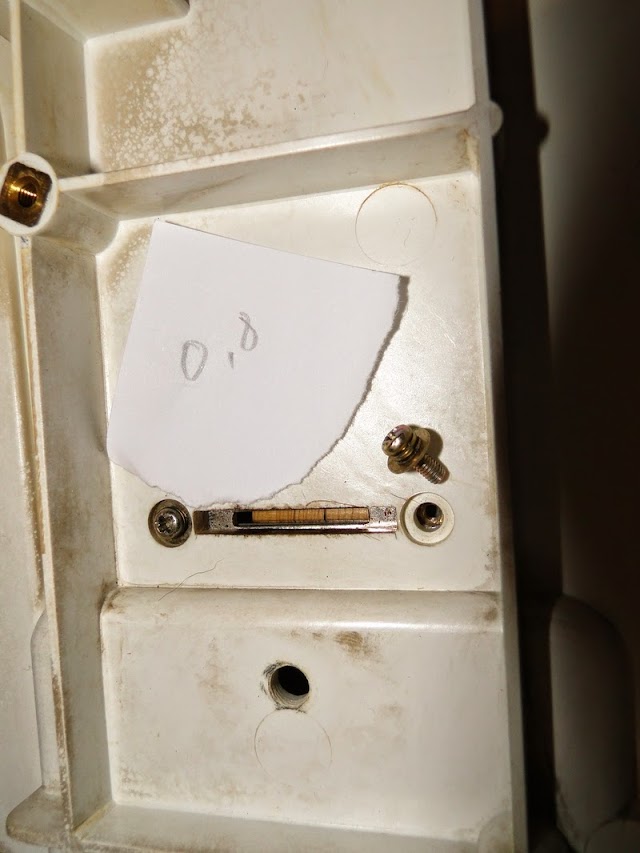
I also measured every screw and took a picture so i assembling will be a peace of cake
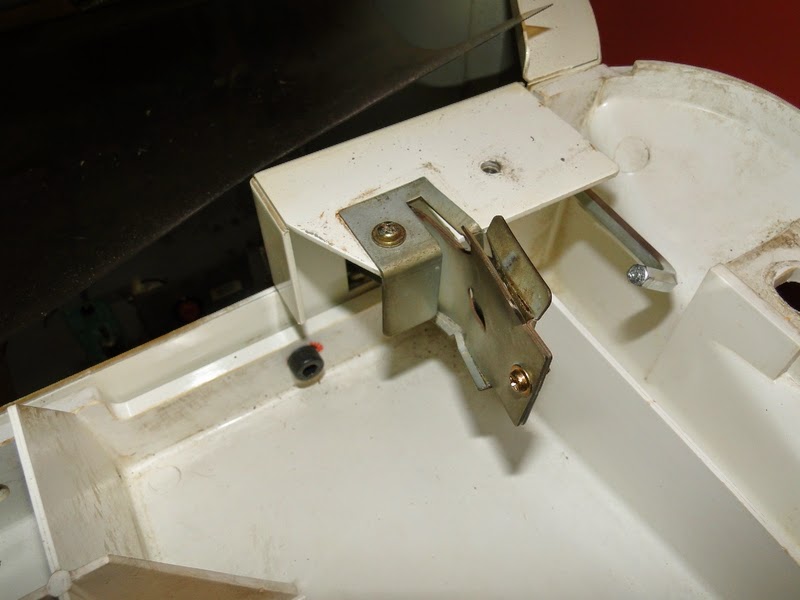
Unfortunately the coin slot was pretty bent during transport, but that shouldn't be a problem to make it work again.
This will be also painted

Those 2 little f***ers (loudspeaker plugs) really annoyed me. Was a little mistery how you can disconnect them

Doesn't look too bad, also on the inside
Here you can see the colordifference of the metal housing after i removed the big stickers. This i thought would be a pain in the ***, because i know what a "pleasure" it is to remove the decals from a pinball body But here you heat an edge with a fan and you can just pull off the whole sticker . 10min job.

puhuuuu the original stickers are gone. This was really not easy to take them off

And my nude Egret 2

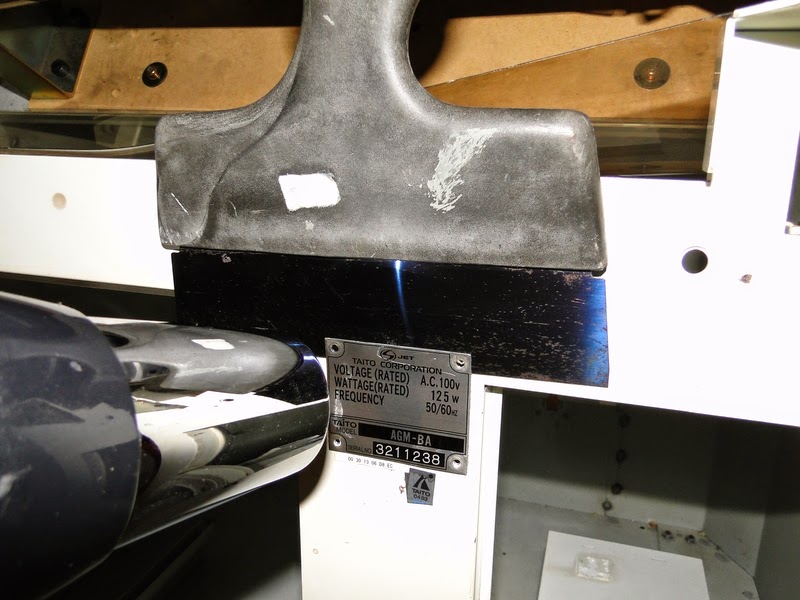
To remove the badge i used a fan and really heated it up. Don't try that with a screw driver or you can throw your badge straigh in the trash. The metall is very thin and you would leave marks.
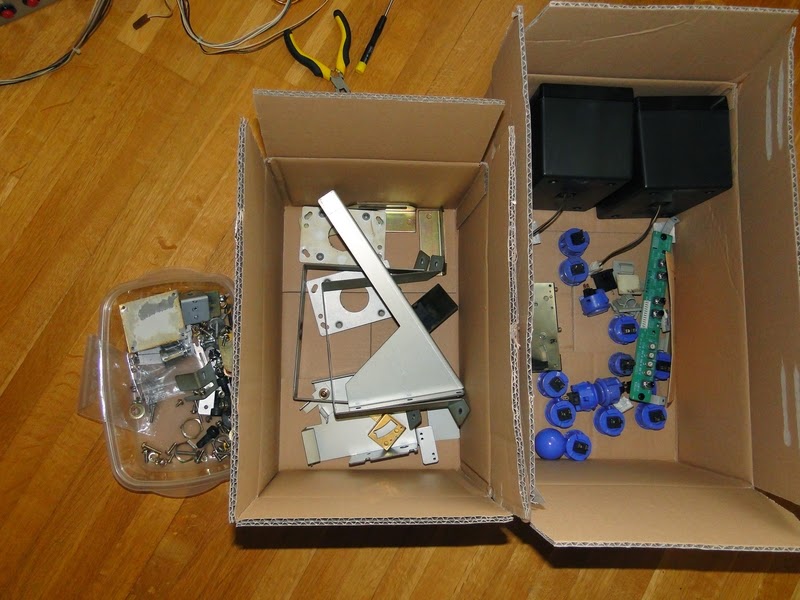
So everything sorted. Cables will go to the ulra sonic bath, screws and small metal parts will go in the tumbler.

Tomorrow we'll take off the screen. Why people always mention it's such a difficult thing? If you take the little print of the screen you have like a 1km hole to take if off, no?
So as a starting point my Egret looks like this. Not bad at all but also not shiny as hell.
As i said i wanted to only buff the machine but with all those paint chips it would look like sh**, in MY opinion. So it needs to be completely repainted.
Here you can see the original color which was hidden under the sticker. My panel looks pretty filthy and can't be cleaned more, so it also needs a paint job.
Doesn't look too bad but the screw heads suffered from all the sweaty hands
I'll wetsand and buff the whole panel so the swirls are gone and it should look like a mirror afterwards.
From the distance you don't see that the Egret 2 sign is broken, but it is
Ikkk... a look under the hood.
Couldn't wait to test my new Seimitsu stick so i mounted it a few days ago.
during work
All new parts.
candies
here you see the slight color difference between a Seimitsu and a Sanwa ball. Bought 2 separate Sanwa balls so they match the color of the Sanwa buttons, even i prefer the Seimitsu pink
left: Sanwa right: Seimitsu
Straight to the trash
I also measured every screw and took a picture so i assembling will be a peace of cake
Unfortunately the coin slot was pretty bent during transport, but that shouldn't be a problem to make it work again.
This will be also painted
Those 2 little f***ers (loudspeaker plugs) really annoyed me. Was a little mistery how you can disconnect them
Doesn't look too bad, also on the inside
Here you can see the colordifference of the metal housing after i removed the big stickers. This i thought would be a pain in the ***, because i know what a "pleasure" it is to remove the decals from a pinball body
puhuuuu the original stickers are gone. This was really not easy to take them off
And my nude Egret 2
To remove the badge i used a fan and really heated it up. Don't try that with a screw driver or you can throw your badge straigh in the trash. The metall is very thin and you would leave marks.
So everything sorted. Cables will go to the ulra sonic bath, screws and small metal parts will go in the tumbler.
Tomorrow we'll take off the screen. Why people always mention it's such a difficult thing? If you take the little print of the screen you have like a 1km hole to take if off, no?
-
Rossyra

- Supermod
- Posts: 7903
- Joined: February 12th, 2009, 1:24 am
- Location: UK
Re: Taito Egret 2 restoration
The monitor becomes a difficult thing when it's out of the cab. They are bulky, heavy and unweildy with no cage fitted to set the removed monitor down on.

-
emphatic
- Breastfeeds when required
- Posts: 5910
- Joined: April 7th, 2009, 4:14 pm
- Location: Alingsås, Sweden
- eBay: jorgen_sjolander
- Initials: JOR
Re: finaly the restoration can start
https://www.akishop.jp/nuts-bolts/137-bolt-m4.html"OlDirty wrote:Doesn't look too bad but the screw heads suffered from all the sweaty hands
My games: http://www.emphatic.se
-
OlDirty
- Posts: 311
- Joined: January 12th, 2015, 8:26 pm
- Location: Switzerland
Re: Taito Egret 2 restoration
Thanks for the link, exactly what i was looking for. 
-
Chempop

- Please Continue...
- Posts: 1045
- Joined: May 13th, 2011, 6:13 pm
- Location: North East USA
- eBay: Weegzon
- Initials: GLX
Re: Taito Egret 2 restoration
Are the Sega ones on giz10p not sufficient?
http://www.giz10p.co.uk/cabinet-parts/f ... at_29.html
Also, i can’t believe you tore off that original side art

http://www.giz10p.co.uk/cabinet-parts/f ... at_29.html
Also, i can’t believe you tore off that original side art
-
OlDirty
- Posts: 311
- Joined: January 12th, 2015, 8:26 pm
- Location: Switzerland
Re: Taito Egret 2 restoration
Cleaned nearly all the parts. Just screws are left for tumbling.
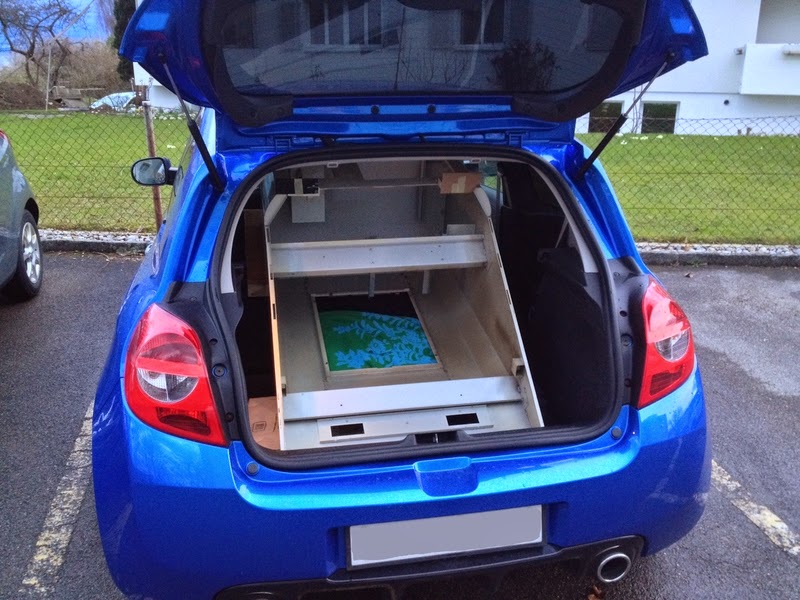
I brought my Egret today to the powder coating guy. Nice that it fit it my little car.
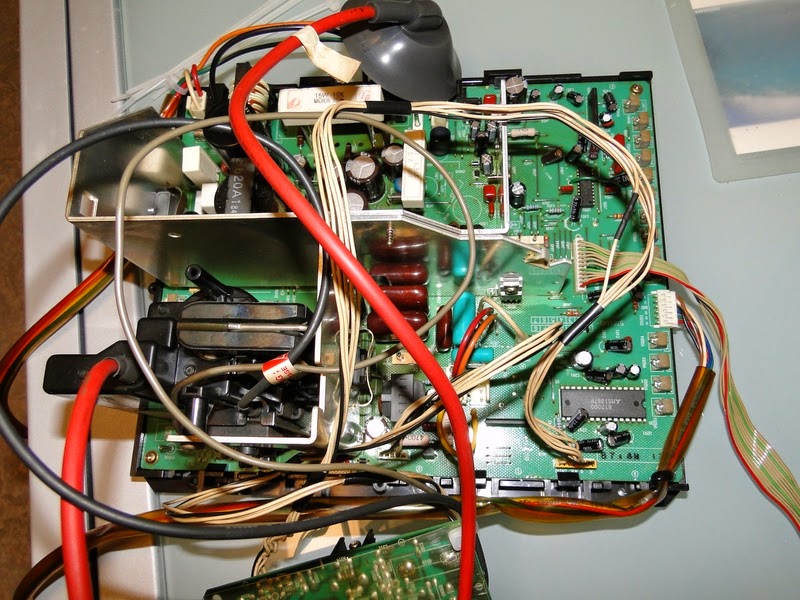
cleaned the chassis and replace all the cable ties
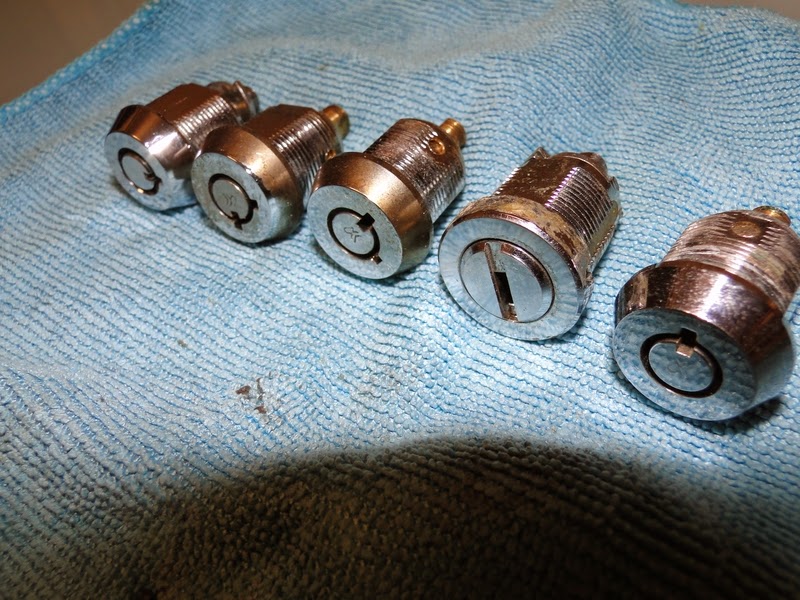
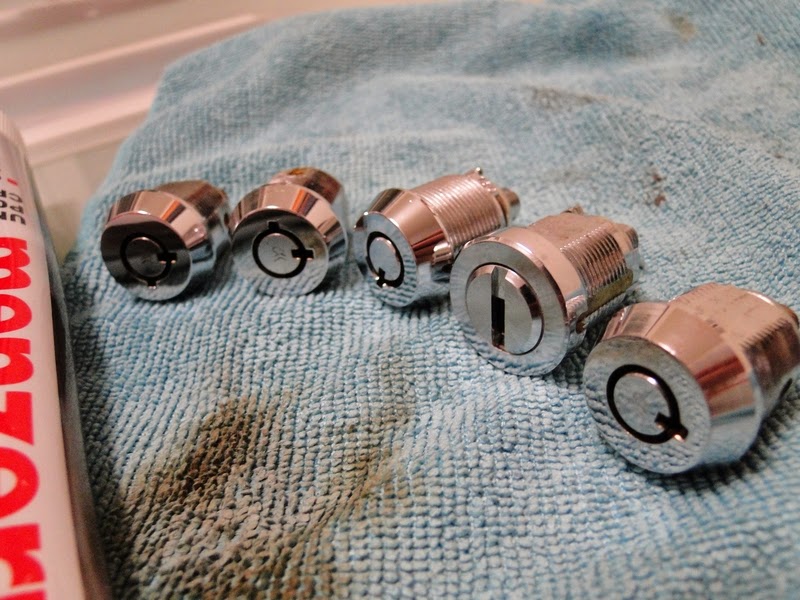
also the locks need love
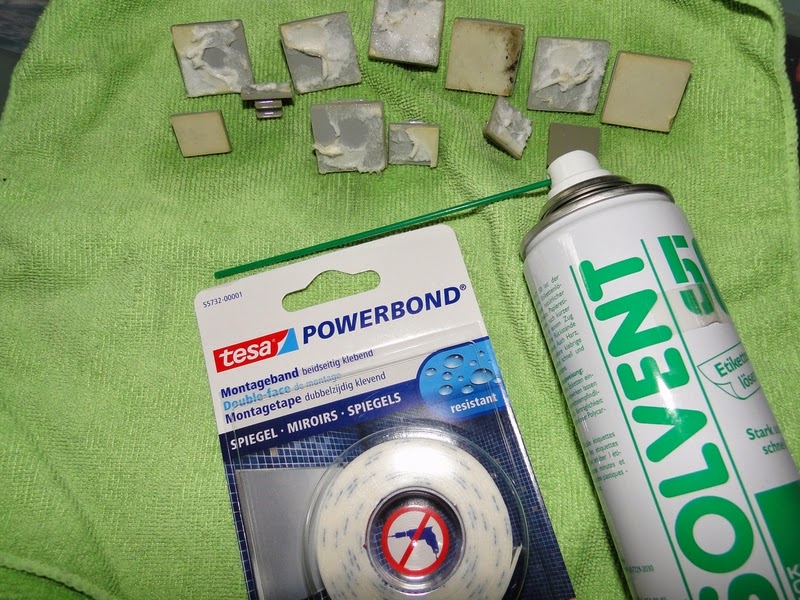
I don't know why, but i wanted to keep the original cable holders. Could also buy new ones, but they don't look the same. So i cleaned them in the ultrasonic and renew the stickers.
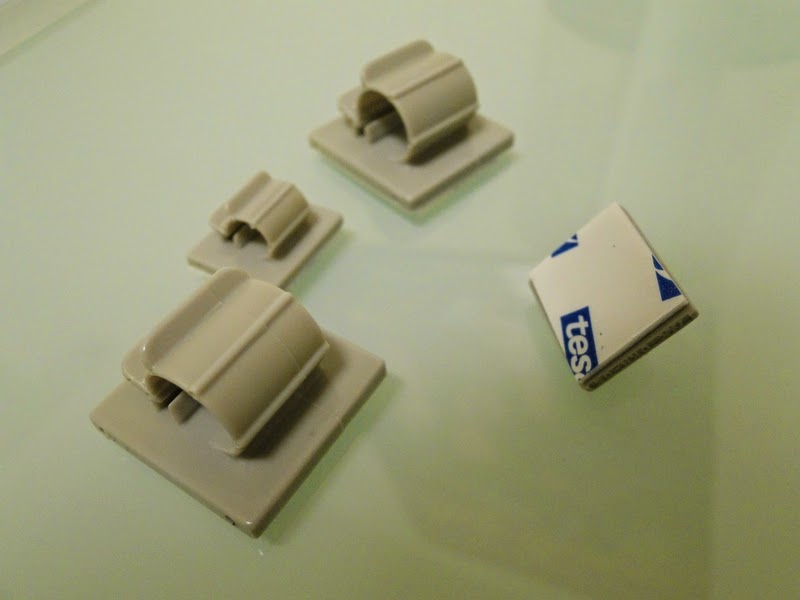
All metal parts which are originaly zinc plated will go for nickel plating tomorrow. Metal which was originaly yellow zinc plated was cleaned and will remain in this color.
I brought my Egret today to the powder coating guy. Nice that it fit it my little car.
cleaned the chassis and replace all the cable ties
also the locks need love
I don't know why, but i wanted to keep the original cable holders. Could also buy new ones, but they don't look the same. So i cleaned them in the ultrasonic and renew the stickers.
All metal parts which are originaly zinc plated will go for nickel plating tomorrow. Metal which was originaly yellow zinc plated was cleaned and will remain in this color.
-
emphatic
- Breastfeeds when required
- Posts: 5910
- Joined: April 7th, 2009, 4:14 pm
- Location: Alingsås, Sweden
- eBay: jorgen_sjolander
- Initials: JOR
Re: Taito Egret 2 restoration
Very nice attention to detail. Love the updates.
My games: http://www.emphatic.se
-
OlDirty
- Posts: 311
- Joined: January 12th, 2015, 8:26 pm
- Location: Switzerland
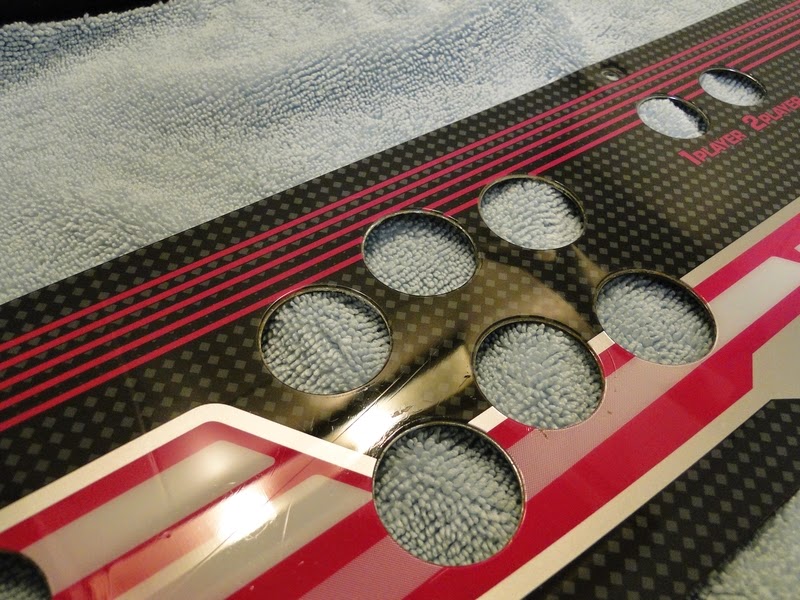
polishing the panel
This step i was really looking forward to do, wondering how shiny it might come out. I know now why it's called CANDY cab  .
.
Process should be the same as on the marquee, but fortunately wet sanding wasn't needed. I didn't wanna soack the panel in water because of corosion.
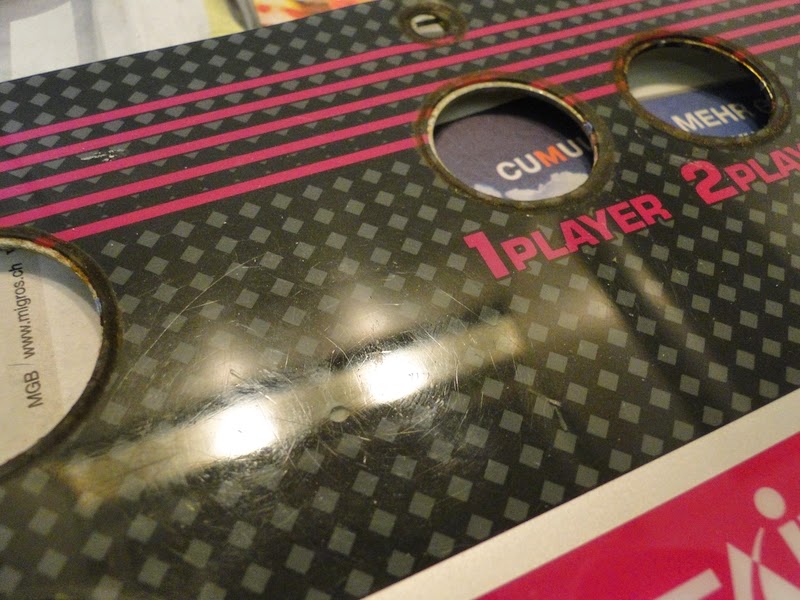
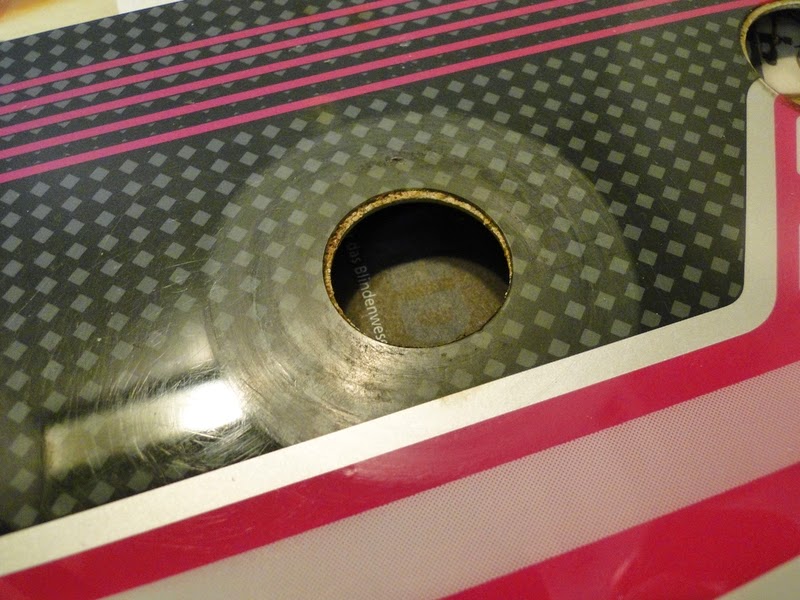
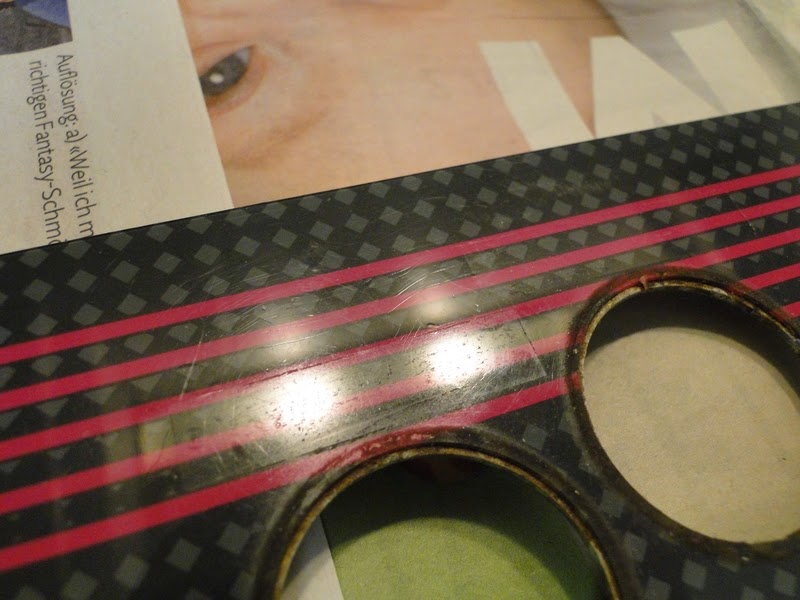
So first a few pics how it originaly looked like. Scratches everywhere and a very dull look .
.
from the distance not too bad
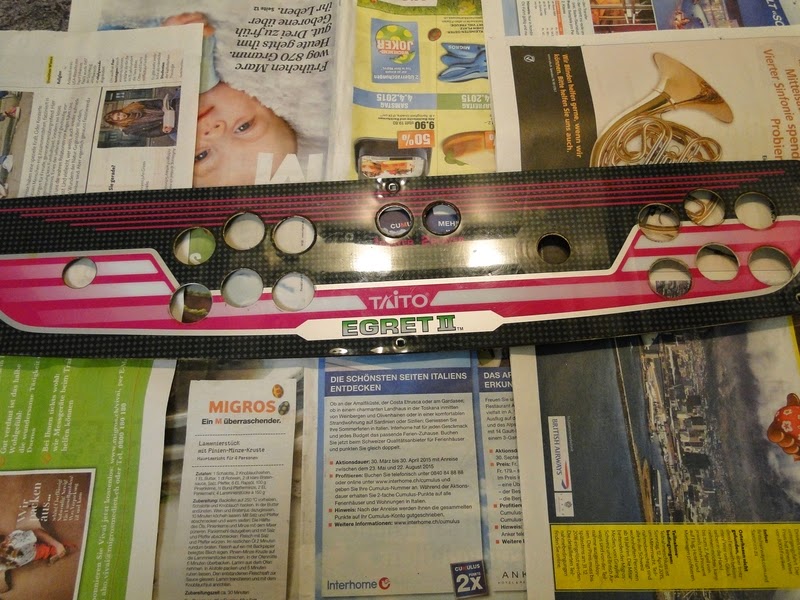
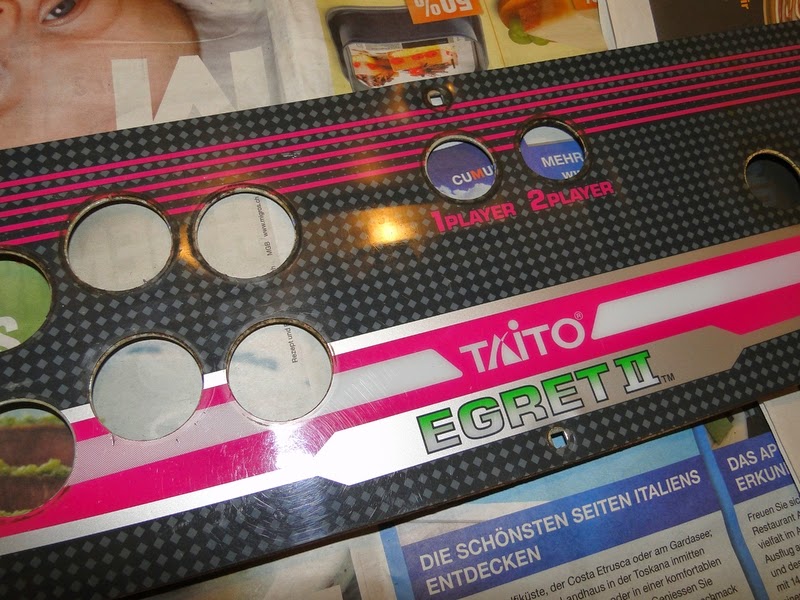
First cleaned it with Meguiars all purpose cleaner. Then cleaned it with the clay bar.

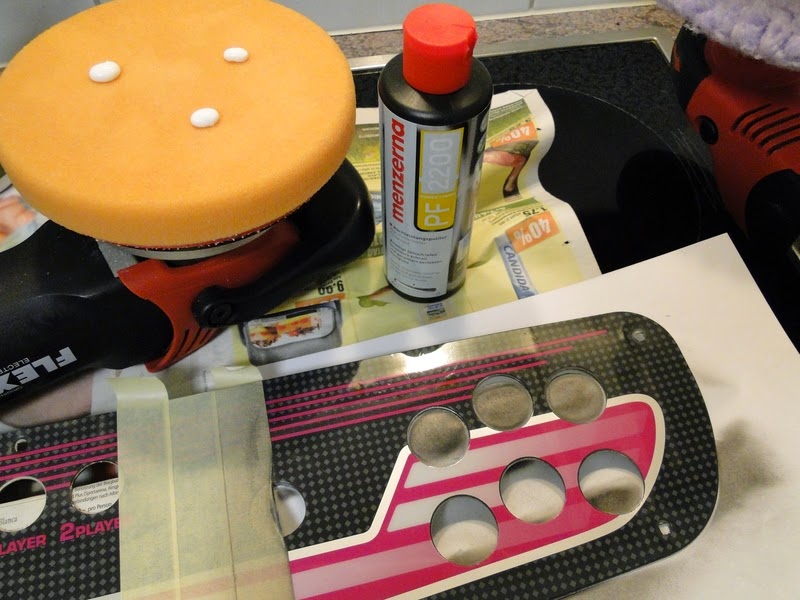
Next step was to polish with a woolpad and a Flex Rotary buffer.
Afterwards i took my Flex excenter buffer with a medium polishing compound.
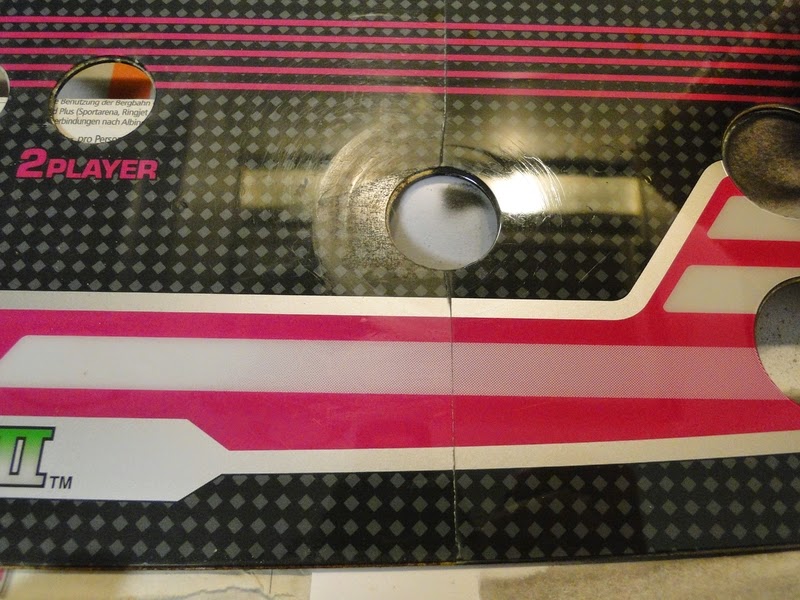
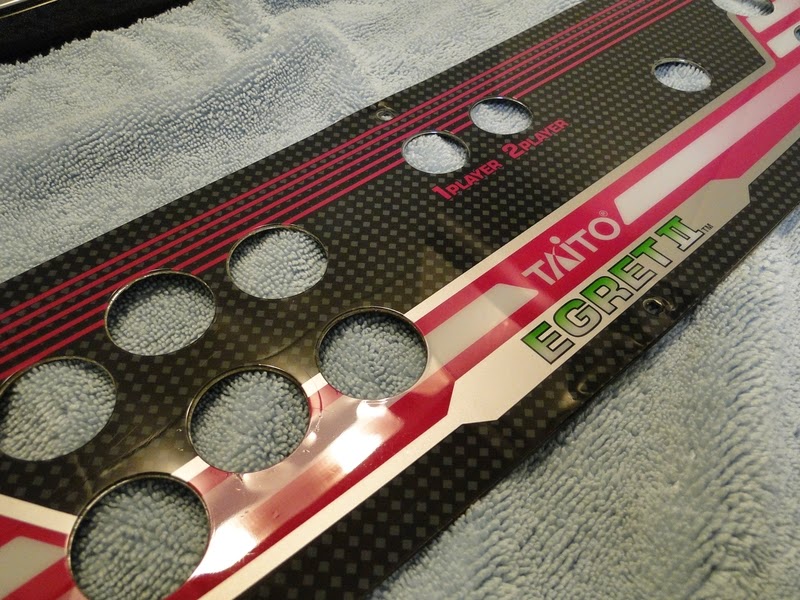
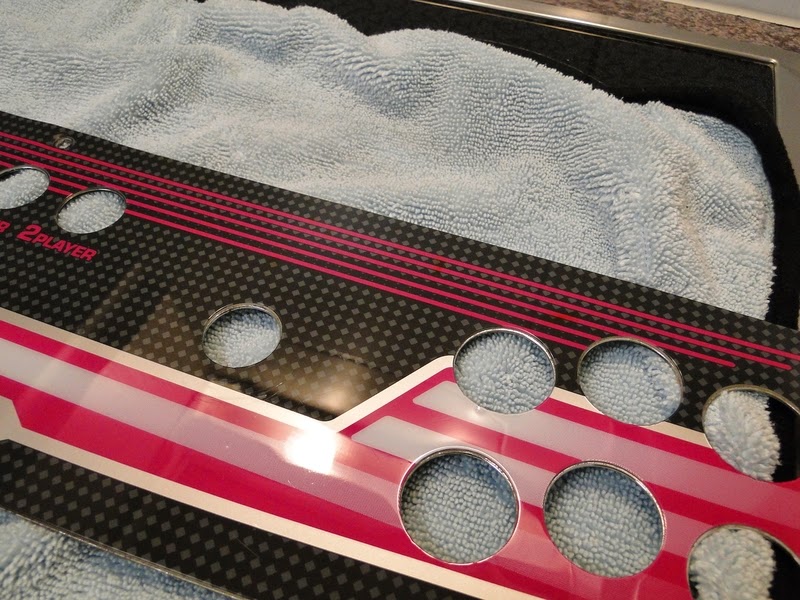
Here you see a little video of a 50/50 shot. Left side not touched and right side polished.

At the end with a soft polishing pad i applied a primer for the wax
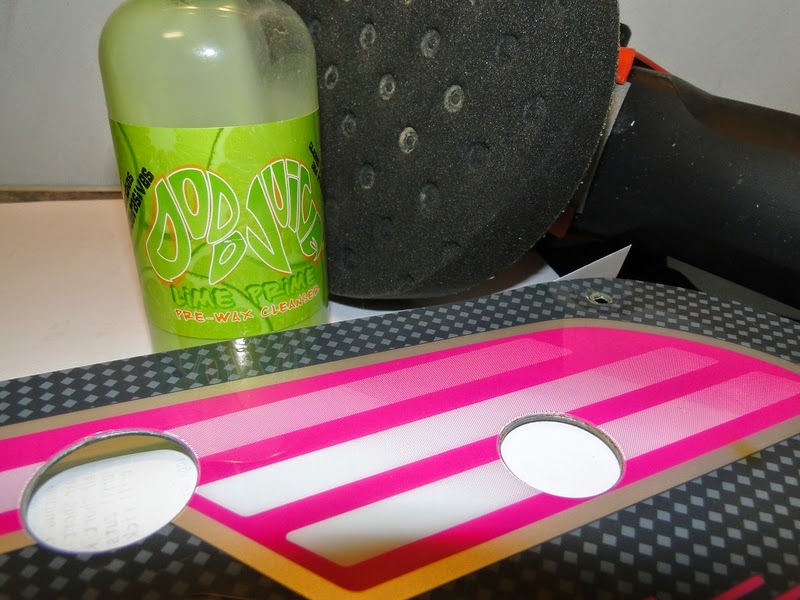
Last step was applying the wax for a reall clossy look.
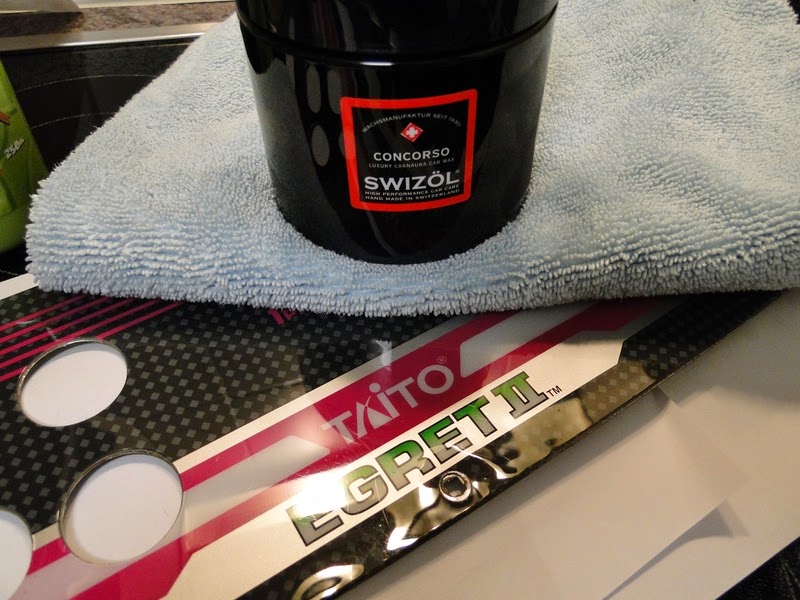
Looks like this at the end. Not 100% of the scratches are gone, because some of them are just too deep. But if you look at it "as a normal" person it just shines like ***

Process should be the same as on the marquee, but fortunately wet sanding wasn't needed. I didn't wanna soack the panel in water because of corosion.
So first a few pics how it originaly looked like. Scratches everywhere and a very dull look
from the distance not too bad
First cleaned it with Meguiars all purpose cleaner. Then cleaned it with the clay bar.
Next step was to polish with a woolpad and a Flex Rotary buffer.
Afterwards i took my Flex excenter buffer with a medium polishing compound.
Here you see a little video of a 50/50 shot. Left side not touched and right side polished.
At the end with a soft polishing pad i applied a primer for the wax
Last step was applying the wax for a reall clossy look.
Looks like this at the end. Not 100% of the scratches are gone, because some of them are just too deep. But if you look at it "as a normal" person it just shines like ***
-
colinmac

- Posts: 133
- Joined: April 3rd, 2013, 9:28 pm
- Location: Fife, Scotland
- eBay: Fifeauctions18
- Initials: COL
Re: Taito Egret 2 restoration
Ive two of those panels which I thought were in pretty good condition!
Clearly not!
You perhaps need to offer this service for fellow forumites
Keep the pics coming....
Clearly not!
You perhaps need to offer this service for fellow forumites
Keep the pics coming....