Svovl wrote:
Any idea where to get stuff like T-Cut and Novus products (or something similar) in mainland Europe? ...
Good luck with the project!
Thanks!
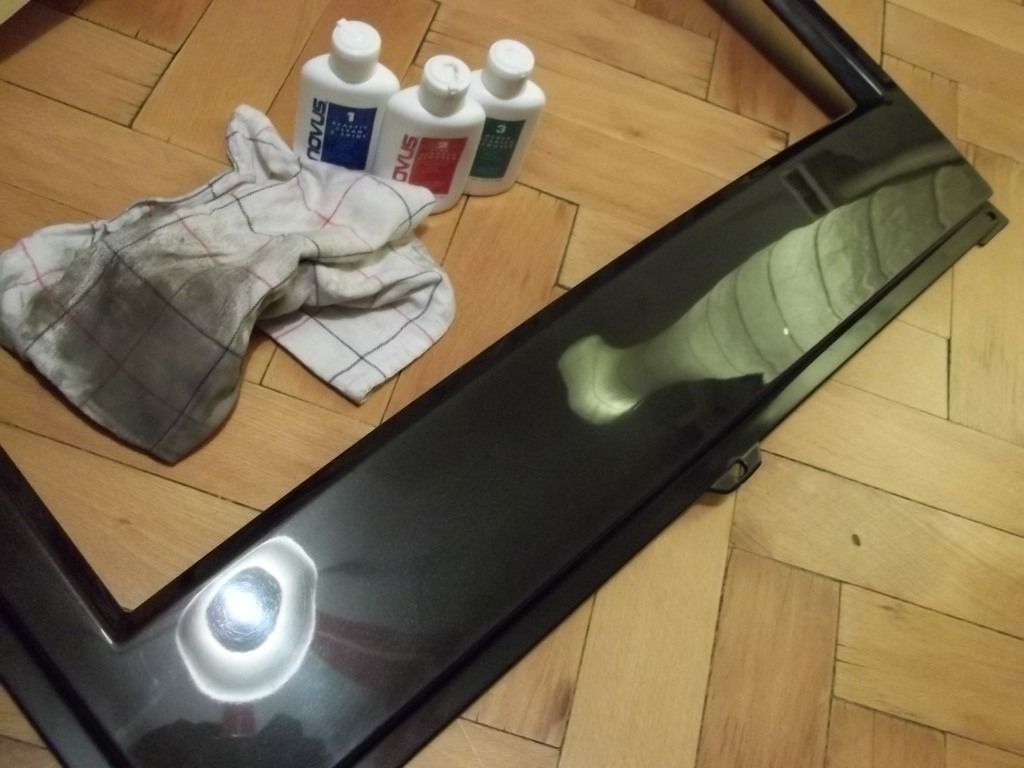
I used ebay for those items. Expect expensive shipping, and be ready to pay shiping costs for every single item at its own.

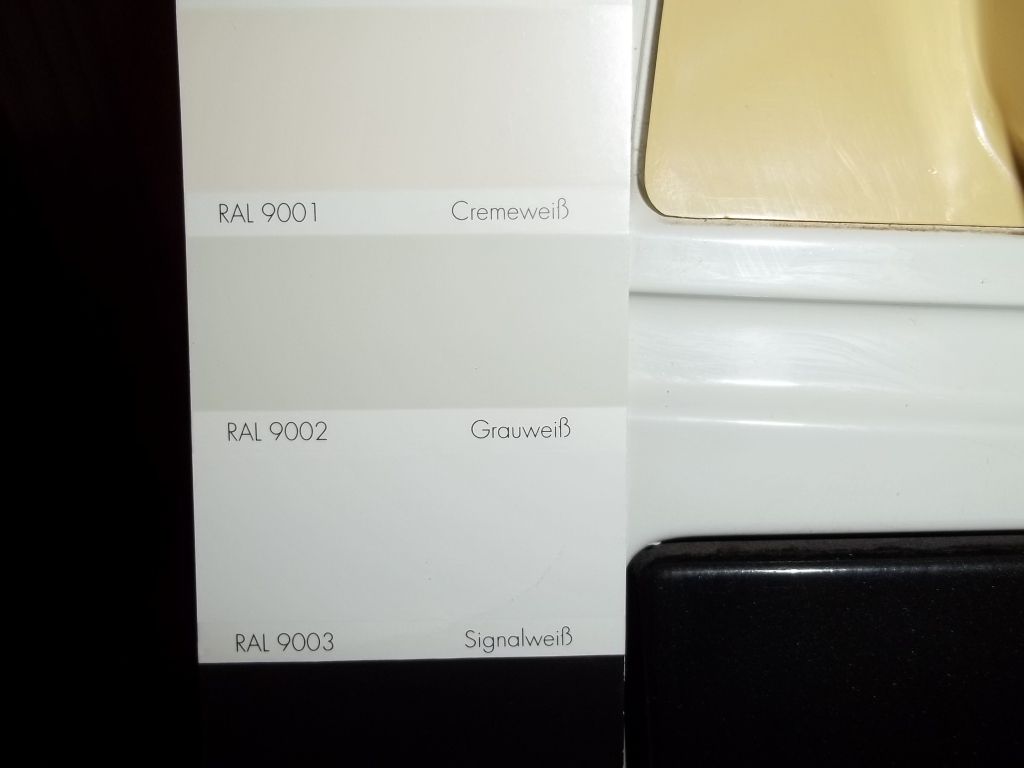
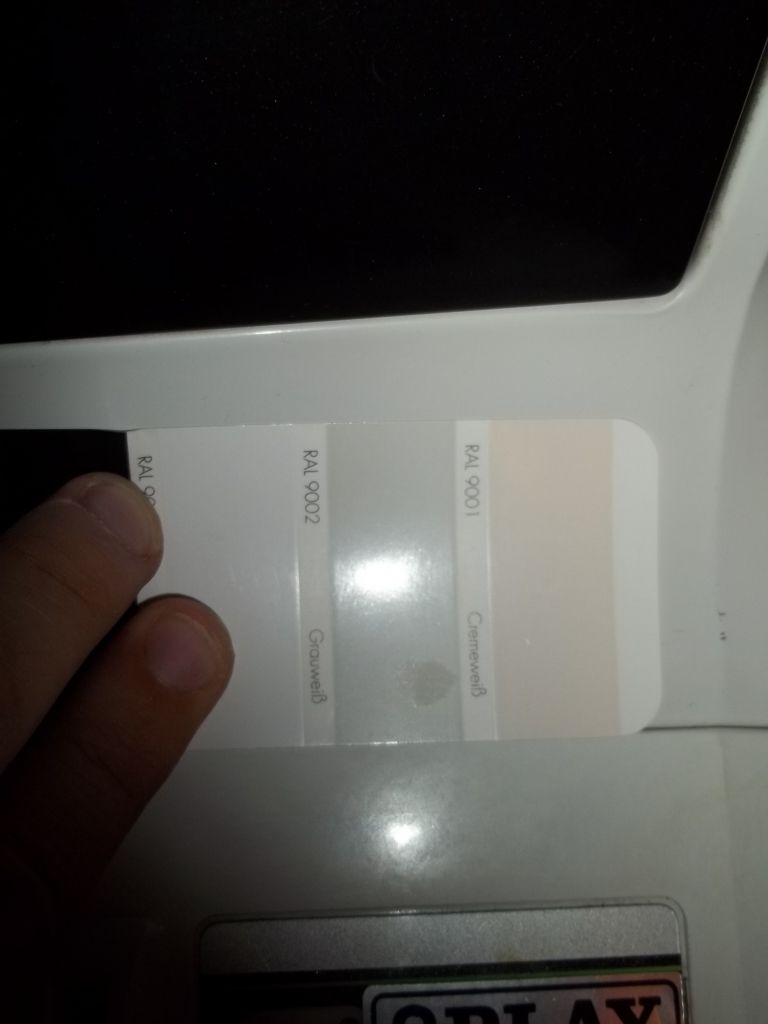
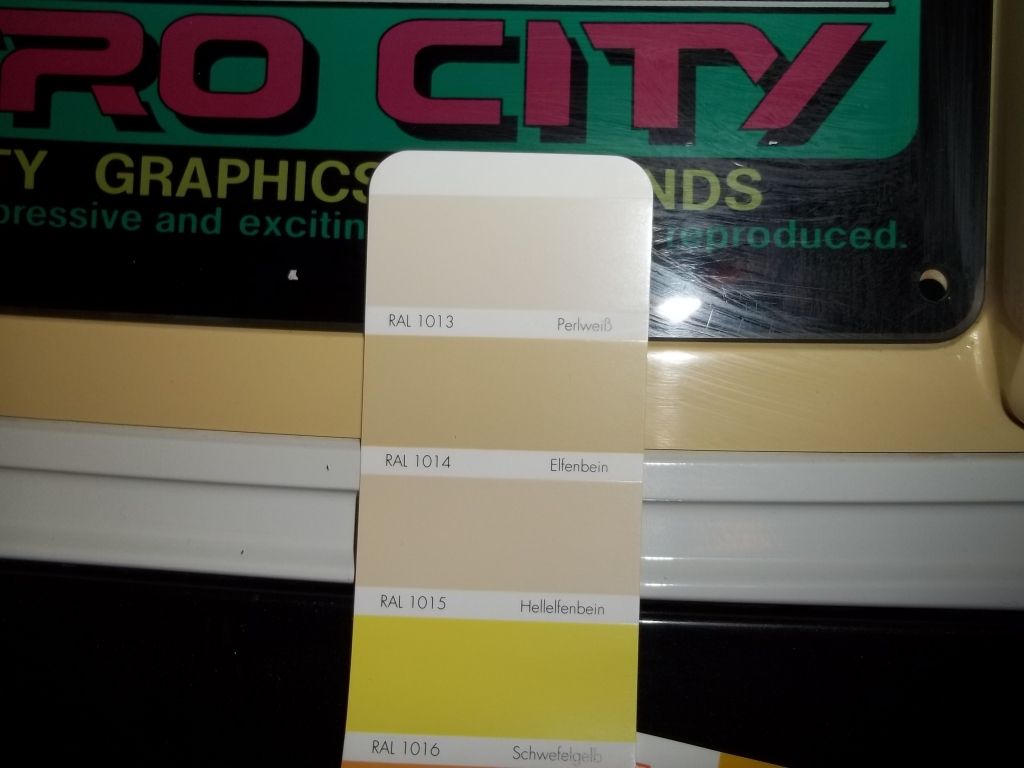
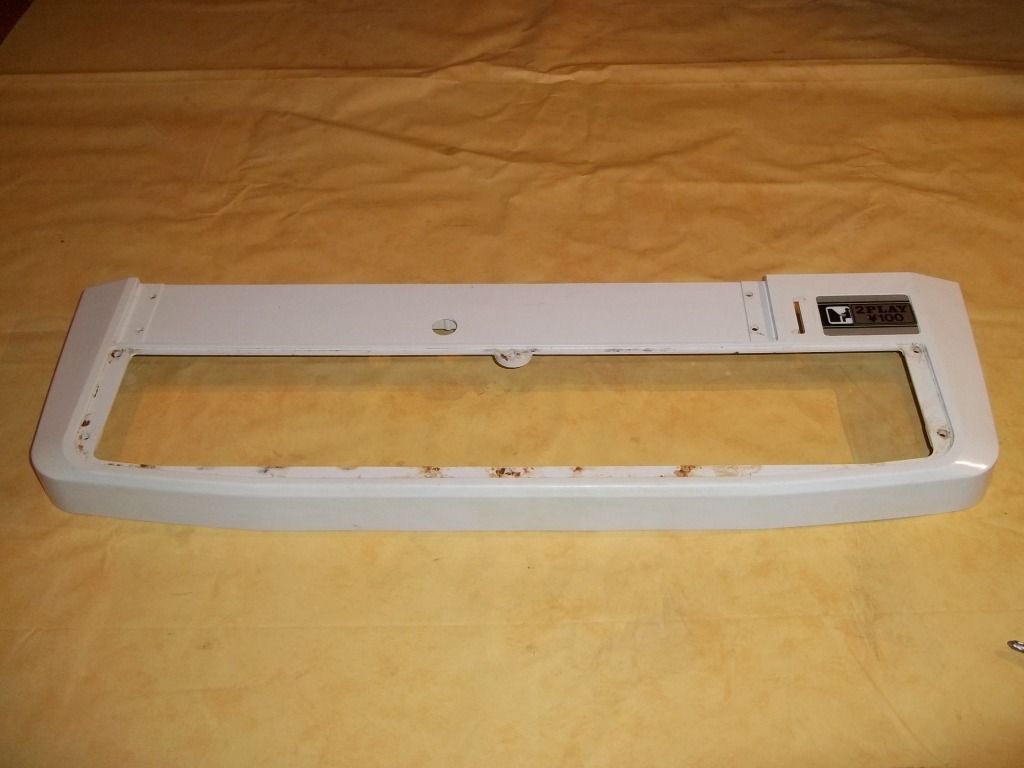
Yesterday, I got the freshly mixed color. It chose acrylic paint, and asked for the recipe of "grey white". Store owner told me, it is white with a splash of black and - you guessed it - "Ochre"

I guess that Ochre is not in the original recipe of Segas Astro City paint, and was individually added at the arcades.
This made me think - maybe i should have chosen the color after cleaning with t-cut? nevermind, i can alway mix the color with my acrylic paints, e.g. white.
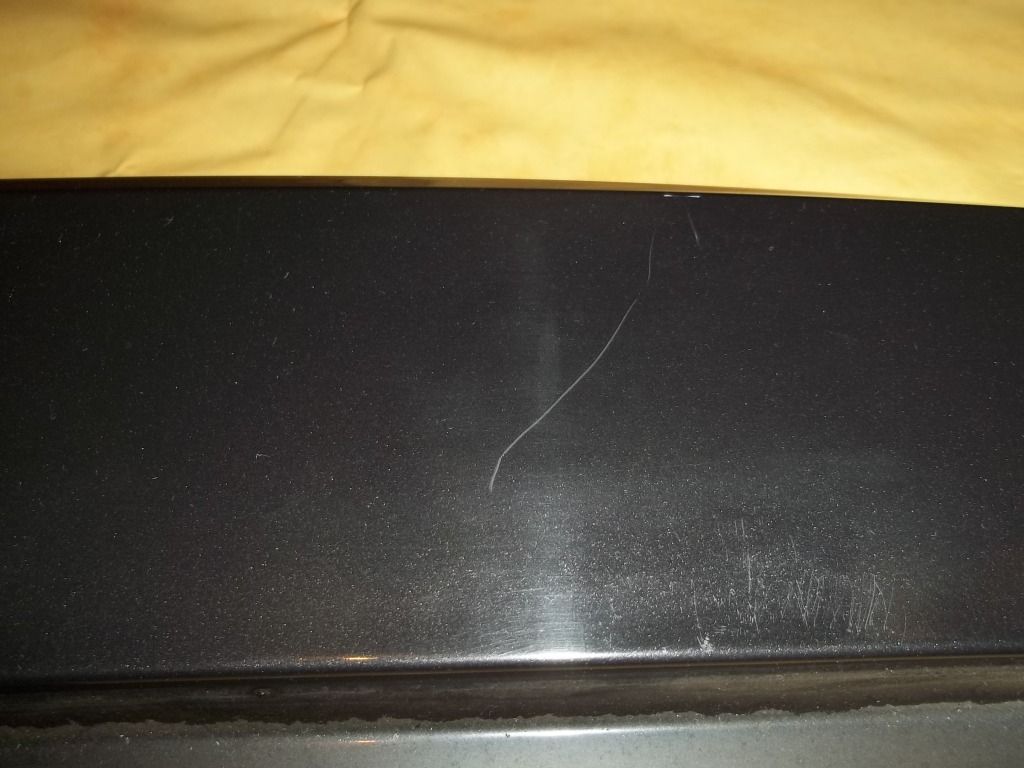
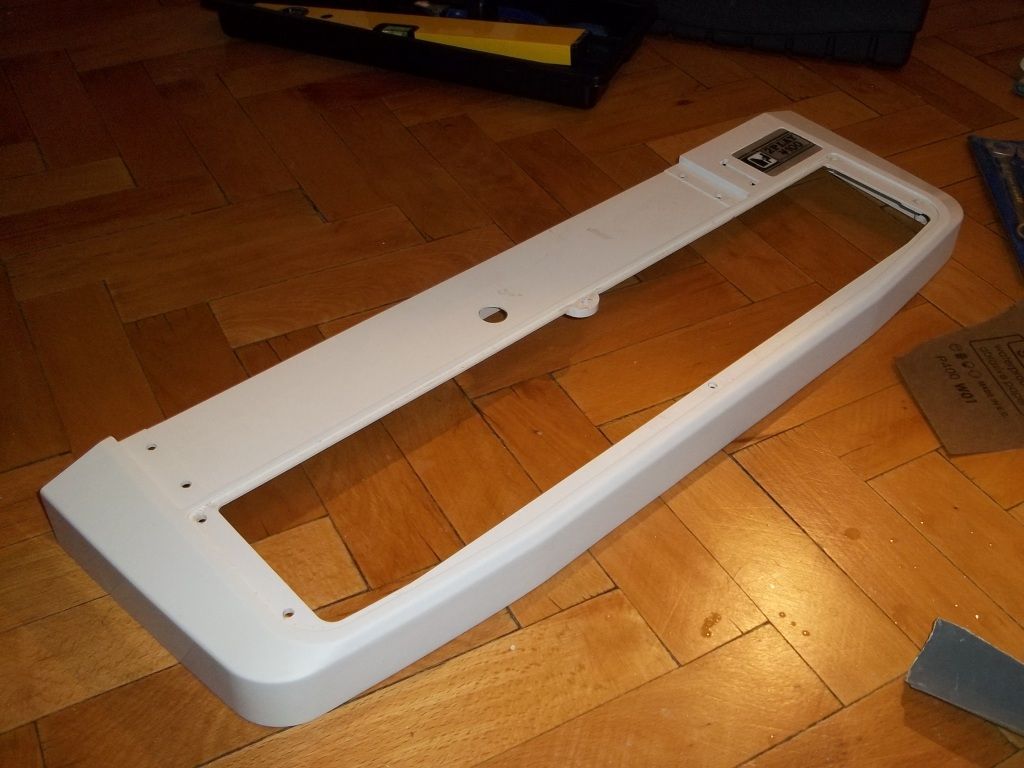
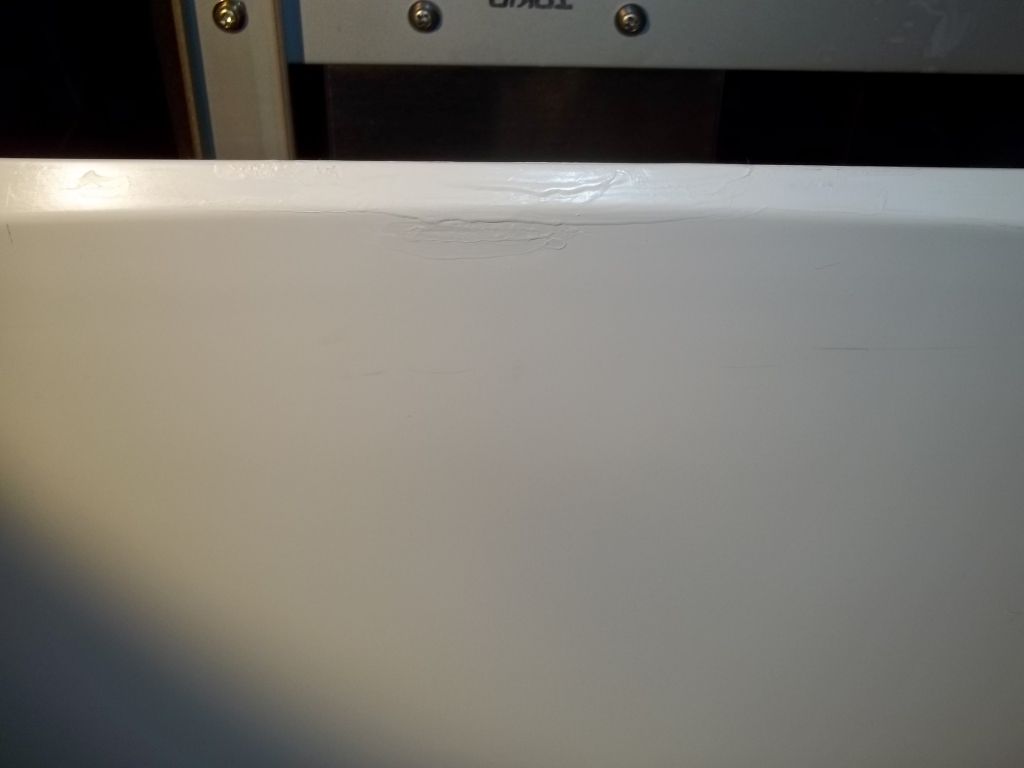
lets have a look at my first test patch:
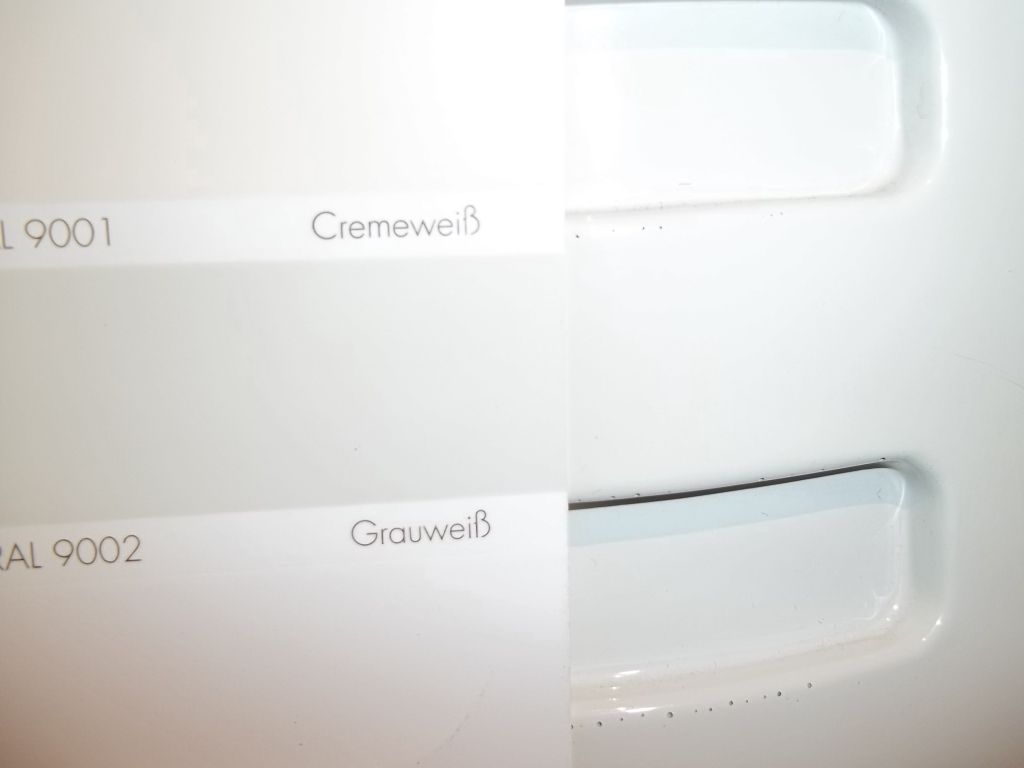
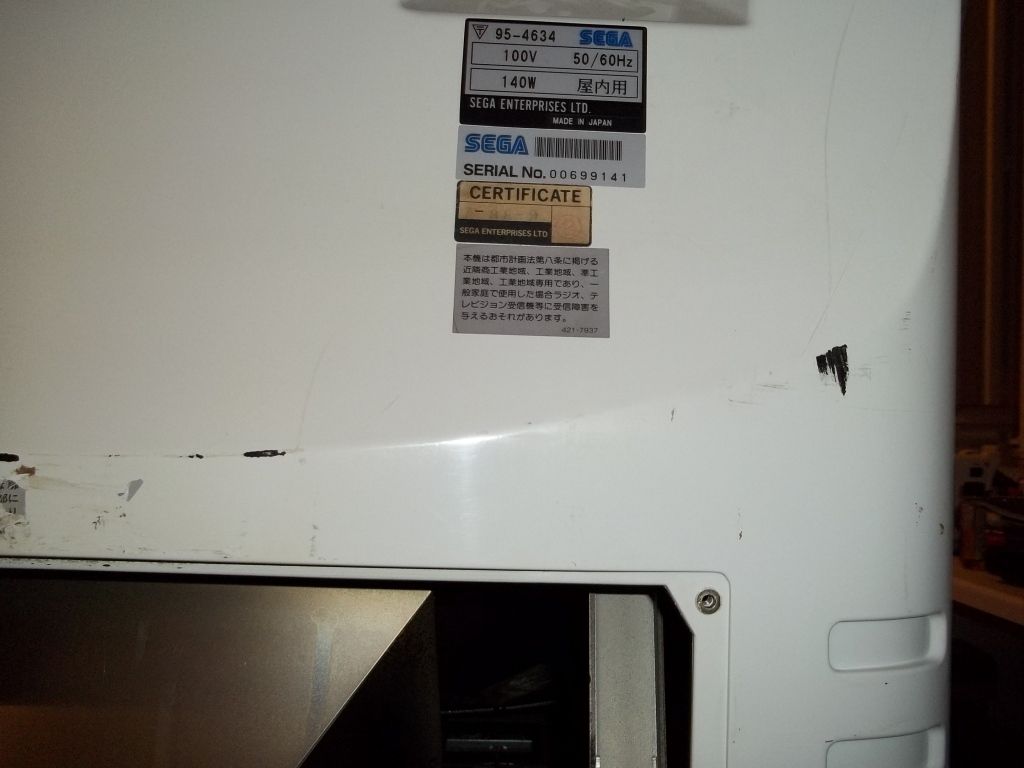
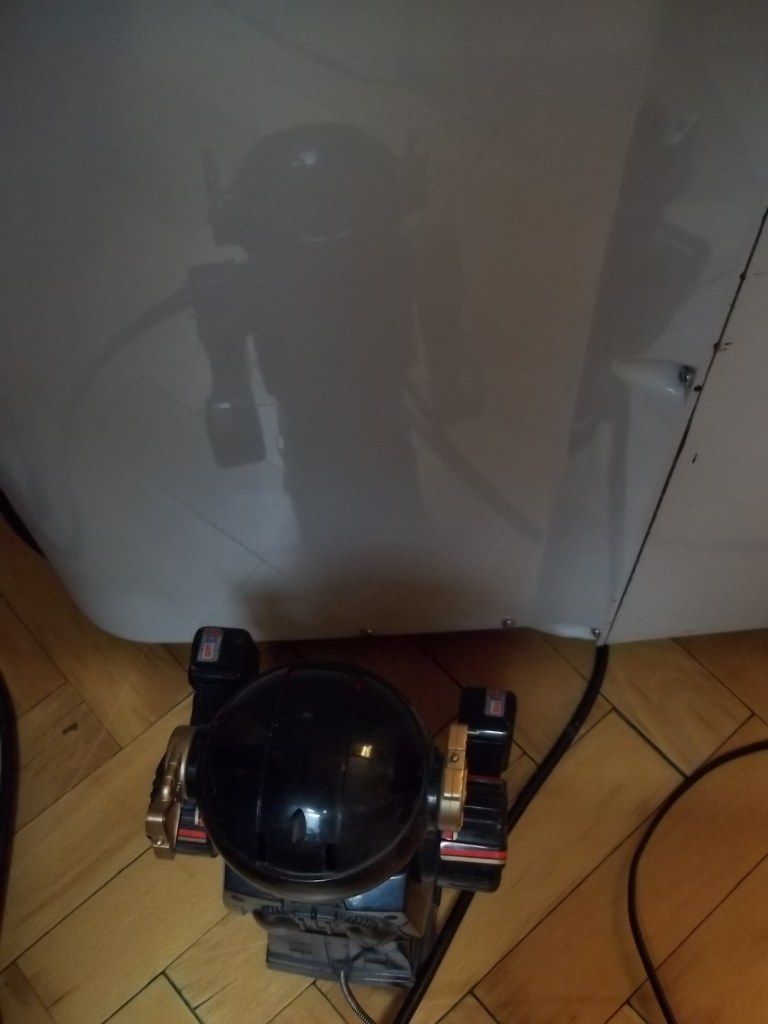
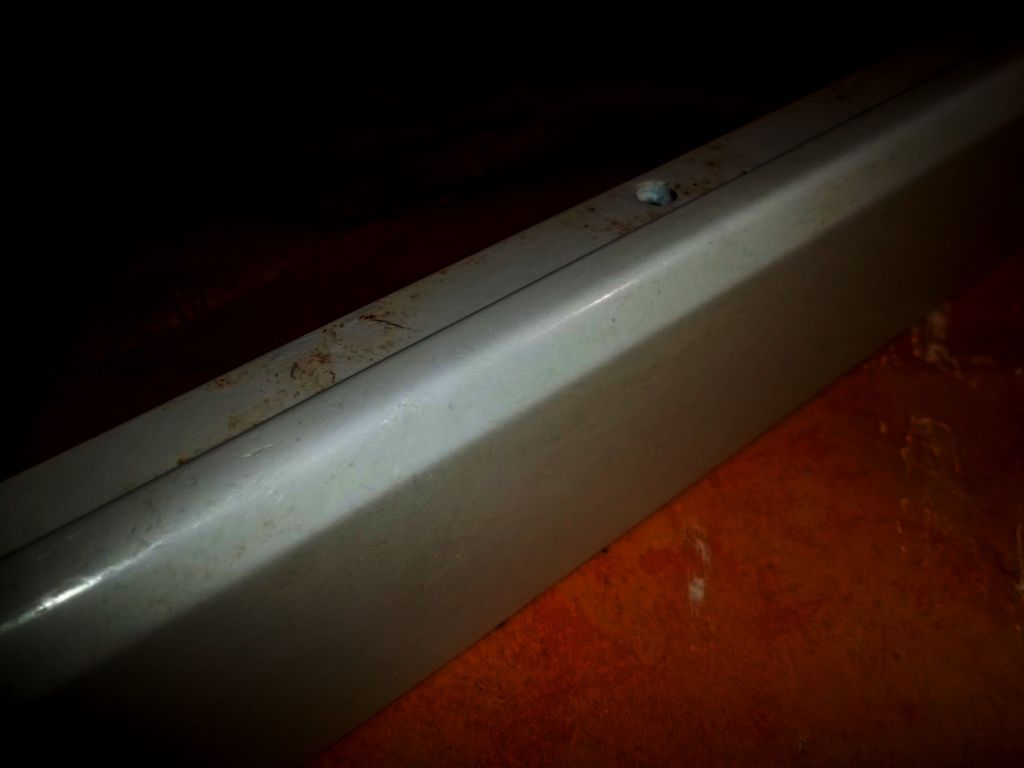
this is the part I chose to test on - it was completly missing the color layer, exposing the metal beneath. It is the small door, where you can have a look at the monitor chassis.
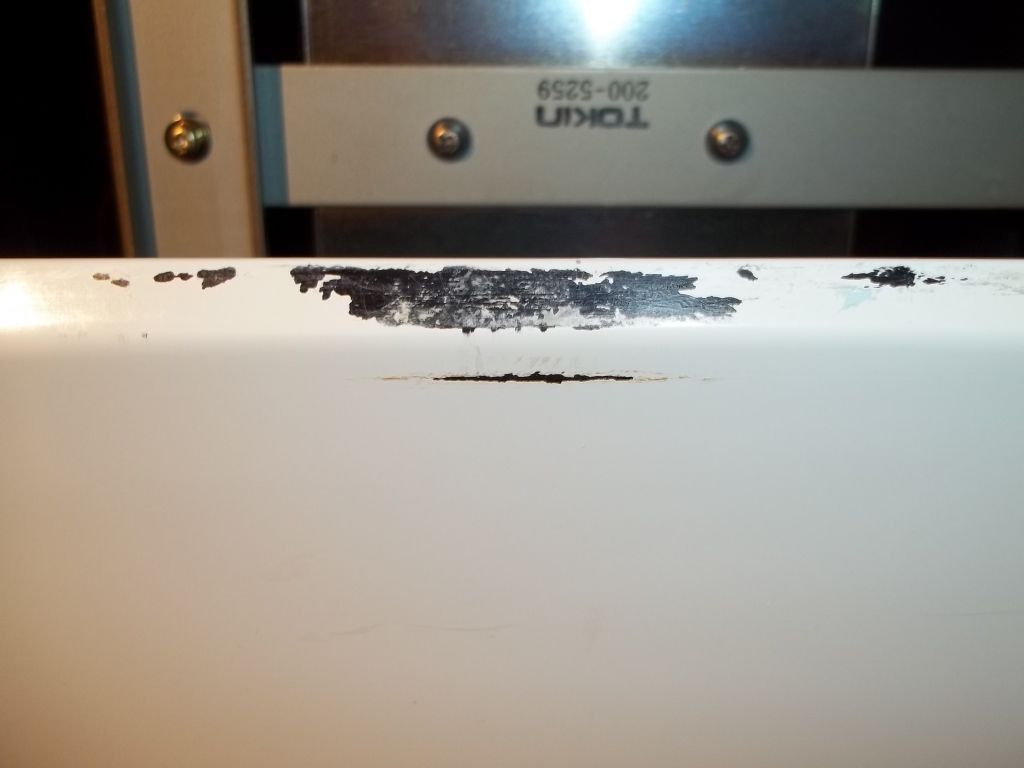
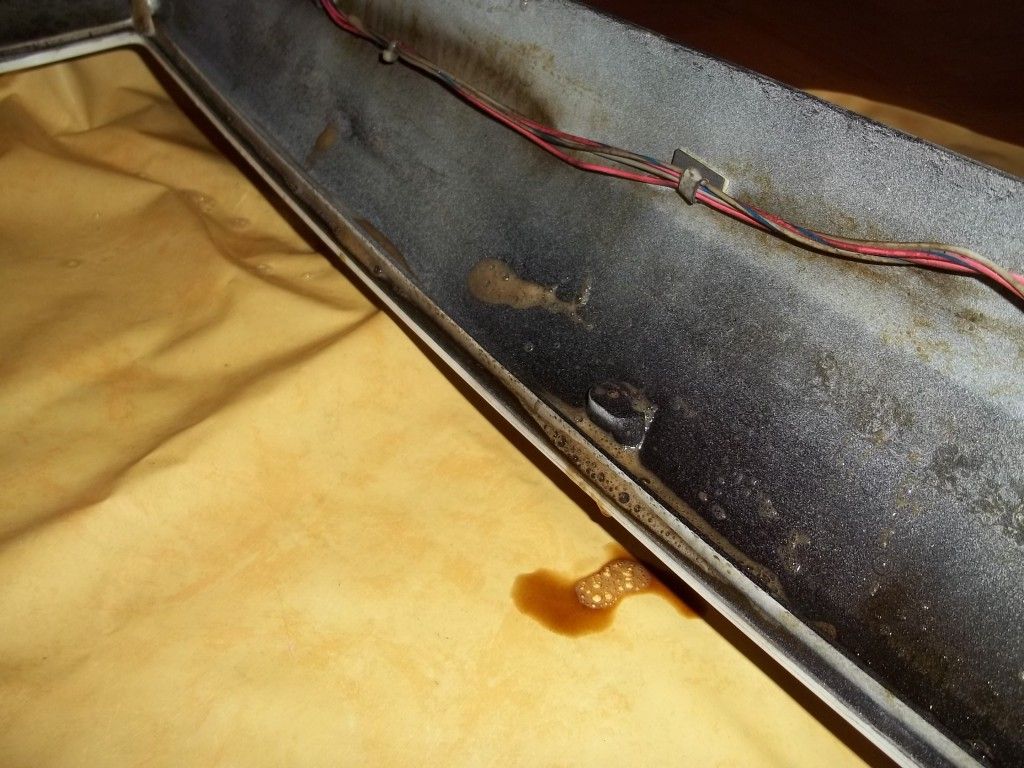
I used 400 and 800 sand paper to remove scap parts and smoothen the patch.
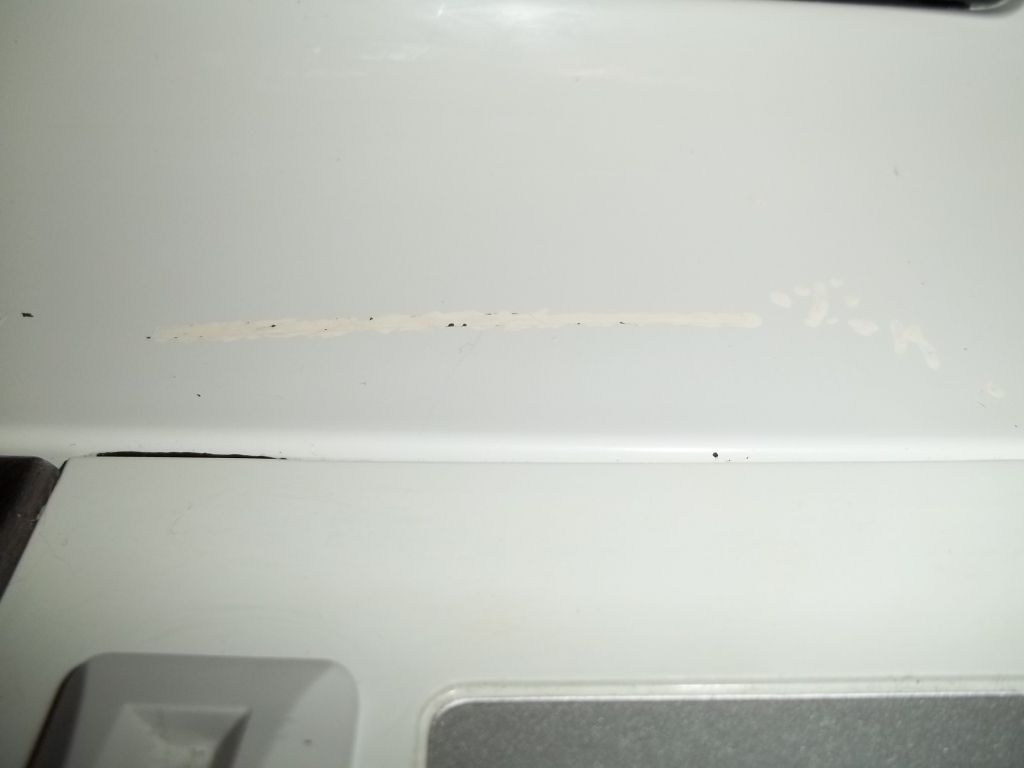
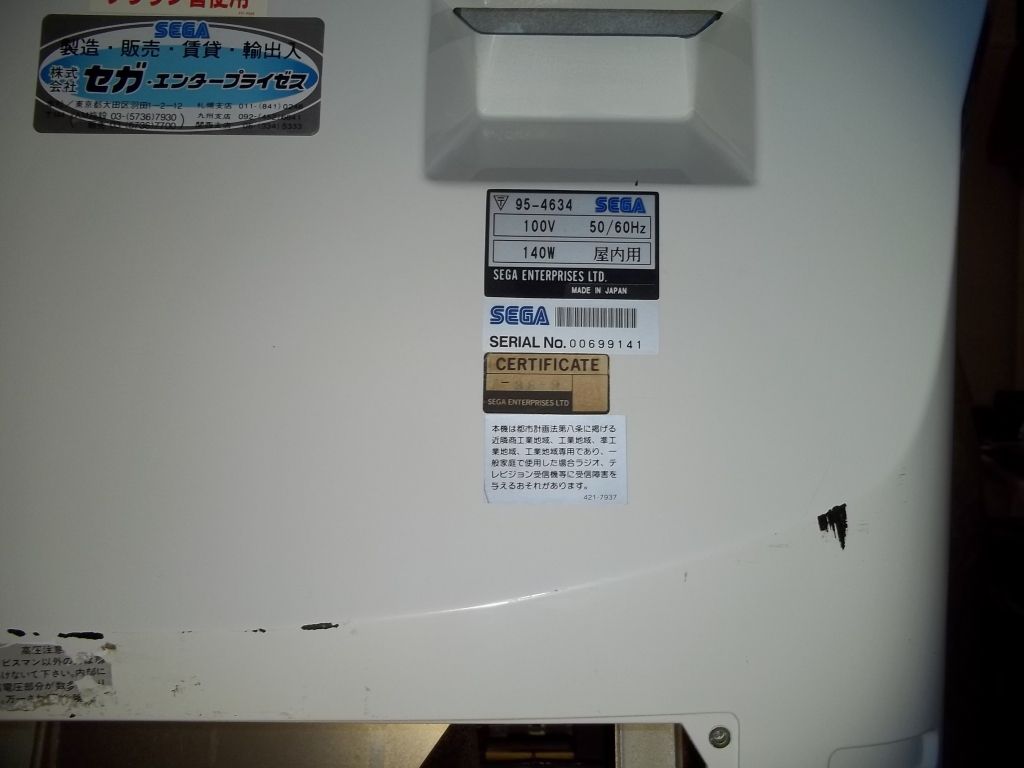
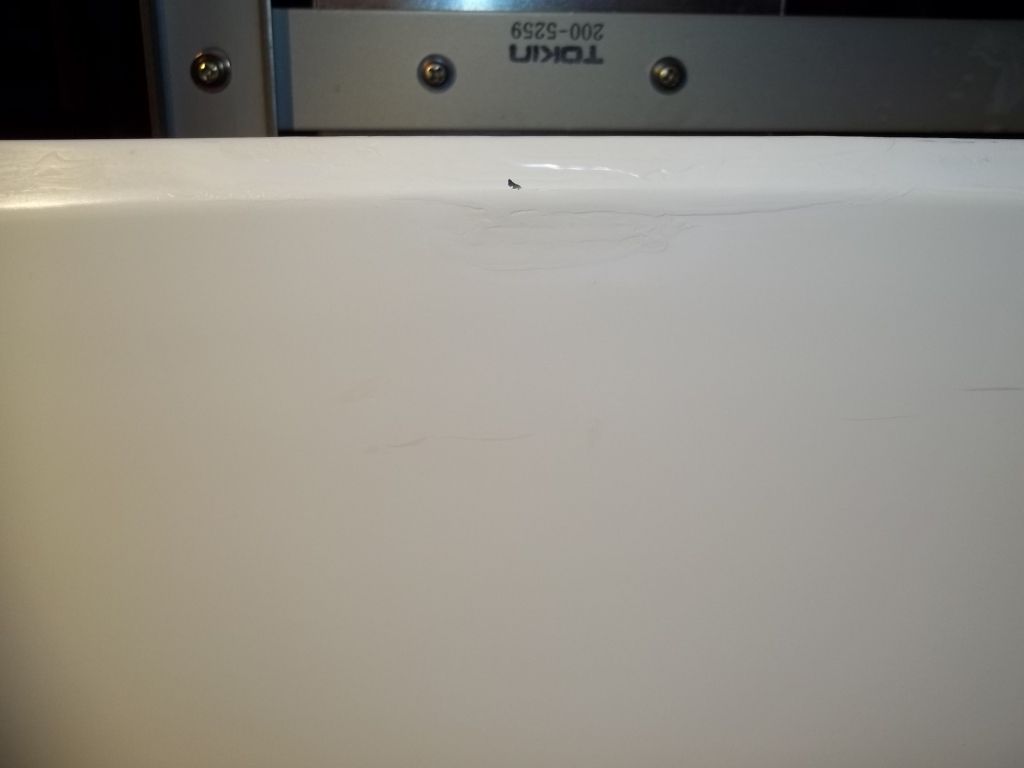
After sanding down some of the original paint, I saw that the color became a bit brighter. Thats what I was talking about before - and thats the effect I expect from T-Cut. You can see this in the photos at the lower, long scratch. It is surrounded by a brighter color.
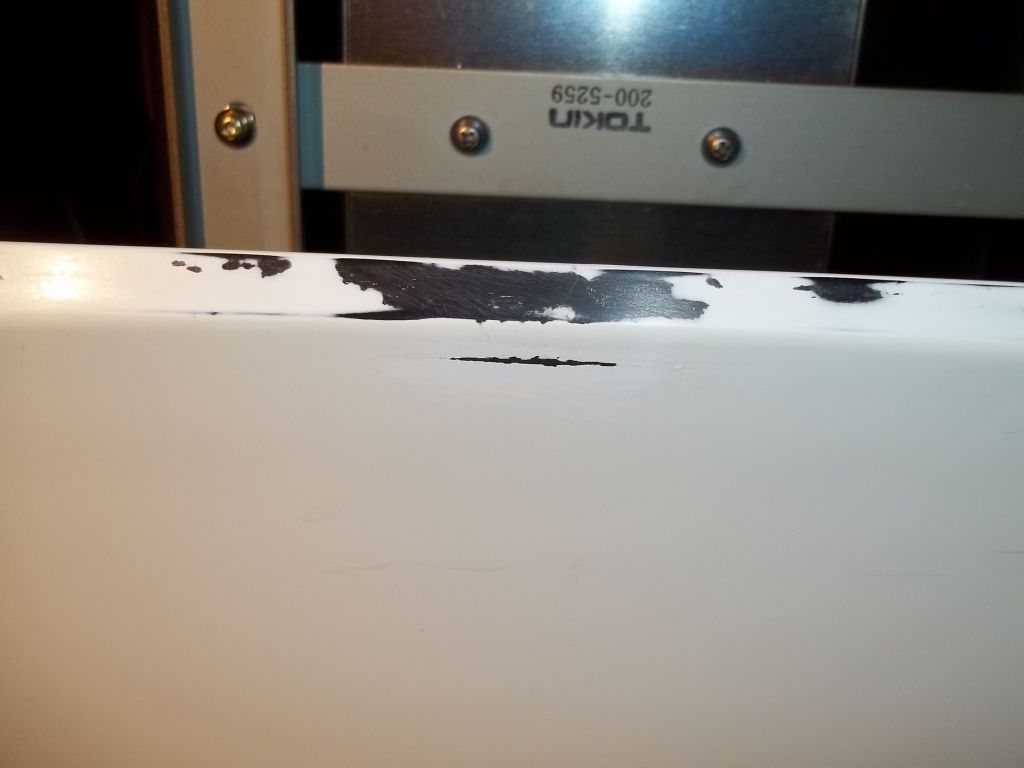
In retrospective, i should have not sanded it down by hand, beeing more precise, since sanding down good paint - especially on the borders - is very hard to fix. Best bet would be to sand down >just< the completely exposed parts - with just a very small surround - as little as possible - but that seemed nearly impossible to do by hand. I will have to think about a solution. [just found one, I guess: My Dremel is pretty precise, and I surely got a tip for it .... yes: Sanding Drum

Will use that next time. ]
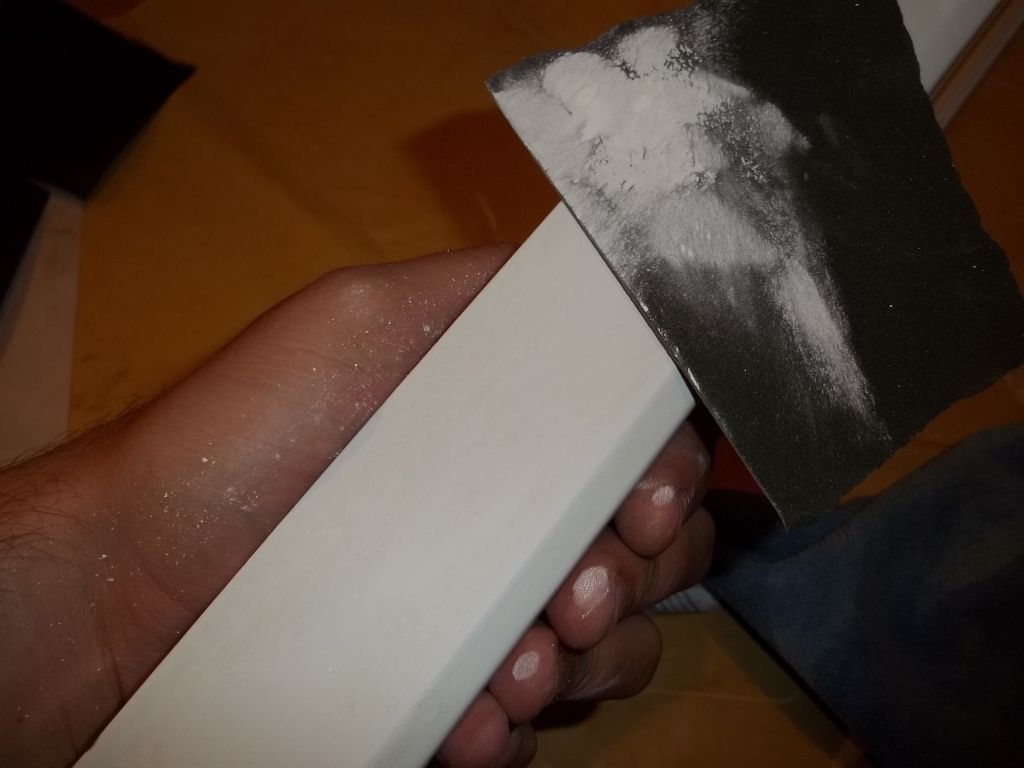
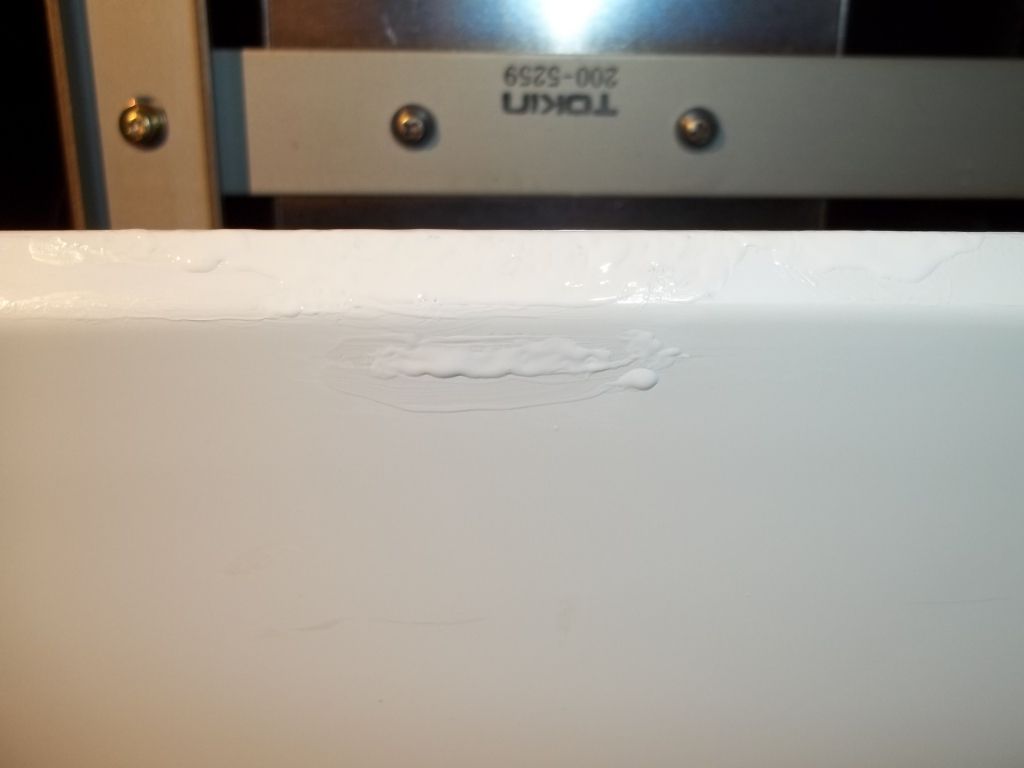
Here, you see the first layer of paint. Looks good so far.
After taking pictures, while standing up, I dipped my belly into the fresh paint.
tetsujin wrote:
... remember, just take your time and dont rush ...

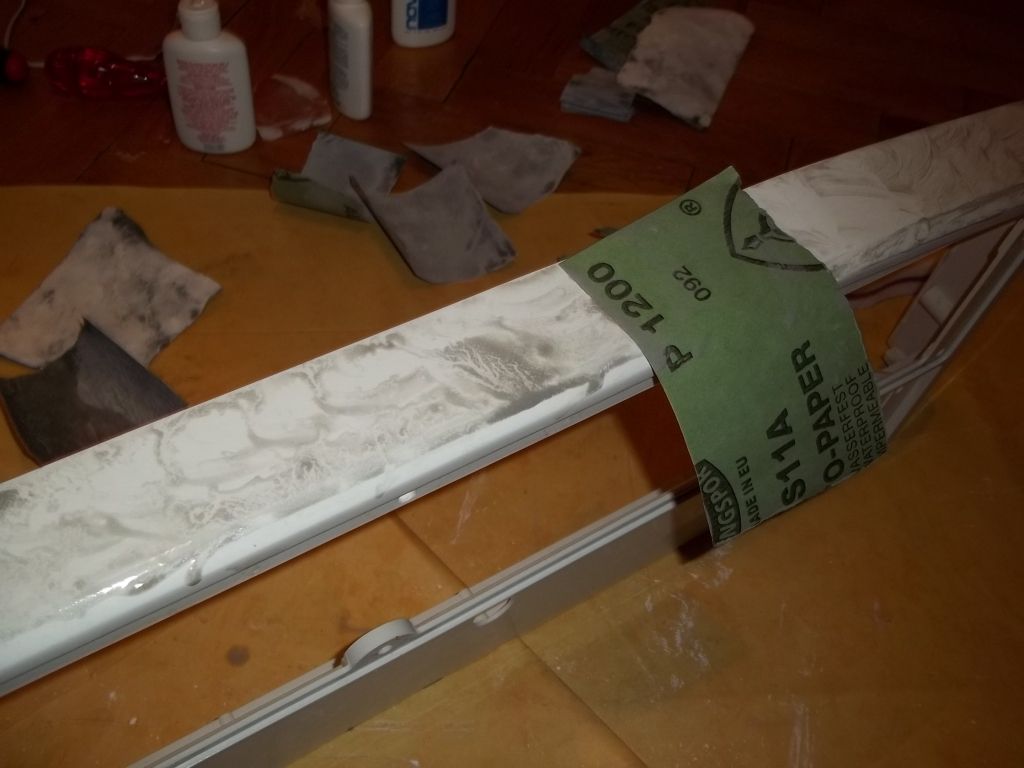
I had to apply a second layer of color, generating more blops and drips.

On the next picture you see the (almost) dried paint. The color match is pretty impressive. It just does not looks as smooth as I original paint, cause I opted (
) for second layer of paint. You see a glob of paint hanging down the border.
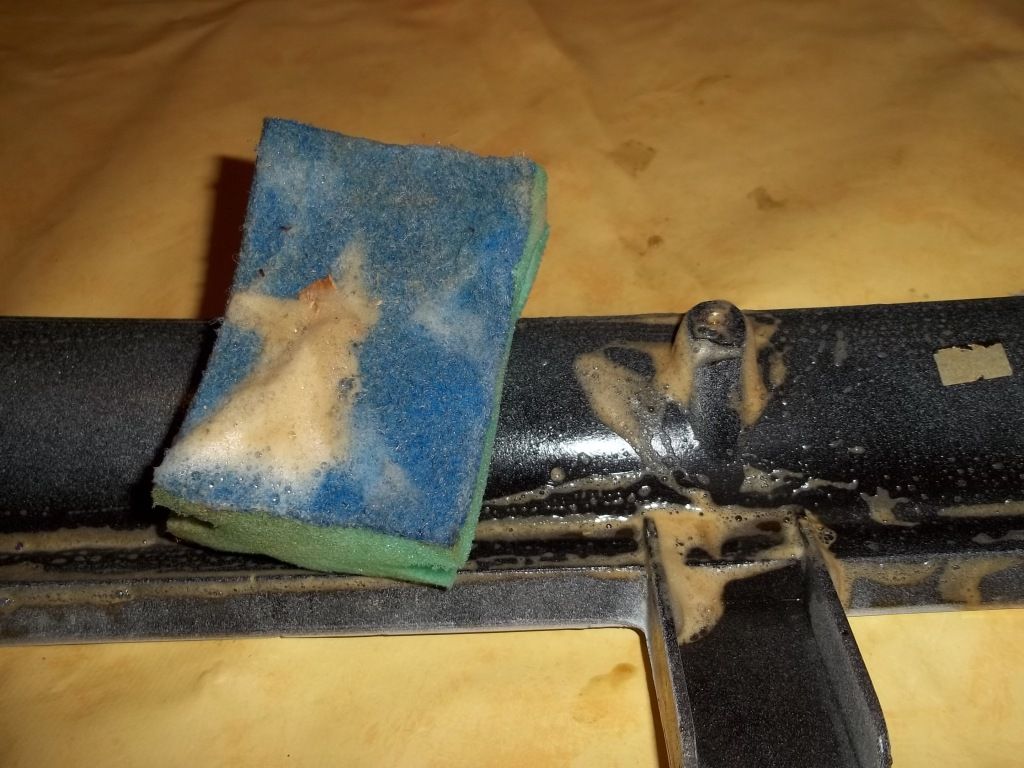
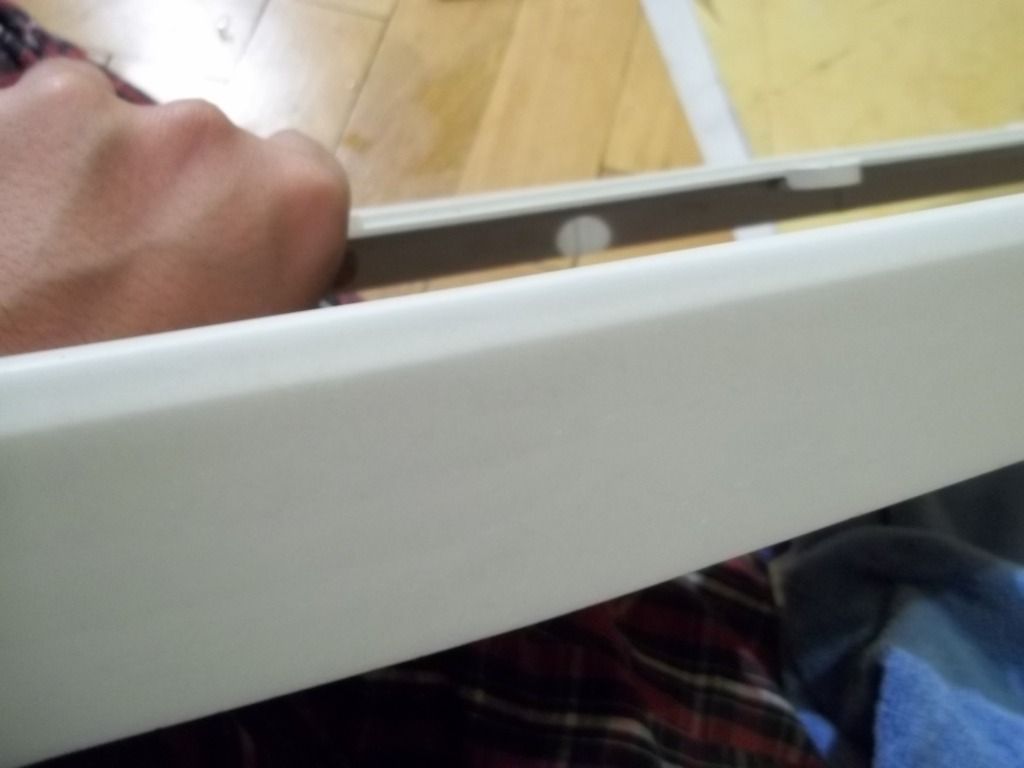
After sanding that part down with wet 1000 sand paper, it looks like this:
The paint hasn't been perfectly dry, i guess, thats why i removed a small part while sanding it. Or did it just broke off?I dont know ... nevermind. The difference between before and after is already impressive enough. Especially for the first test. I am very happy with the result.
In retrospective, I should have taken less paint and more layers instead. I used too much paint, resulting in blops. While painting, I though "
the much the better, I will sand it down anyways" - but sanding down >just to get it flat< would have not been needed, if I was able to do a clean layer of paint. The drips and blops you saw were pretty hard (and next to impossible) to remove, especially because I removed more paint than expected in the first sanding. This could have happened again, which I was afraid of. So, sanding the new paint just >flatten out< the blops - you will still see their shadows.
If I repeated the procedure [Sand down, paint, sand, paint, sand, repeat till mad] it would likely look better.
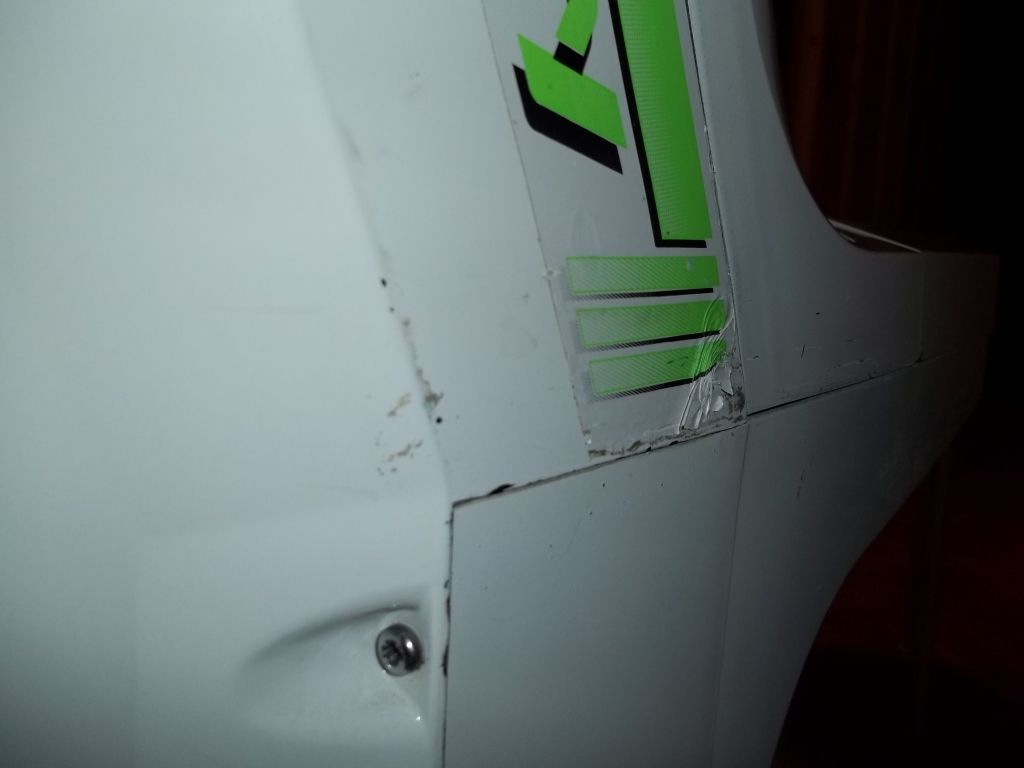
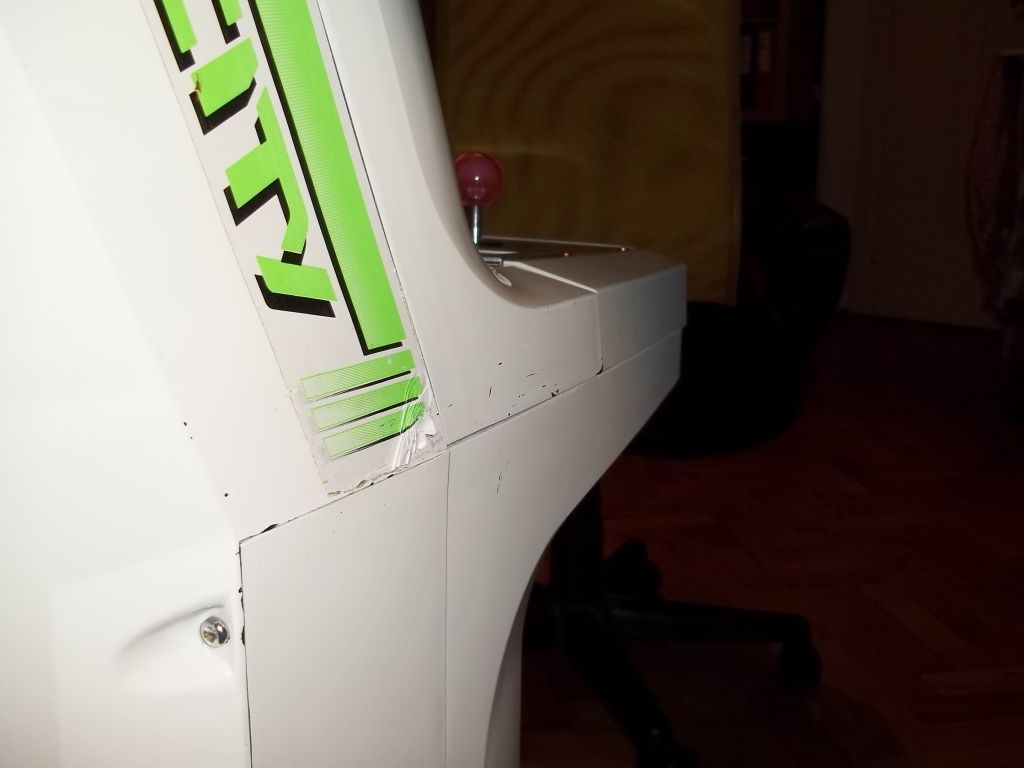
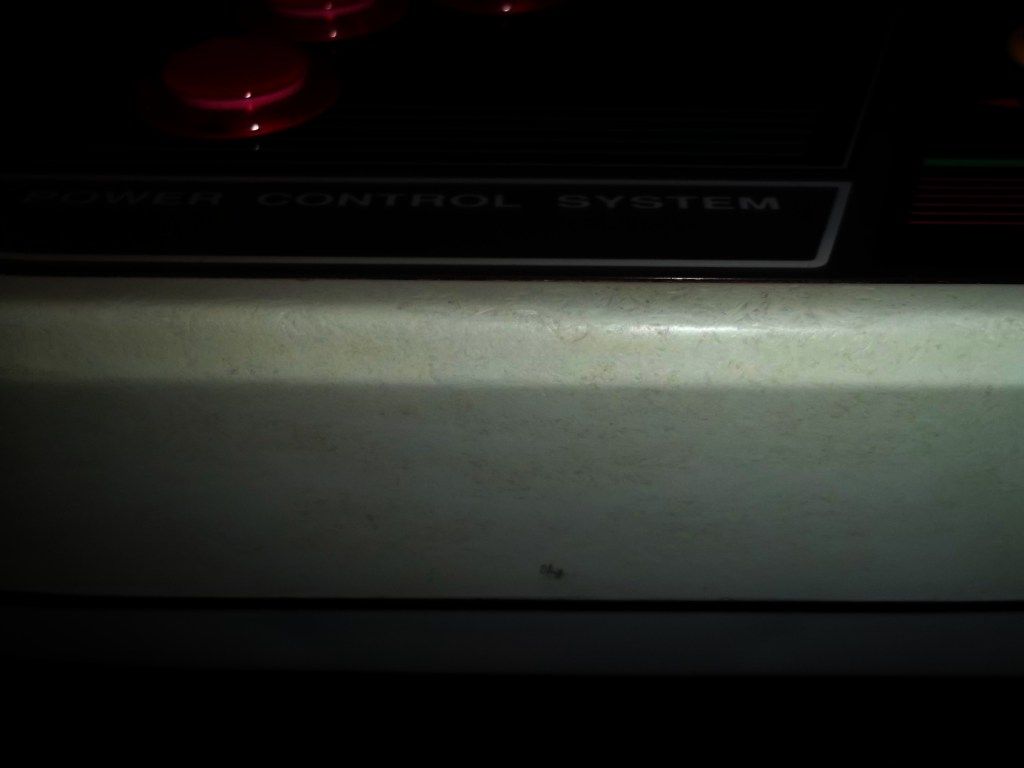
Result:
If you don't know where to look you will not find the new patch of color.
And, after you found the right spot, It just looks like another layer added on top.
I showed the result to my girl for final approval and she said, that it looks like a layer of tipp-ex. (what a destructive conclusion

)
But then on the other hand , she did not spotted the scatches in the first place. and was blown away when I showed her the before-photo

Maybe nobody cares about those scatches at all.
At least Candy cared, and she liked it alot - and thats reason enough for me to keep on.
---
I will definitly fix a lot of similar scratches on the back and sides of Candy that way.
And when my technique has been prooven to be good and I am used to it, then I will work on her front lastly.
But I will wait for T-Cut to arrive first.
ninn