crunchywasp wrote:You're welcome

That's ace that it's all working at least

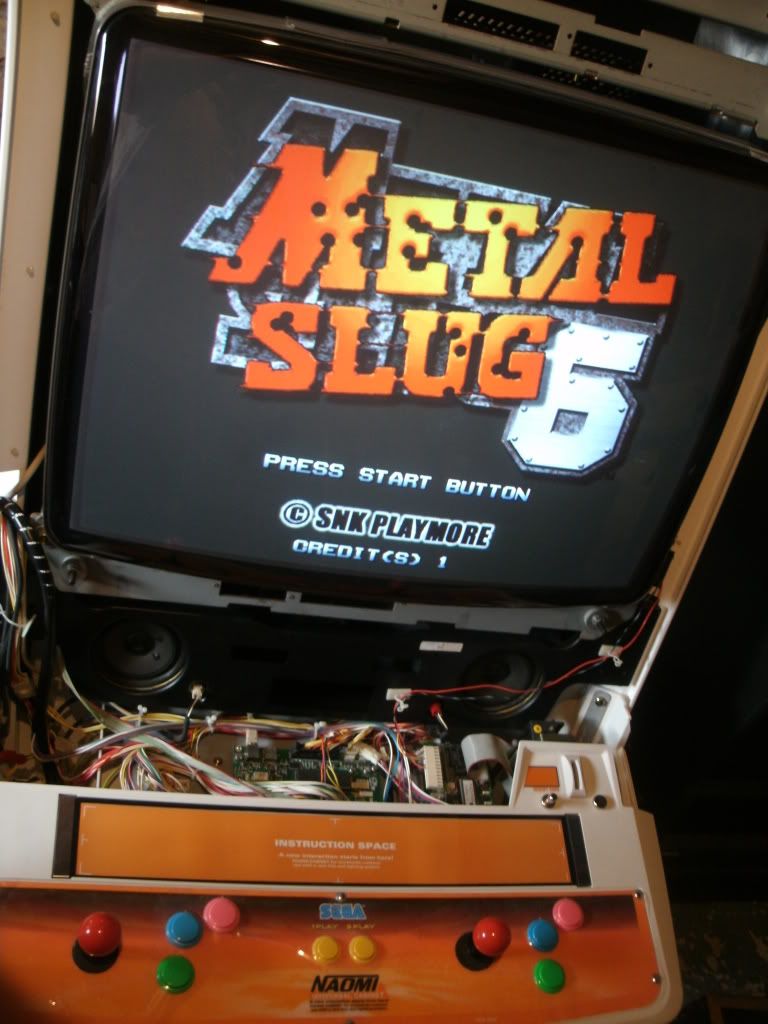
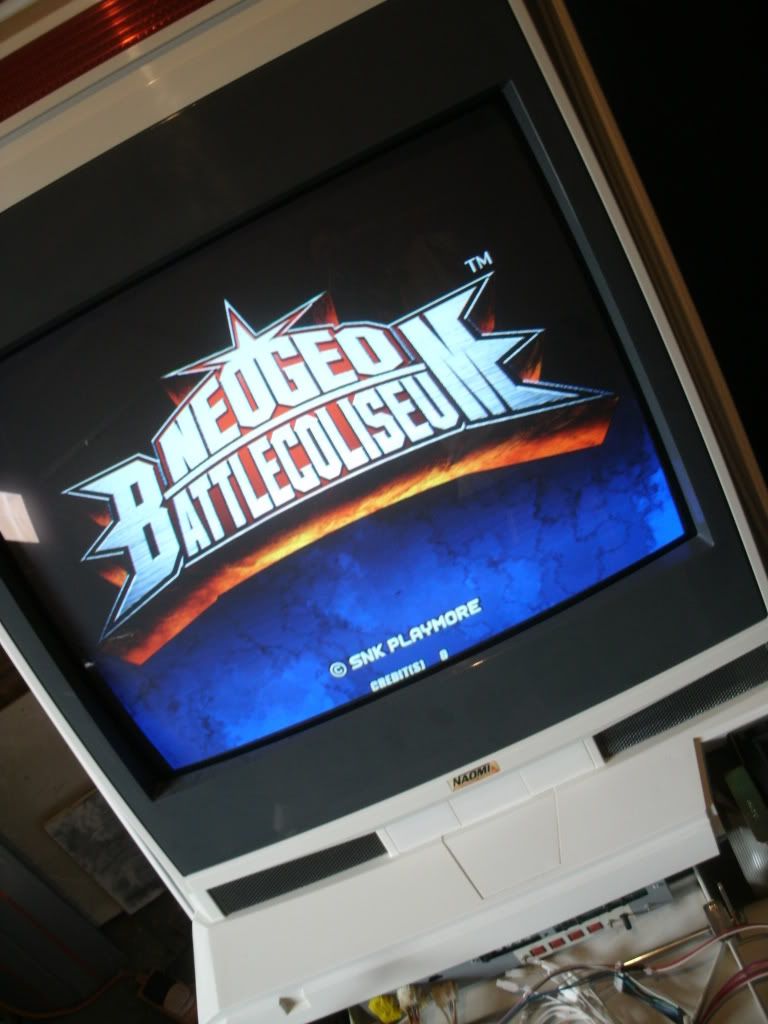
The whole BIOS thing's a bit nippy but from what I've read I think that most games are compatible with the Japanese G BIOS on that link, albeit with some Japanese text. Hopefully someone more informed'll chime in if that's not the case.
Research is half the fun
Yeah I'm well chuffed
BIOS yep like you said not 100% stright forward, I think I was just a bit unlucky with teh 2 games I have but like you say every days a school day

jase wrote:Great stuff Paulie, I'll definitely be using this info when I come to set up a GD-Rom unit in my Naomi.
No worries buddy, I hope it helps a few ppl out, crunchy was a great help to me with this set up
Fitting Franco's JVS>JAMMA loom in my cab. I must say a big thanks to IDChappy for letting me take his place on Franny's list, cheers Ian

Now thanks to FrancoB
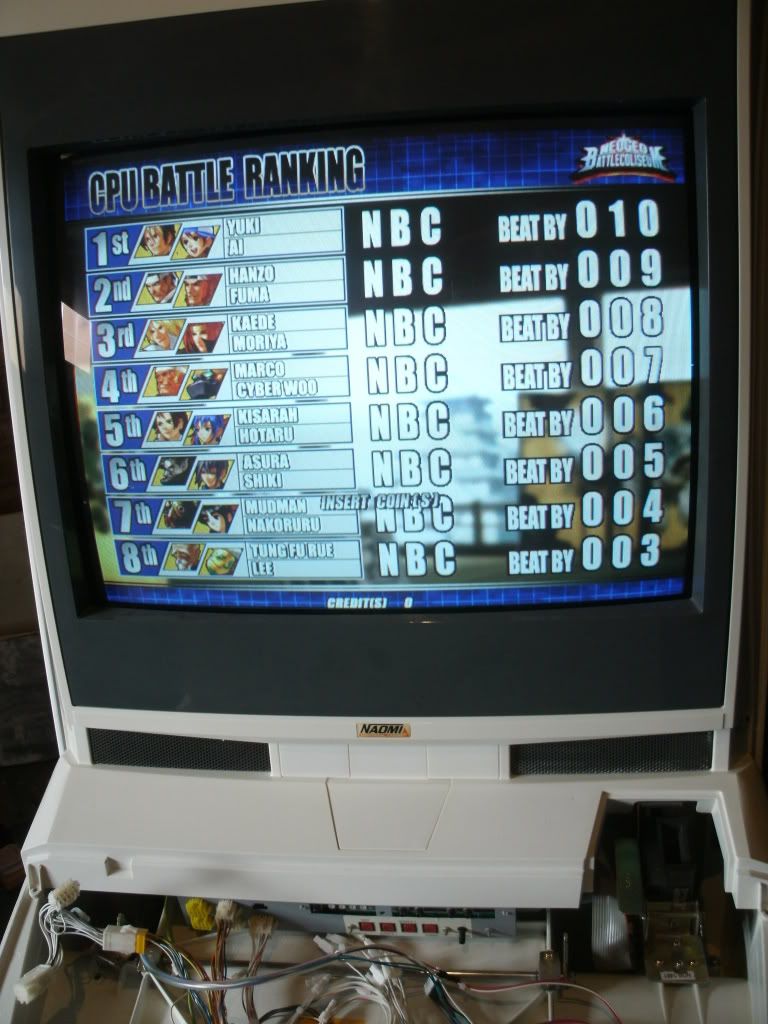
First off it's amazing, but we all know that!
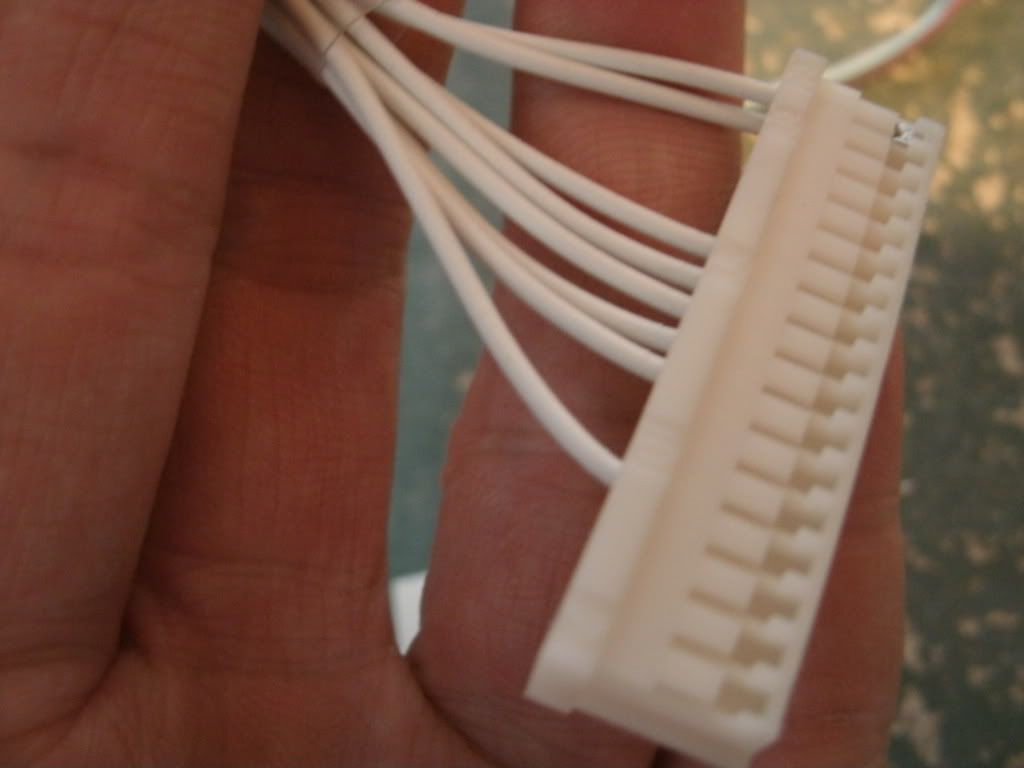
So what do you get (Franny does different options but this is my spec) and this is what do you do with all the cables and connectors.
@Frannylicious if I have any info wrong PLMK and ill change it, I'm not quite a 
yet

I only want to use this to power my Atomiswave as my monitor is a Nano 31Khz only. But I got all the trimmings just in case I put it in another cab in the future.
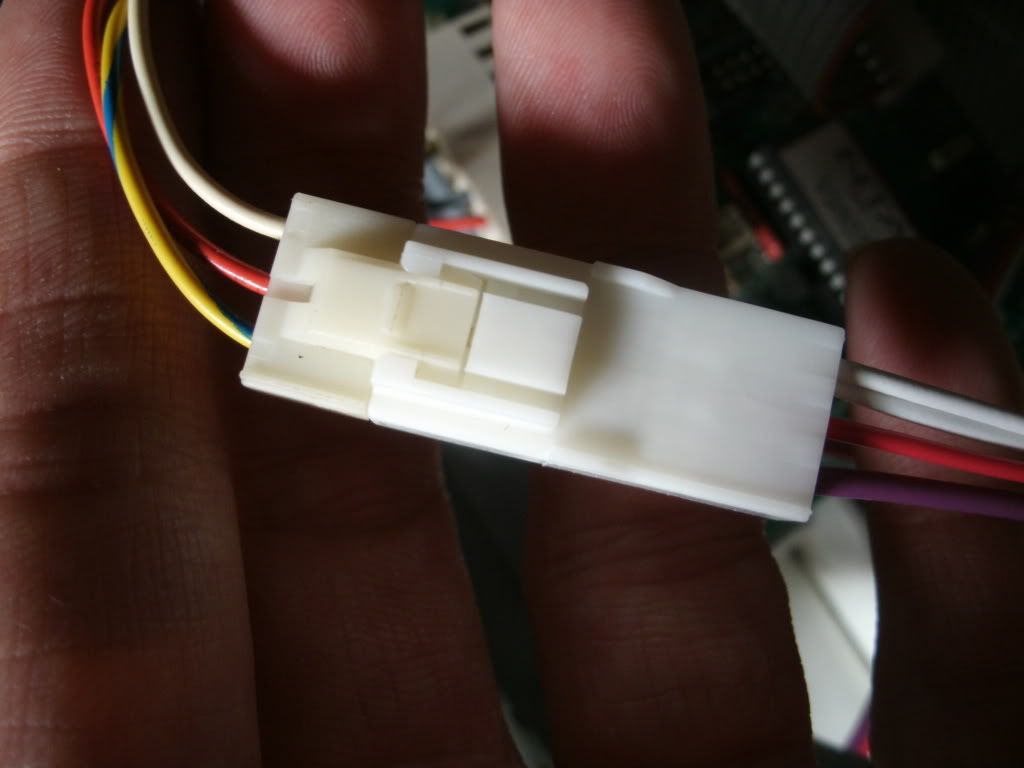
1. JAMMA edge - obviously connects to your JAMMA boards edge connector.
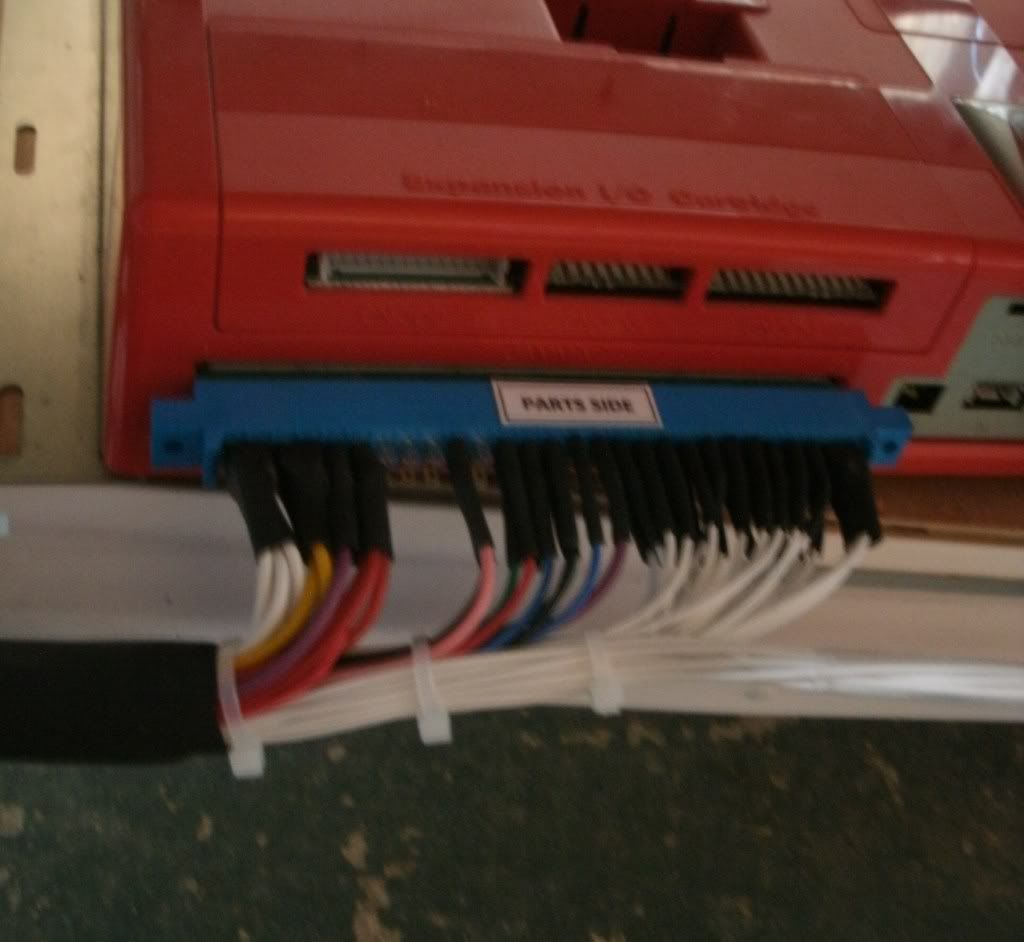
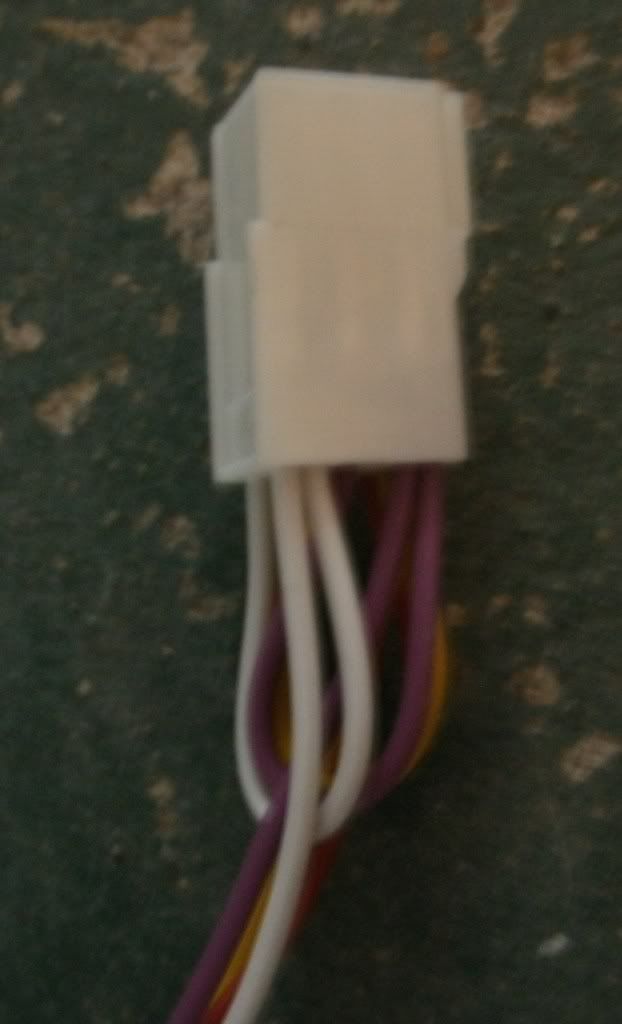
2. CPS2 Kick harness - Not using at the moment but it would provide extra button suppport for CPS2 games
3. Power - 5v, 12v and GND wired to an 8pin AMP UP for connecting to the Sun ATX PSU

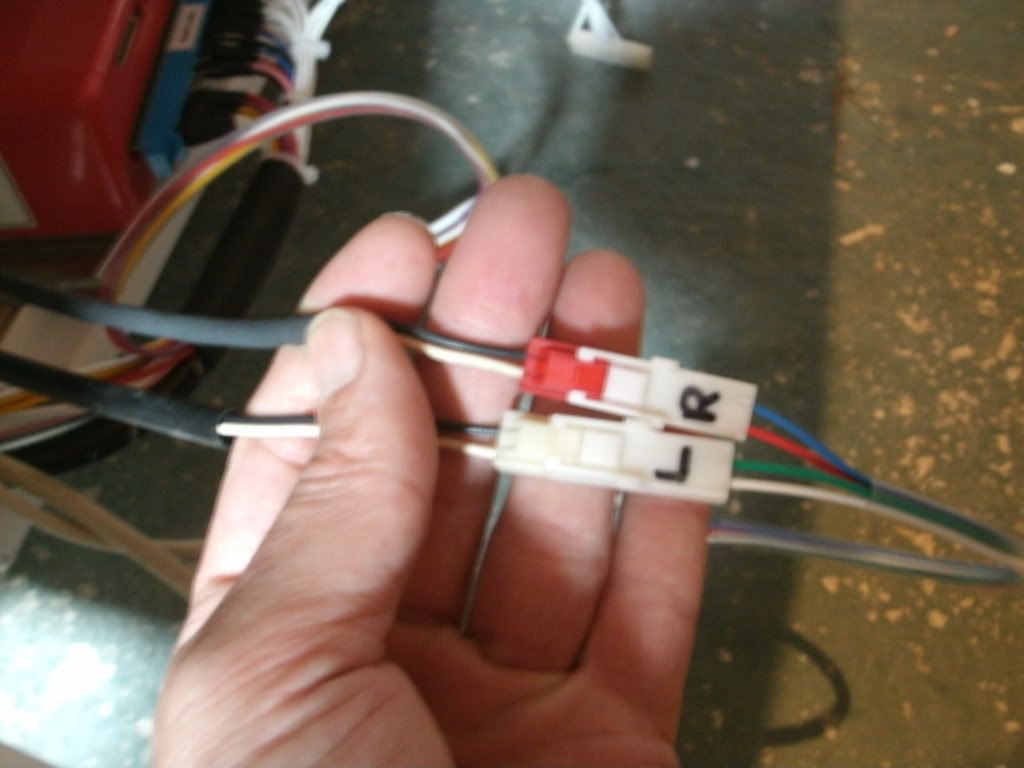
4. Audio - RCA plugs again I'm not using this
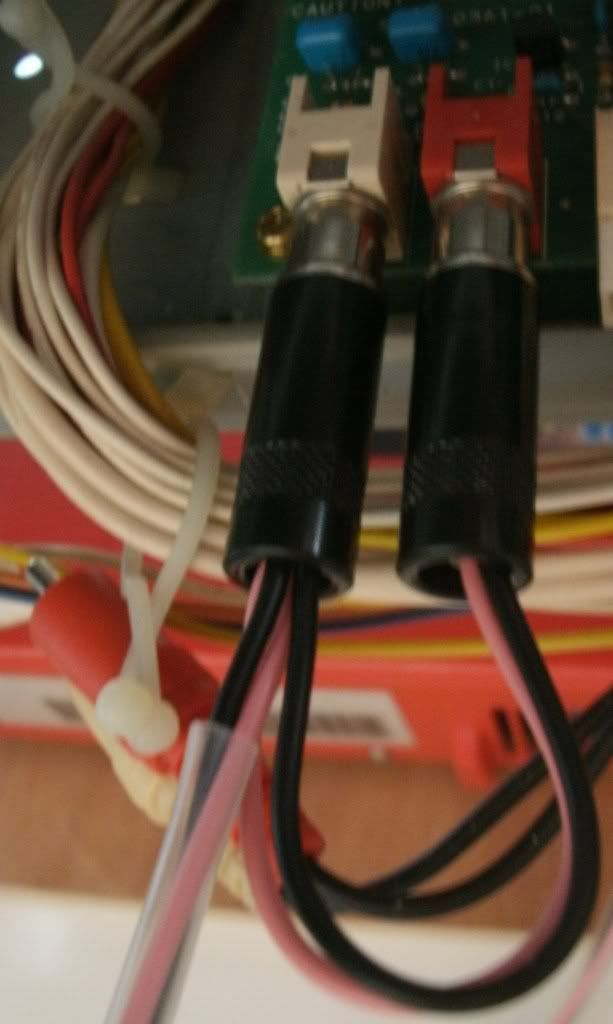
Im using this little extra loom as my sound is direct from the mobo to the R&L speaker connectors (again had crafted by F)
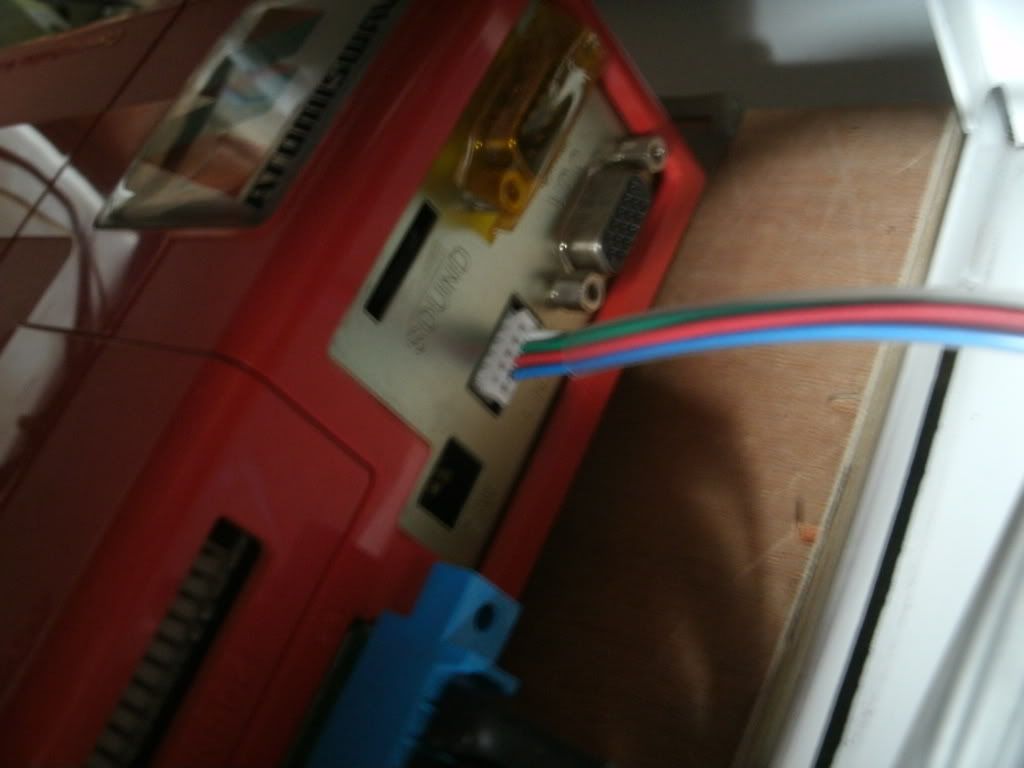
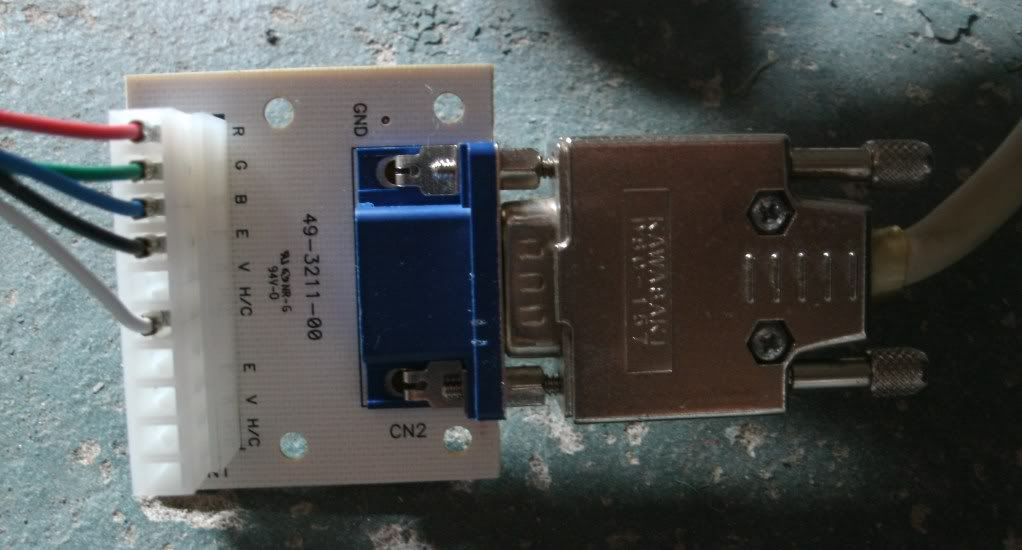
5. Video - wired to a HD15 breakout socket for VGA cable connection - I'm not using this as the Atomiswave mobo has VGA conector but I presume you just plug your VGA cable into it.
6. 9 pin amp up - it says "This is connected to -5v, 5v, 12v and GND. I added this as a kind of voltage IO port. Adding this means that you could easily add a negatron for -5v support. It also provides a 5v/12v source for things like a VGA scaler etc. I doubled up some of the inputs so that some voltmeters I am working on could also be added. obviously I'm not using this but I presume this gives me the option scaler which I may try due to having a 31khz only monitor so I may look into that.
7. Control AMP UPs. - this is for all your sticks and buttons
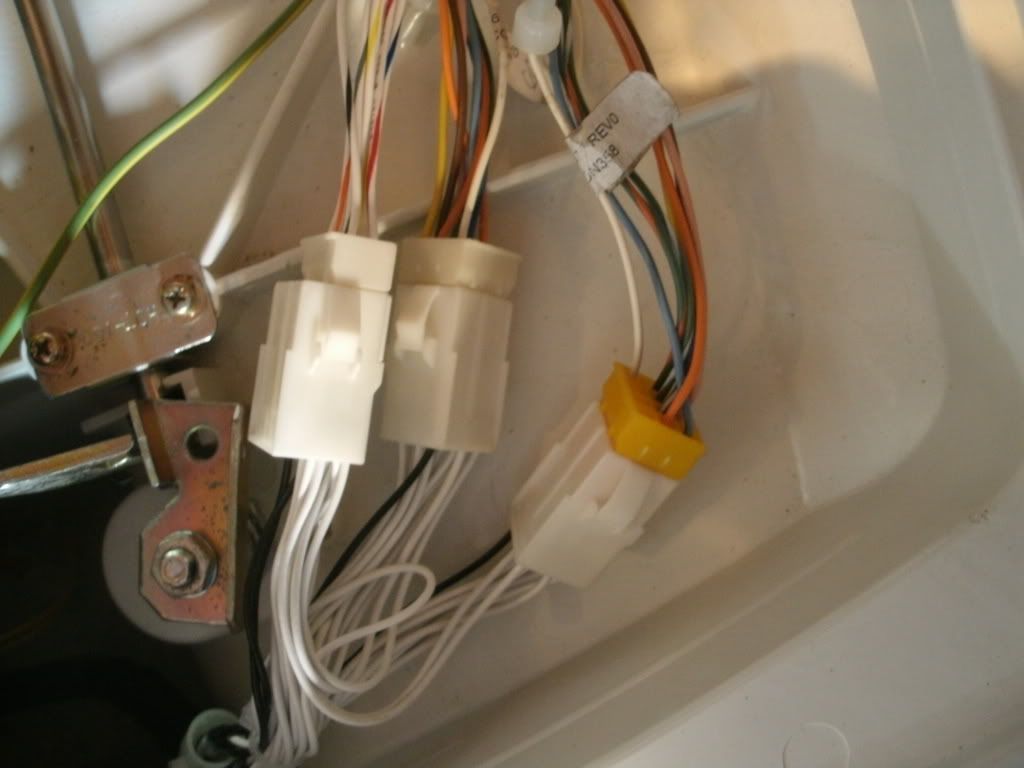
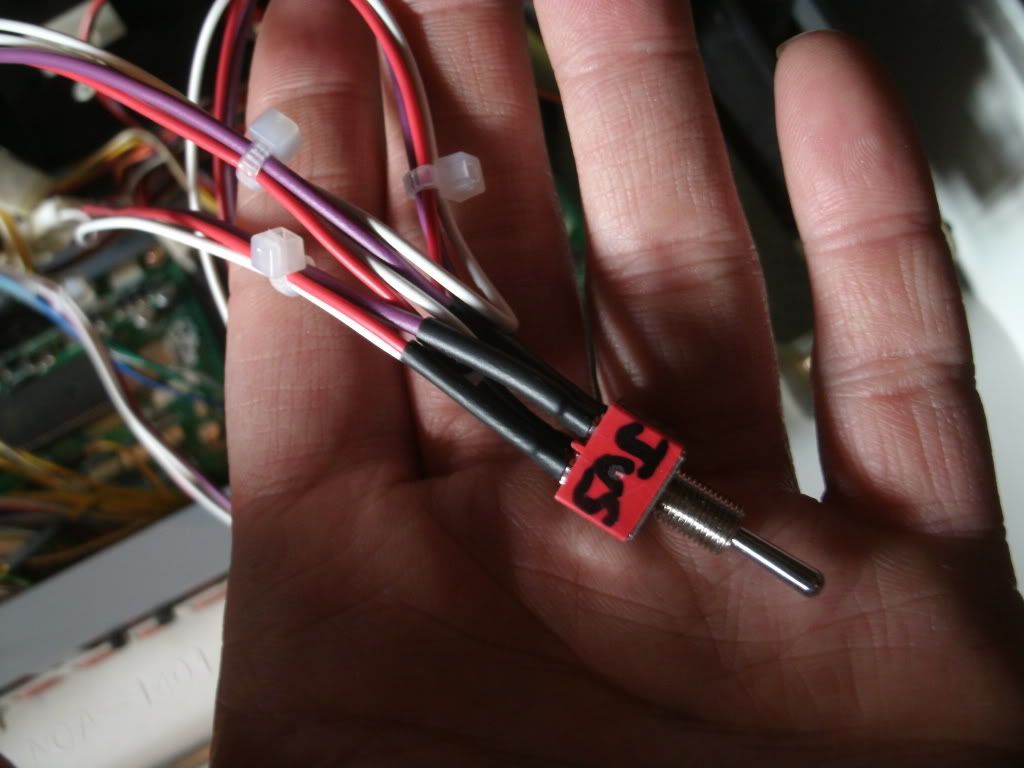
8. Coin Service Test - Coin input wired to a three pin amp up to connect to the output from a credit board Service and test wired to a piggy back JST NH housing and toggle switch to allow the JVS controls to remain plugged in as well as the JAMMA controls.

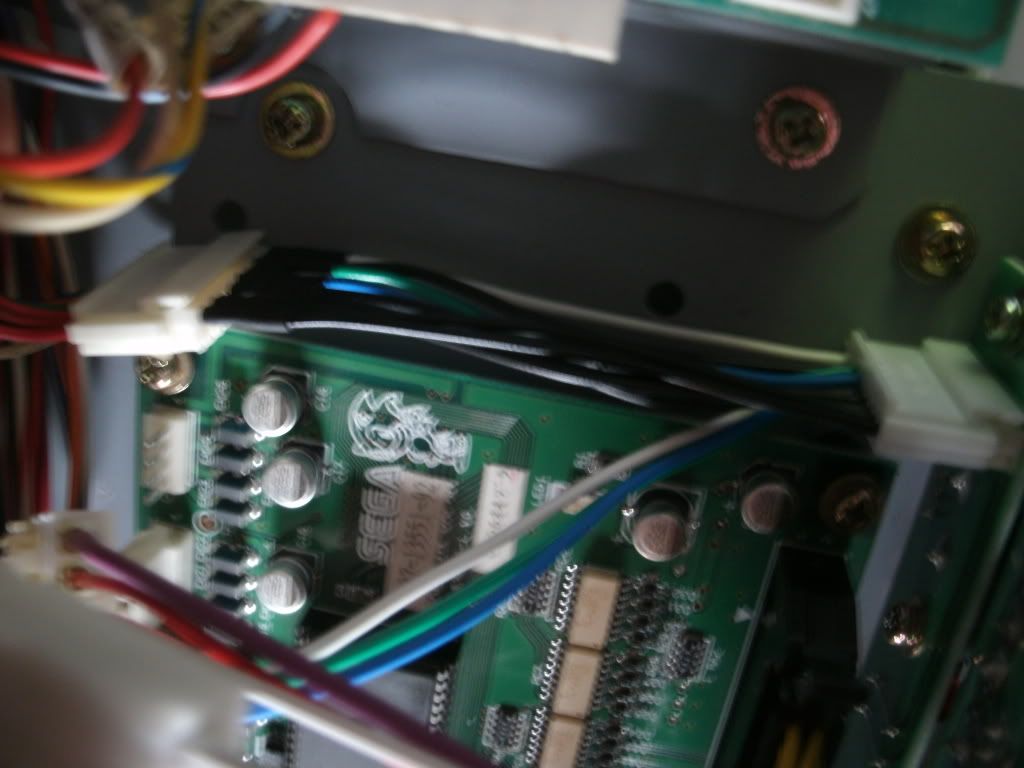
And when you have connected all the up you get this