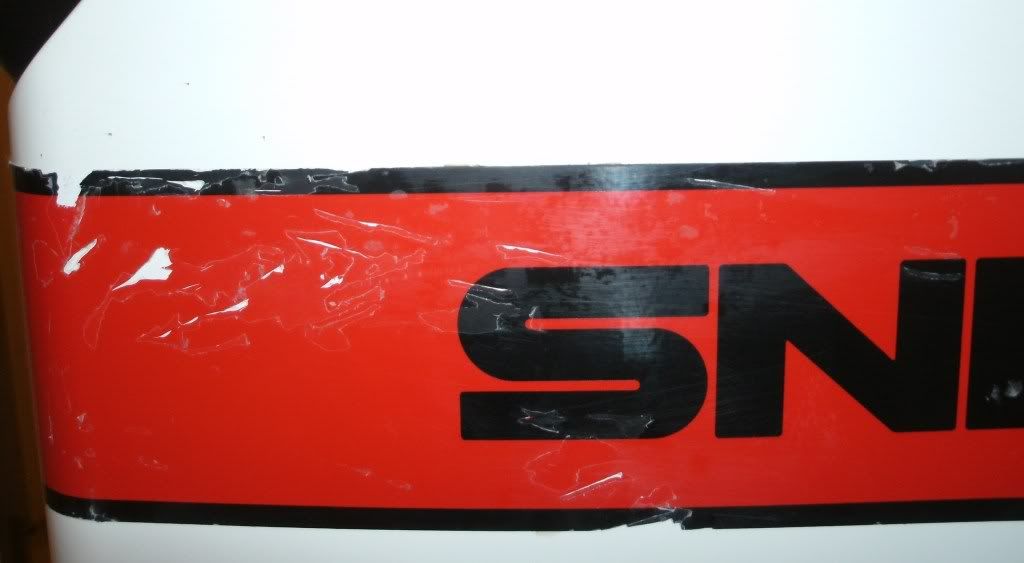
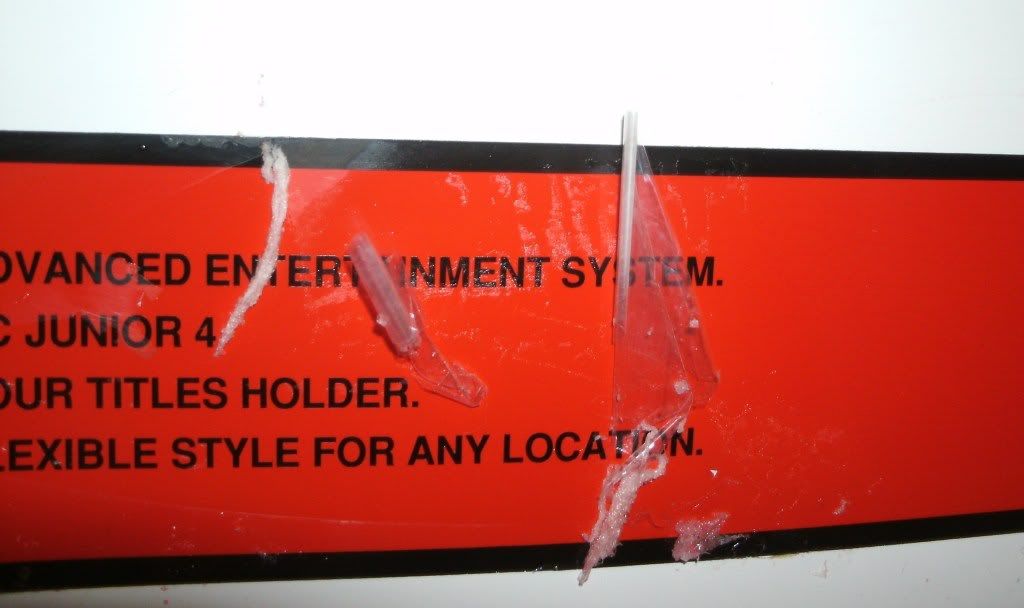
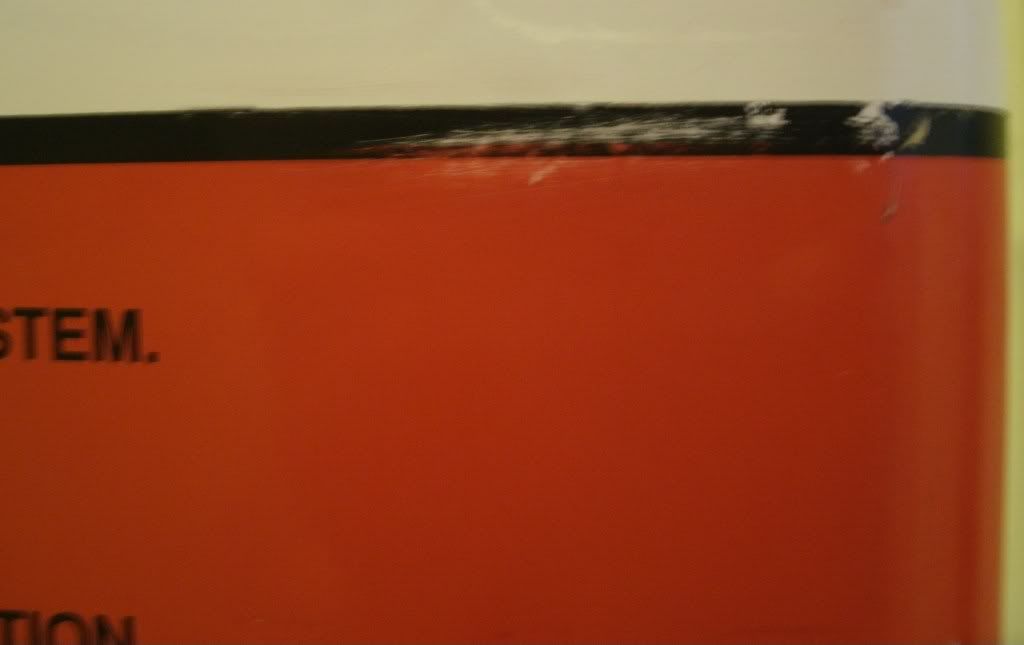
I have restored the LHS art. Overall the art on this side was very good, just a couple of little scratches and one fairly large scrape a couple of inches in length. It was covered in a thin clear film which was pretty scratched up and scratched off in a few areas and peeling in one area. I carefully peeled off the film and removed the residue using white spirit to soften the adhesive and then carefully ran a credit card at an angle along the length to remove the junk then cleaned it all with soapy water. I touched up the damaged areas with Rust-oleum painters touch Cherry Red and Plasti-kote gloss black fast drying enamel, both are very good off the shelf colour matches.
I have some self adhesive clear film (the stuff you used to back school books with) which I will cut to size and apply over the art when the paint has hardened.
LHS art before restoration
LHS art before restoration (Close up)
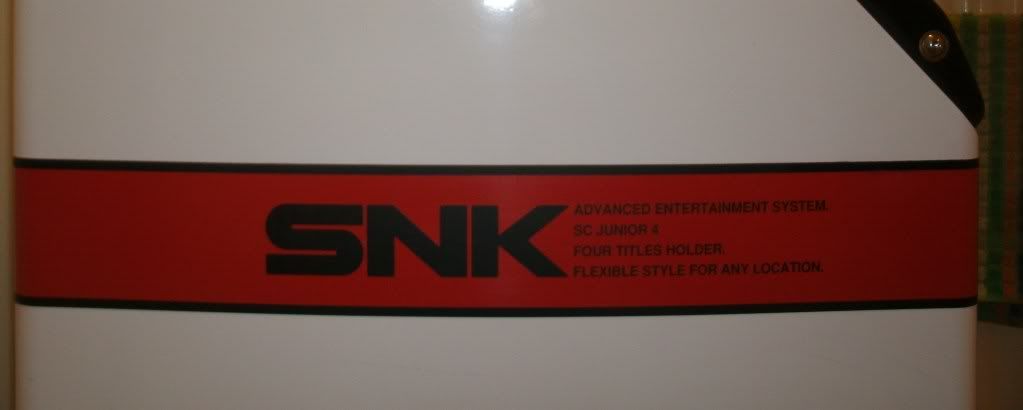
LHS art after restoration
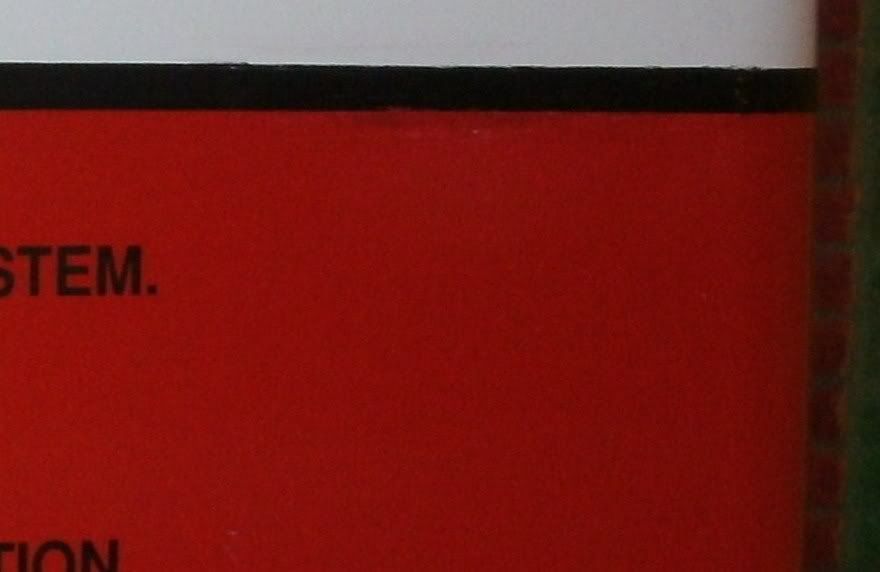
LHS art after restoration (Close up)
Tomorrow I will probably tackle the RHS art which is much worse so will probably take much longer.