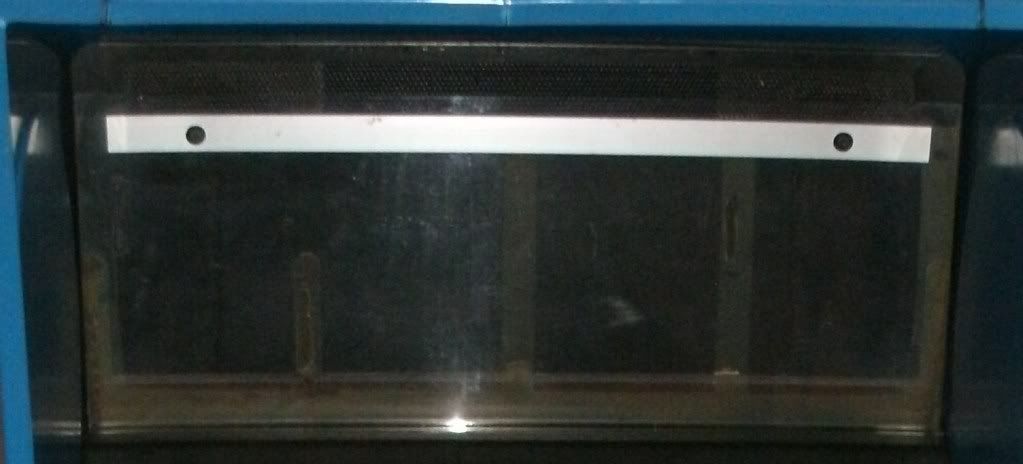
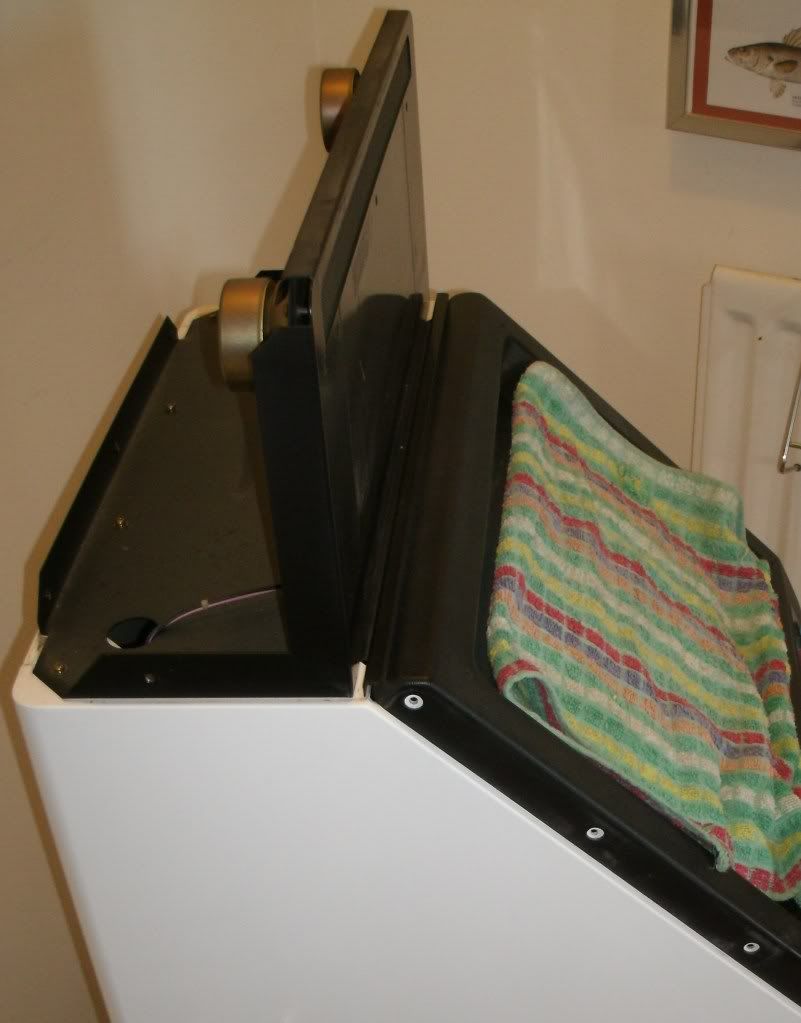
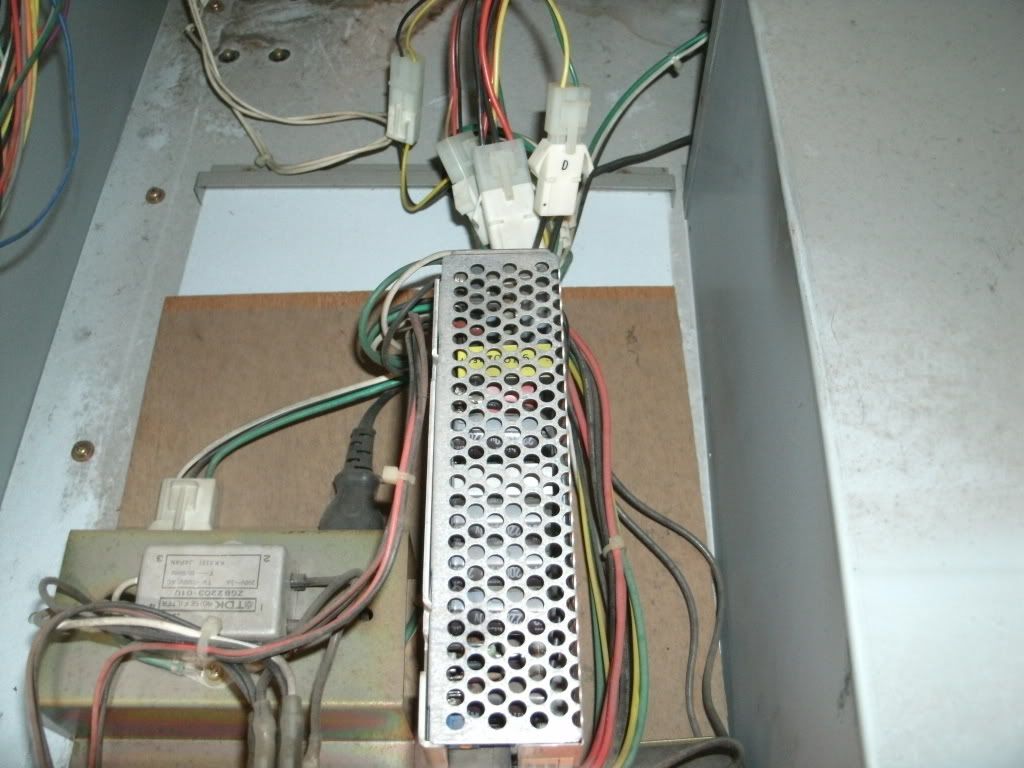
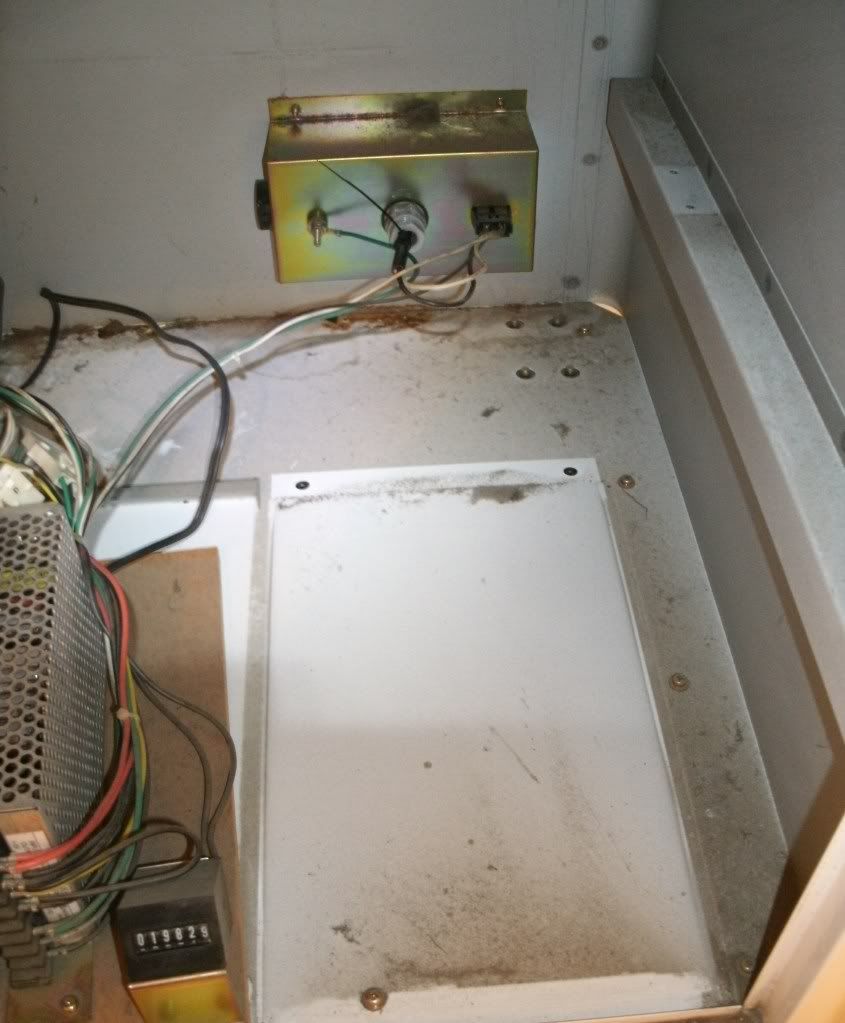
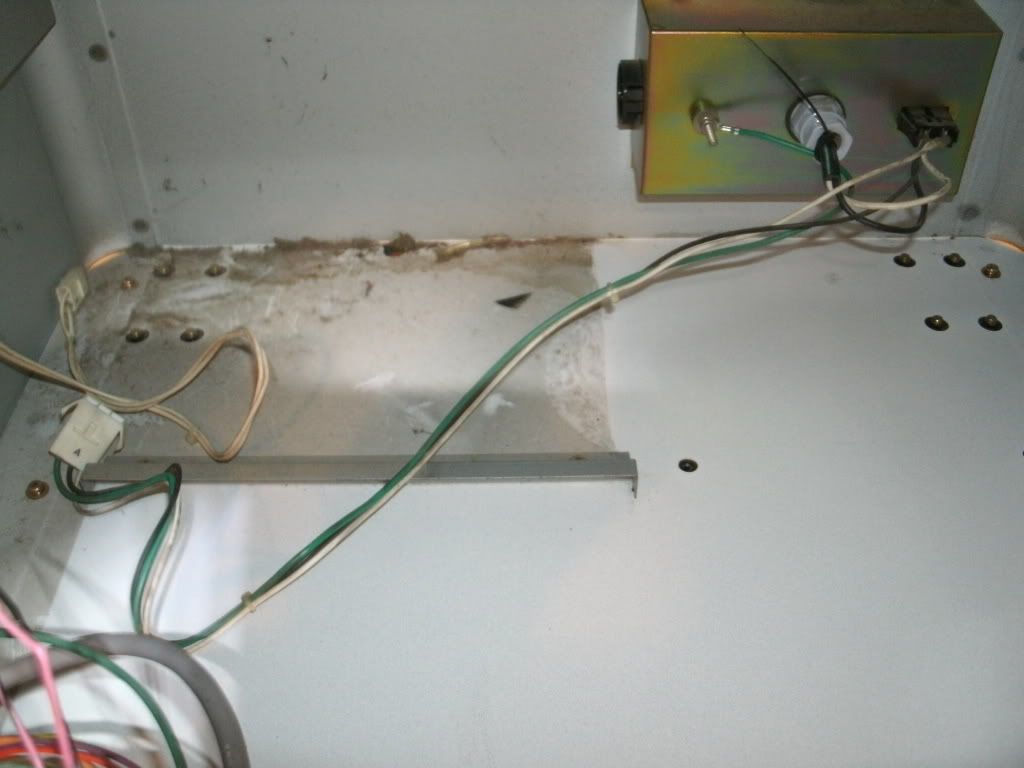
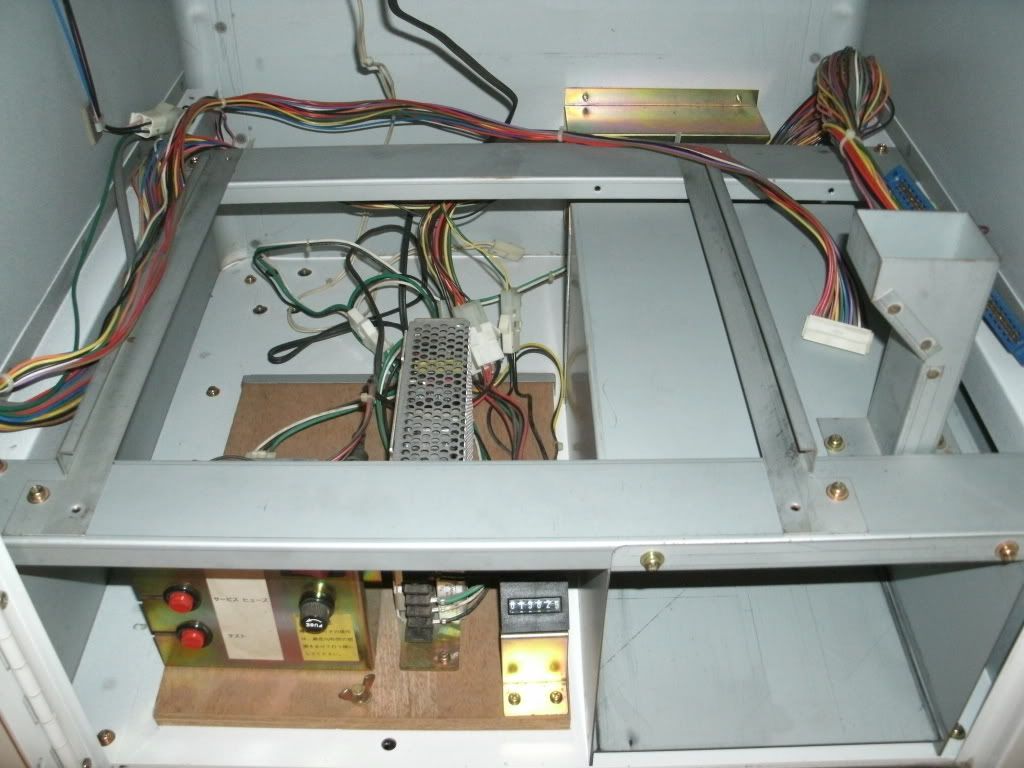
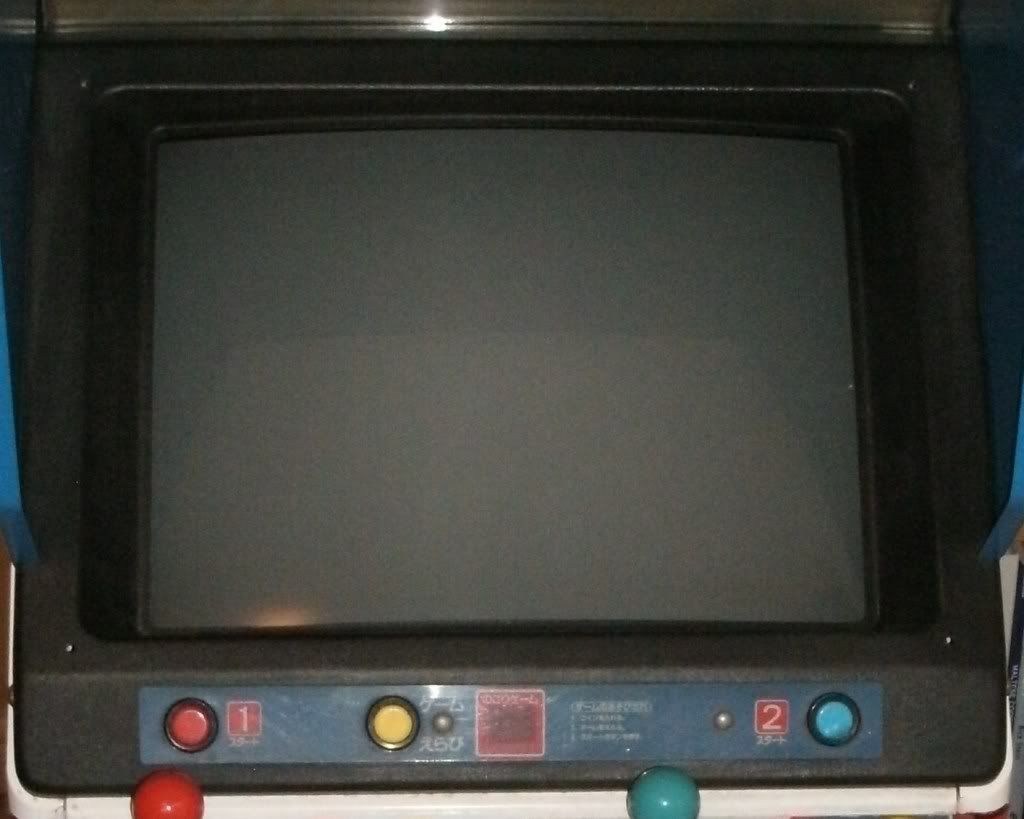
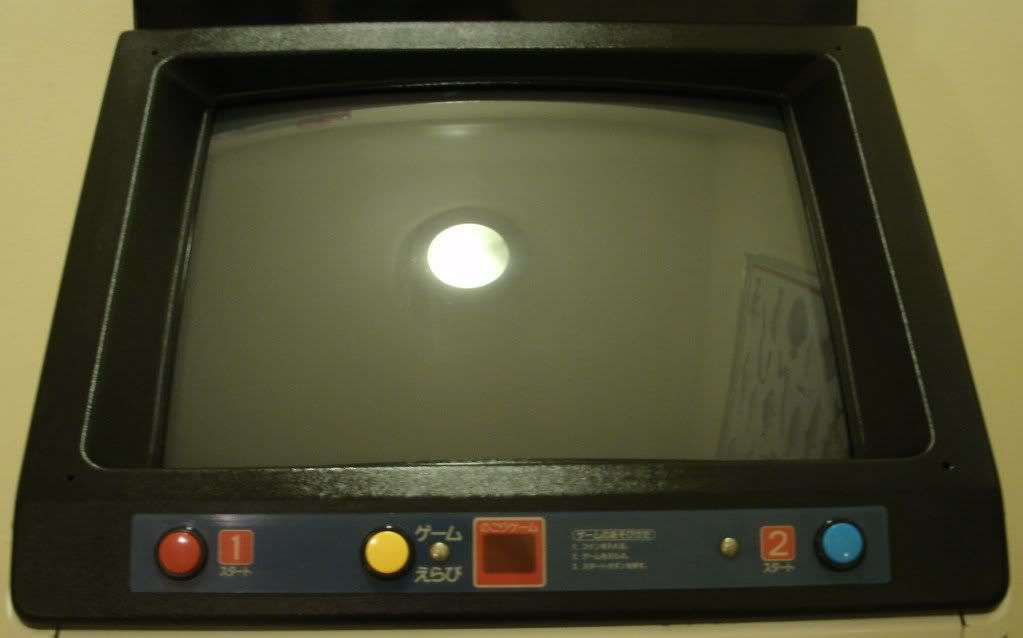
Heres what it looked like on arrival


My 10 (EDIT now 12) jobs to do:
1. Give the metal shell a really good clean both inside and out, I'm going to T-cut it and polish it all up so it should be pretty shiny when I've done.
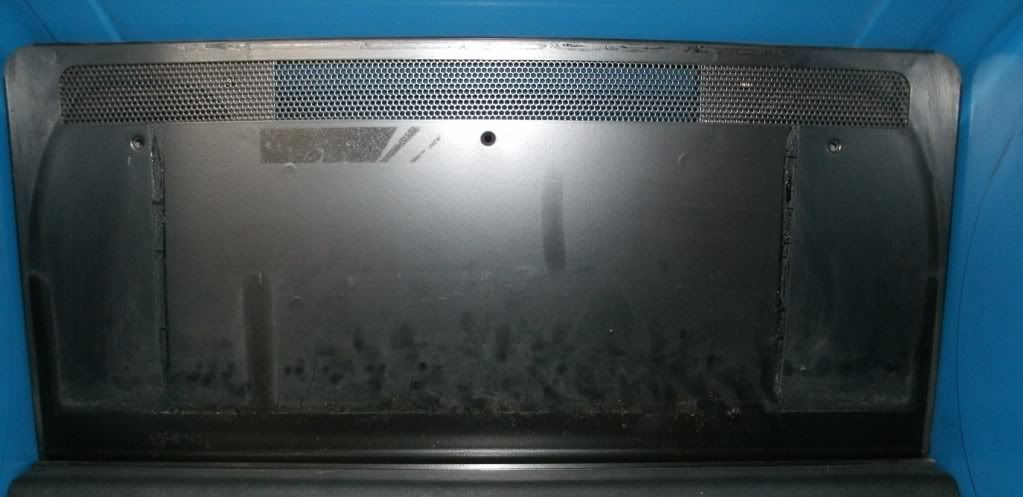
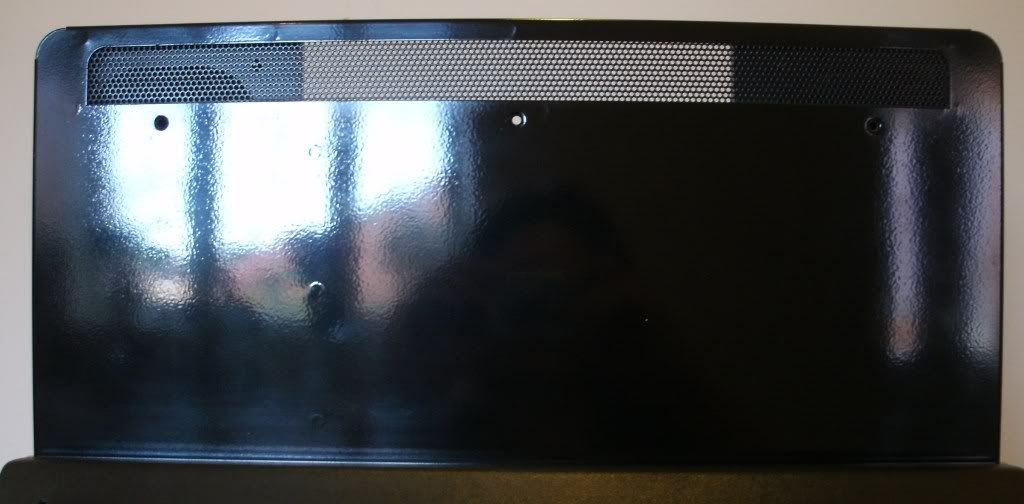
2. Polish the hood (I have not used Novus before, but from what I have read thats what I need, unless anyone can recommend anything else)
3. Re-spray the coin box as the paint on the front is a well worn and looks scruffy.
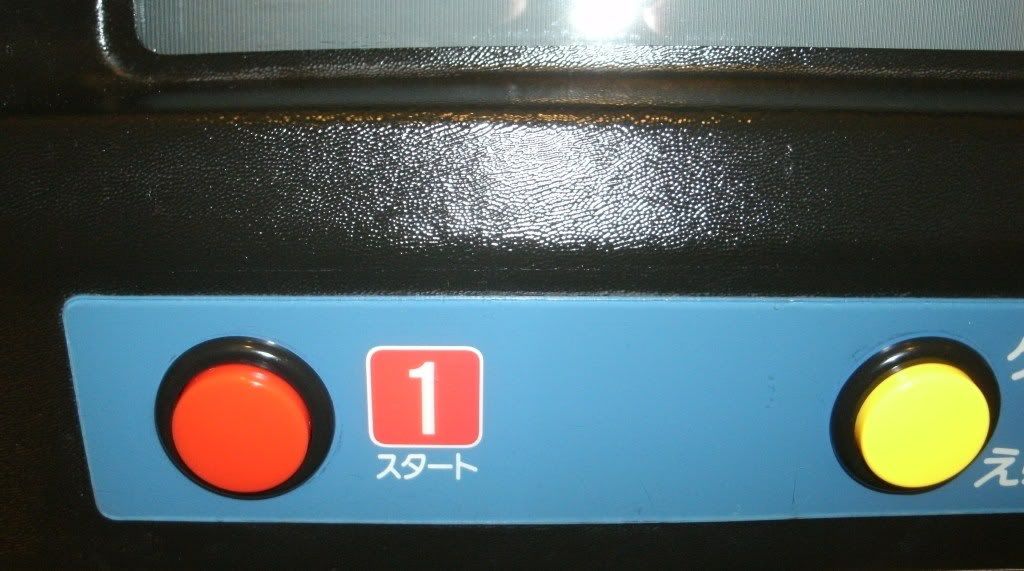
4. The control panel needs a lot of attention (by far the worst bit of my cab) the left hand side plastic edge has a bit broken off and the whole thing in general is very tired and it's not sitting correctly maybe because it's a bit loose. The red metal front needs respraying, I think I might be able to keep the CP art as it's original and it's not too bad (famous last words) so I may be able to work with that, if I can't then a repro will be in order. BTW how do you take the CP off/ access it??? I've not had a really good look yet but there are screws, (5 I think) on the inside of the front directly behind the CP also theres a spring and some kind of catch or little lever?? there are also 2 screws on each side that attach the white front to the sides of the cab so does that need to come off too to gain acess???
5. Replace all the buttons.
6. Clean up the sicks and I need a new blue ball top as it has a crack in it.
7. Look at the side art, it looks pretty bad in places but I think it has a clear film over the art that's all scraped but the actual art I think I can work with thats if I can get that clear film off, if not then it's a repro job I know Rossyra has done an excellent job of providing the files on wiki.
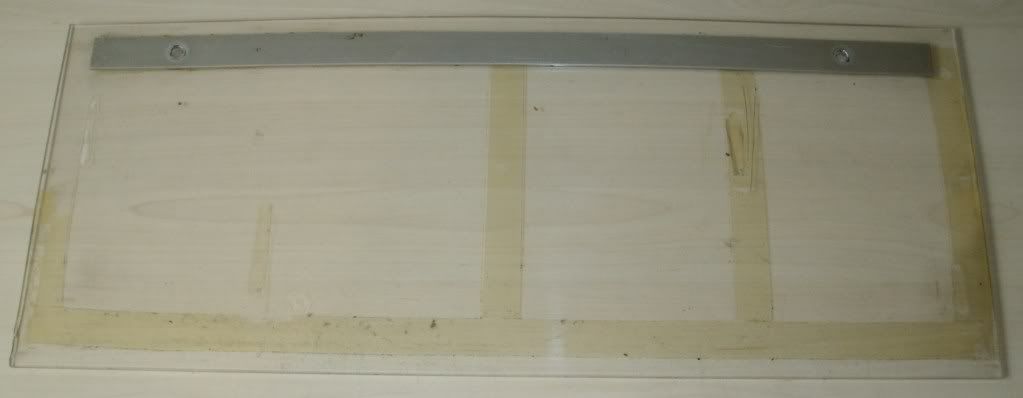
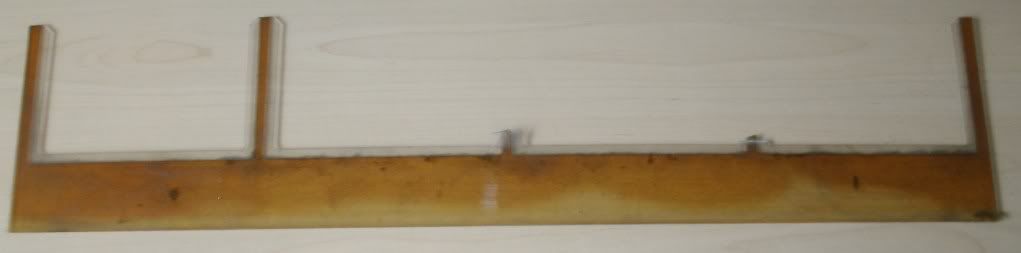
8. Get a repro plexi (it's missing on my cab) hopefully I can buy one from Franco.
9. Get a repro marquee or if a miricle happens then an original (I don't think its an original on my cab and it's completly knackerd anyway).
10. Re-spray the base.
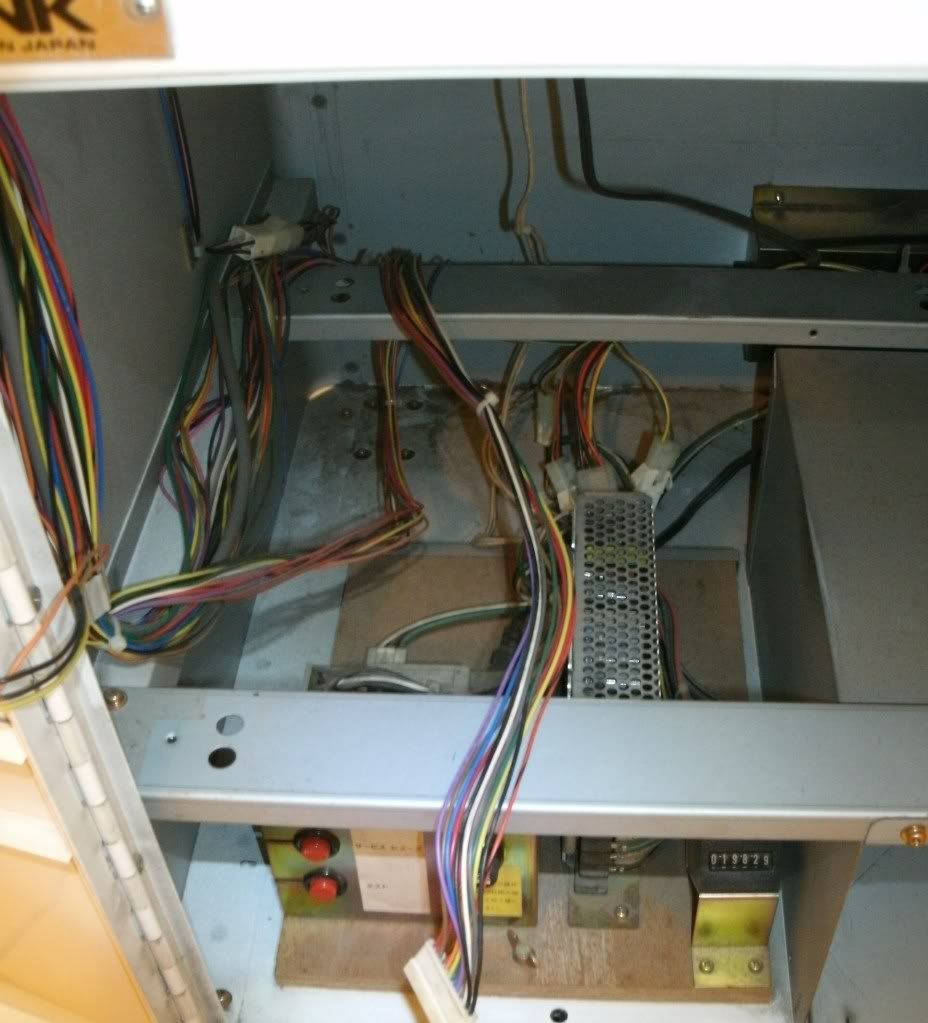
11. Change the Two slot mobo for a four slot.
12. Not a job but I only have 2x 100 Yen coins so I would like to buy some more.
If any one has any spare bits left over from your SC19 cabs or can point me in the right direction with anything or you have any tips then please let me know.
One final thing who else has one of these cabs or have owned one in the past.
I will update the thread as and when I do the jobs