Guide:
I have this done for a while now but without the DPDTs, they arrived yesterday so I finished it off and took a few photos in case it helps anyone else.
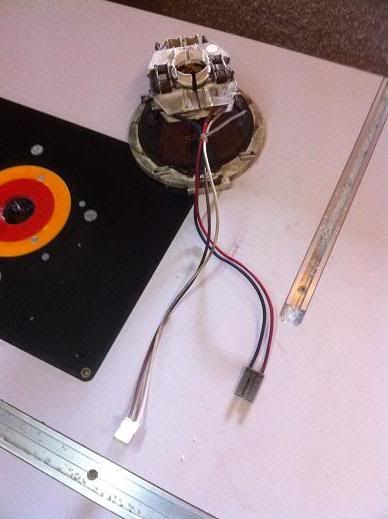
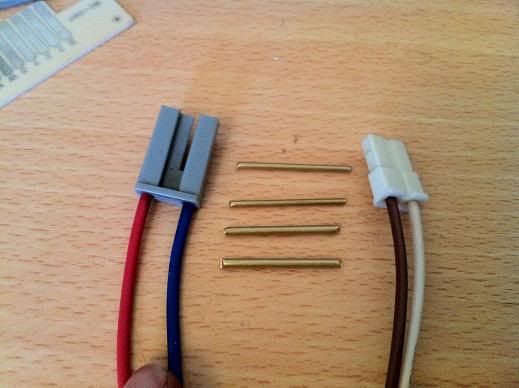
Okay, these are the yoke connectors from the MS9. The idea is to wire a loom in so not to butcher the original wiring.
To make the loom we need some male and female connectors to wire the loom in line with the orginal yoke wires. I stripped the chassis and yoke off of a 29E31S I was dumped a while ago and so I stole the female yoke connectors from that.
To make the male connector I found some copper electrodes from an elecrtical discharge machine that fit the yoke connectors nicely. The diameters of the electrodes are 1.6mm and 3.2mm.
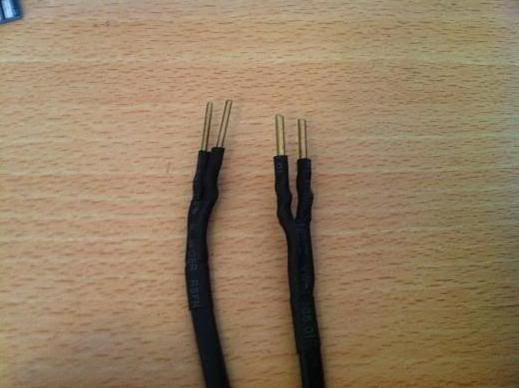
I cut the electrodes down to size and soldered them onto some cable:
If anyone needs some of the electrode to make their own loom let me know and I will send you some.
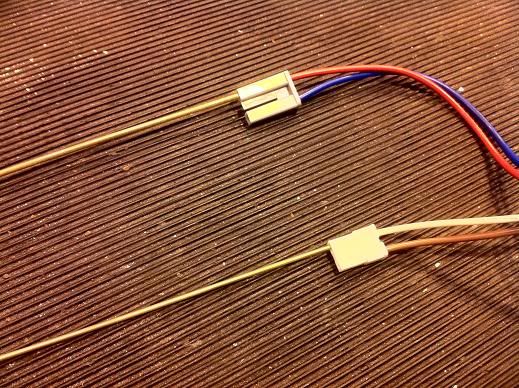
I also soldered some extension wires onto the female yoke connectors that I took from the 29E31S.
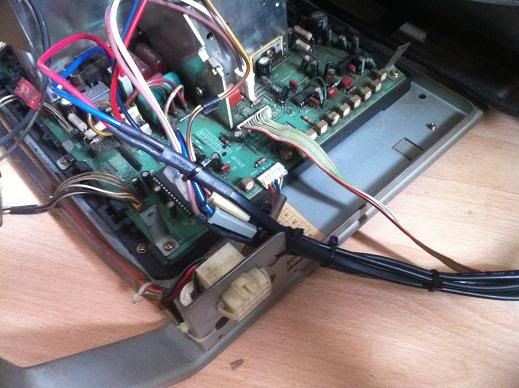
The new cables then plugged into the Nanao yoke connectors and onto the chassis:

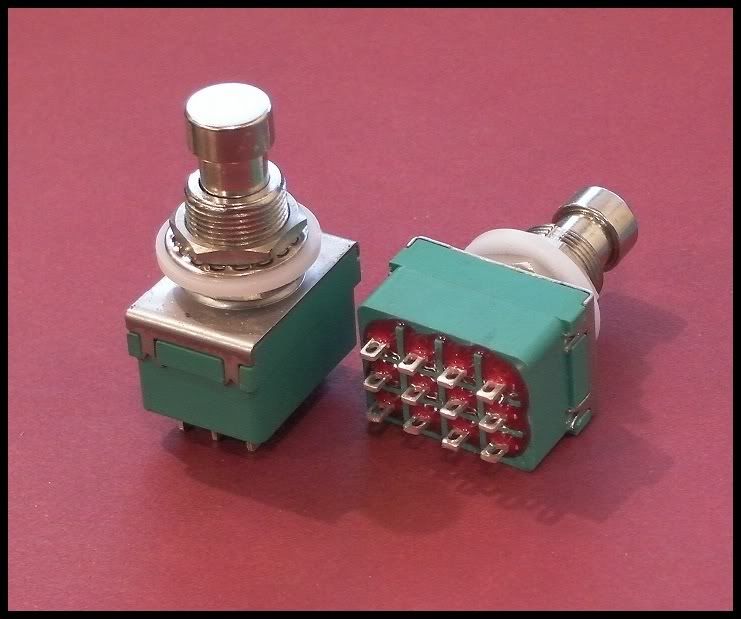
For switches, I used some DPDT 16A rocker switches from Maplins.

The item number is GU54J and they are £1.89 each. You need two, one for each set of yoke wires.
You should then have two sets of wires going to the switches with four wires in each set. Make sure you keep the correct wires together, dont mix up the horizontal and vertical yoke wires!
To wire the switches, crimp some 6.35mm female spade connectors on the end. You need to add a extra set of connectors to one pair of the wires.
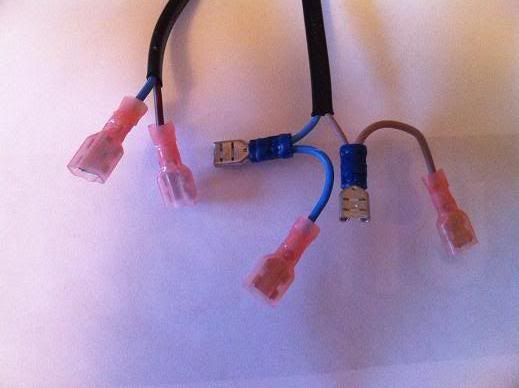
I used insulated crimps for the single wires, I didn't have any insulated crimps for larger gauge wires so I used a non insulated blue crimp and then insulated it with some heat shrink after taking that photo.
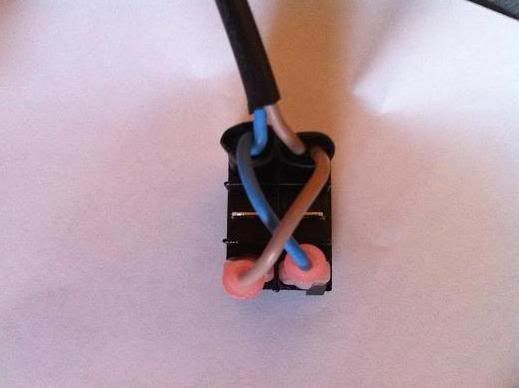
Then you just need to connect the crimps to the switches. There are two rows of three terminals on a DPDT switch, each row acts a SPDT switch. The centre terminals are common and the outer terminals are the two switched positions.
Connect the wires with the added connectors to one side of the switch and then criss cross the wires over the switch and connect them to the other side:
You can then add the remaining wires the the common centre terminals:
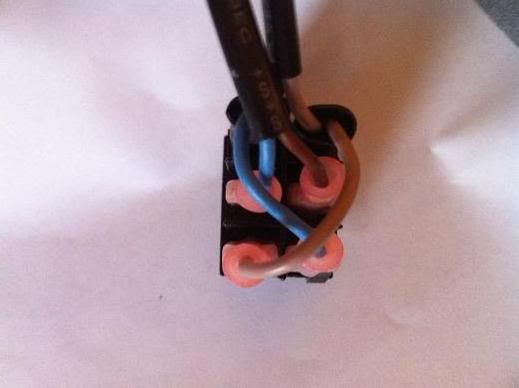
It doesn't matter which way round you connect these wires as long as you don't mix up the horizontal and vertical sets.
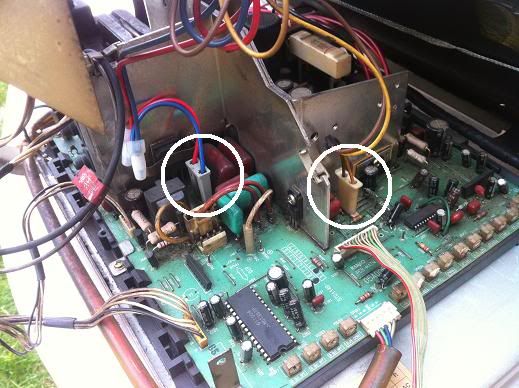
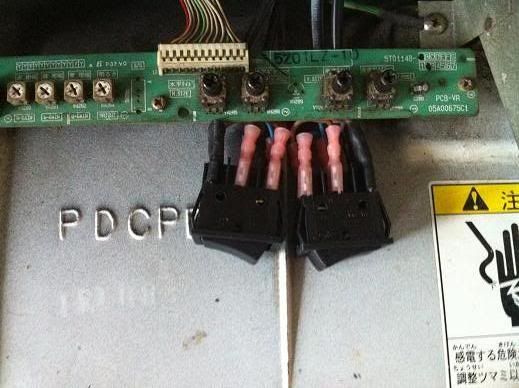
Repeat for the other side and you should be done. As everything is fully insulated you don't need to put them in a box or anything, I just put mine in the CP near the monitor remote board.
If you can't be bothered to wire up the DPDT switches you can just use some male/female bullet connectors etc. This is how I had it set up whilst I was waiting for the DPSTs to arrive.
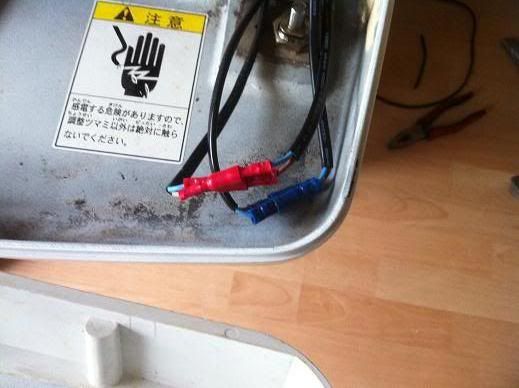
To flip the yoke all you need to do is swap the connectors of the same colour round. I used different colour crimps so that I wouldn't mix the wires up.