Sega Naomi restoration WIP - Updated Sept 2015

Show off your wares.
Post Reply
User avatar
Paulie
Opens wallet, moths fly out
Posts: 2599
Joined: September 28th, 2011, 5:43 pm
Location: East Ardsley, West Yorks
eBay: retro-paulie
Initials: PSG

Sega Naomi restoration WIP - Updated Sept 2015

Post by Paulie »

I bought a Sega Naomi Universal Cab from Mo (Videotronics) yesterday. I was really fortunate as Mo is only 15 minutes down the road from me. He is a really nice bloke and showed me the 2 Naomi's he had and within 30 minutes of us meeting I had chose the cab I wanted and the deal had been done.

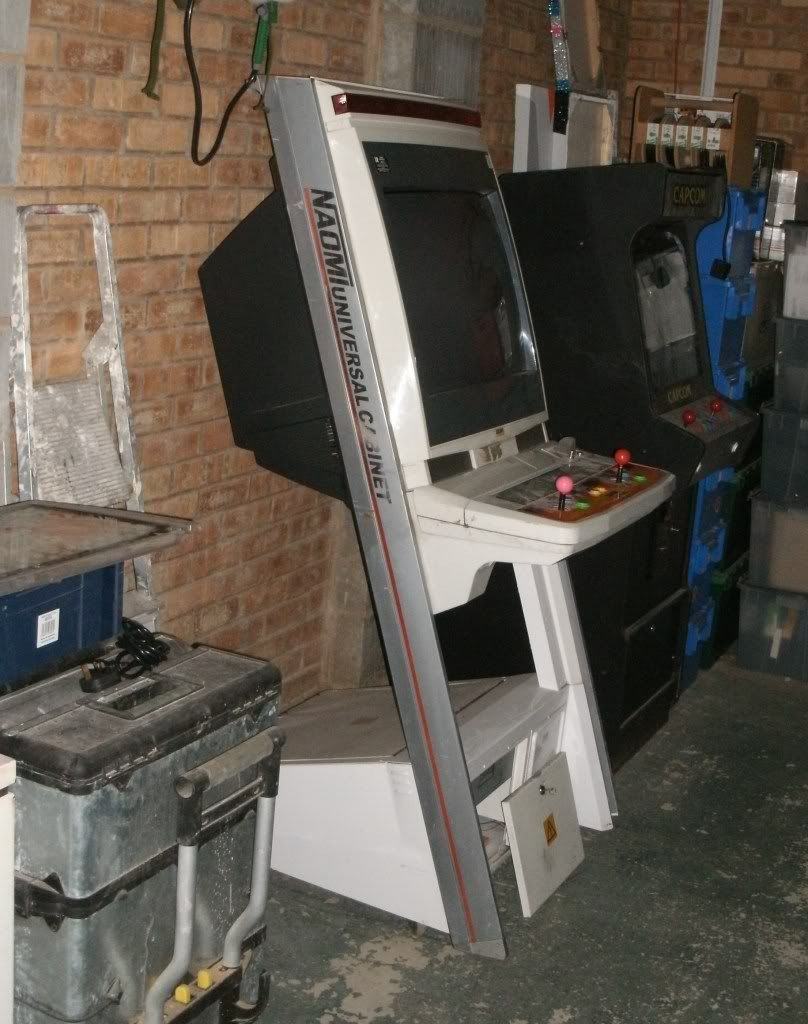
It's exactly the kind of cab I had been looking for, for my next project i.e. there's plenty of jobs to do so it will keep me out of trouble but it's not so bad that it's overwhelming.

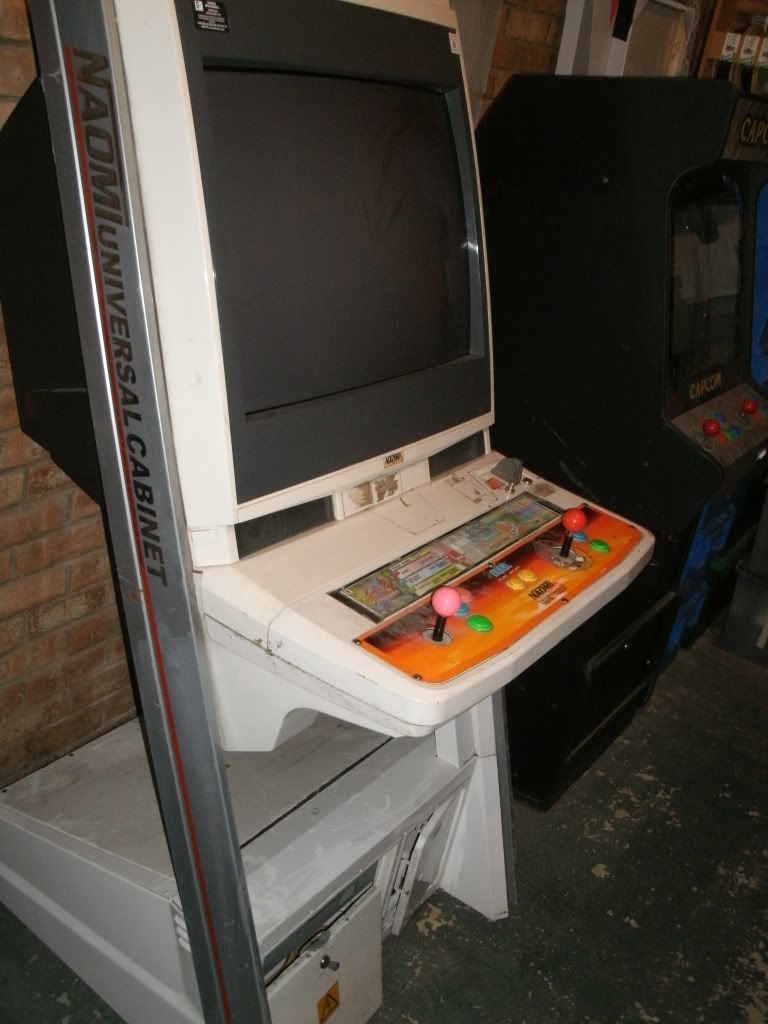
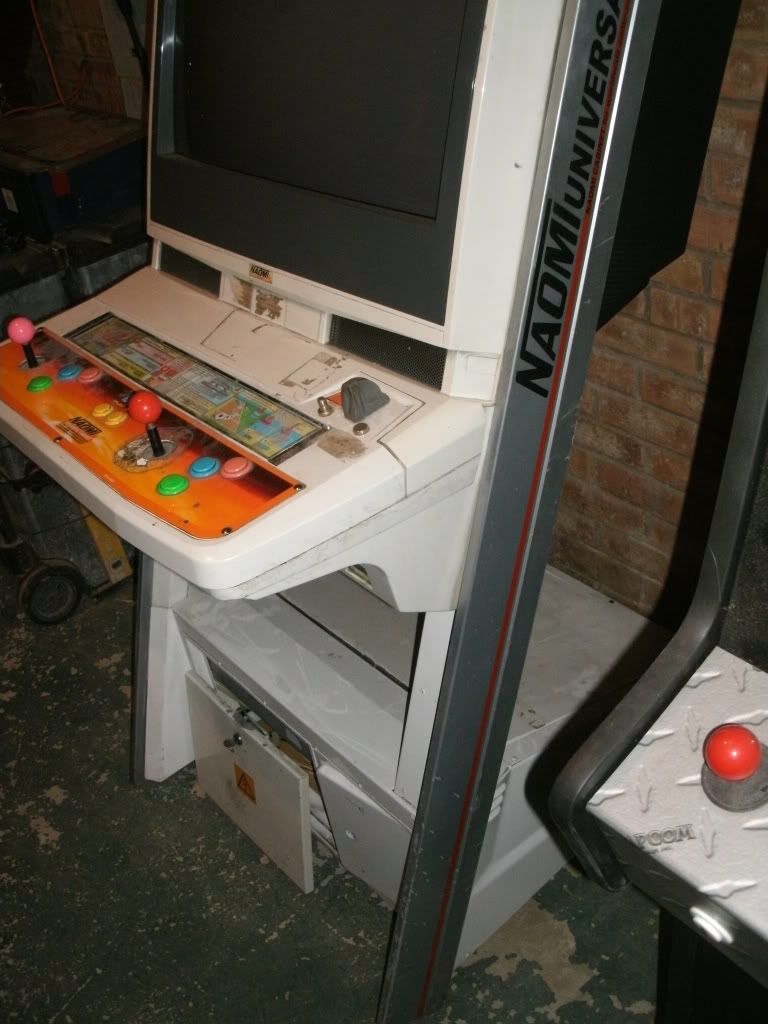
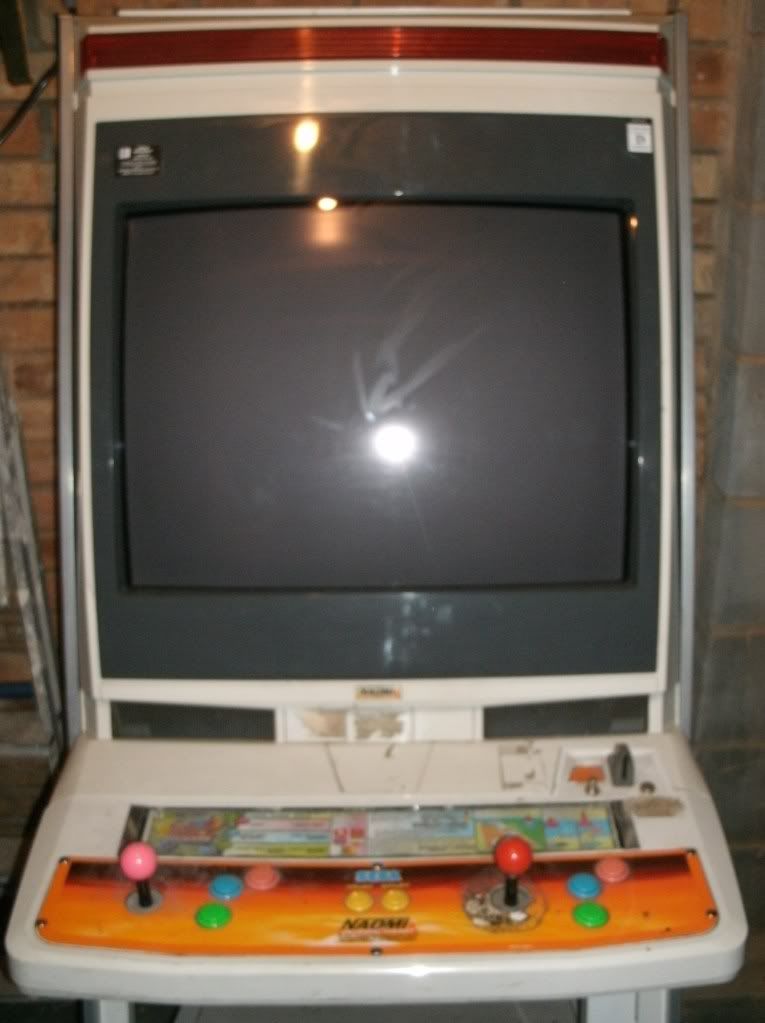
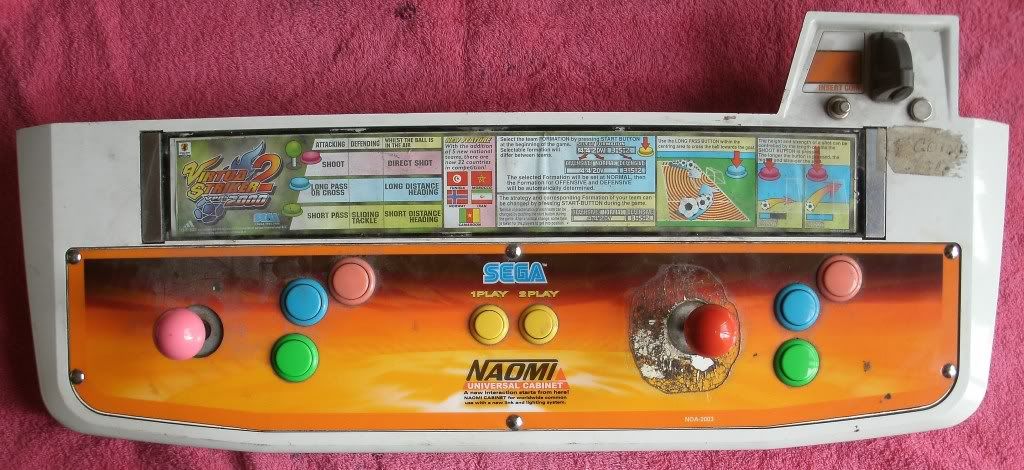
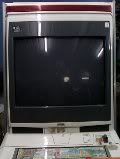
It's in full working order and crucially the monitor looked really nice. But it's been on site so it has a few minor parts that are missing (leg hoof's etc.) it's pretty grotty and she's had a bit of abuse over the years but that's all going to change now that she's mine.

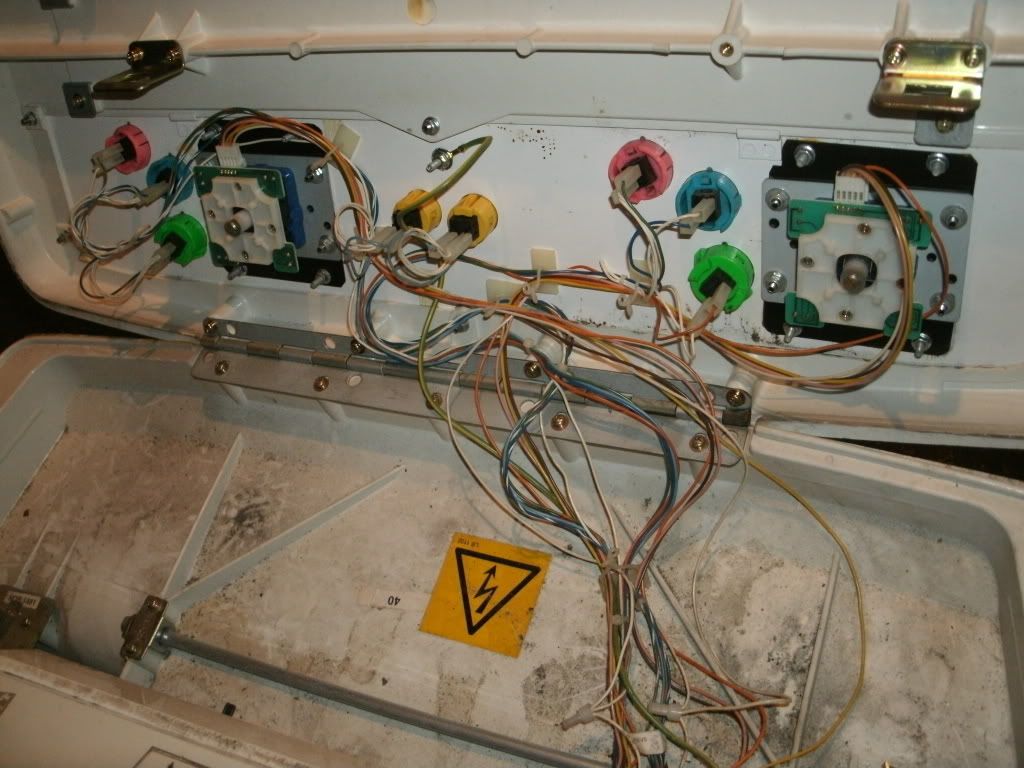
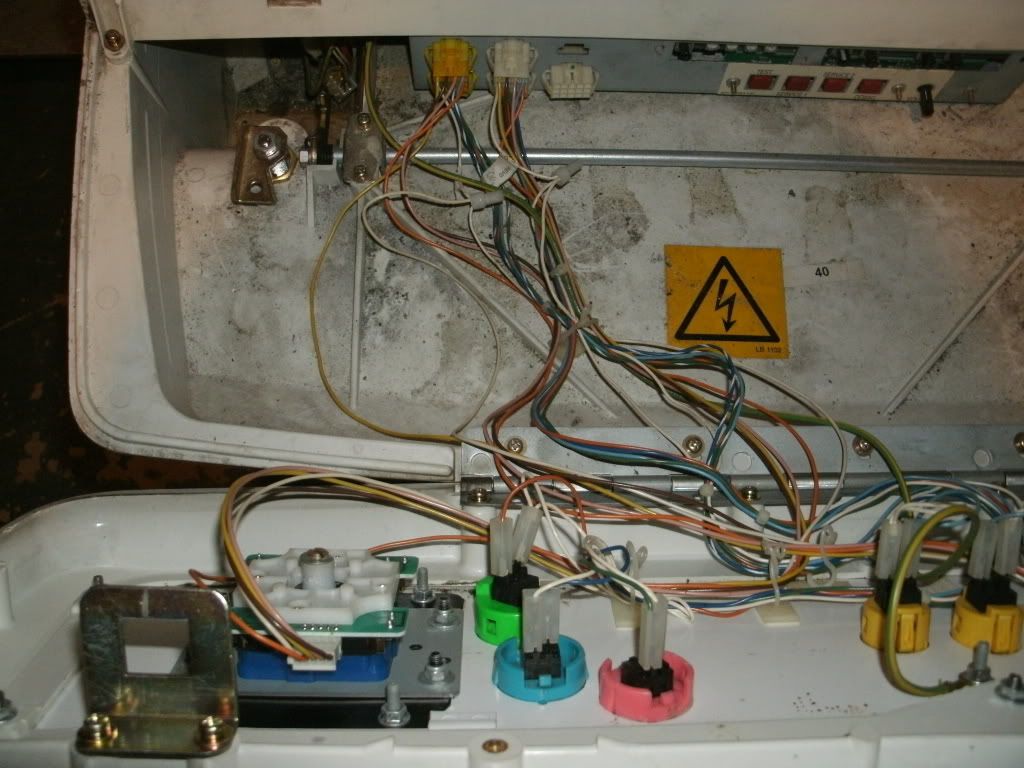
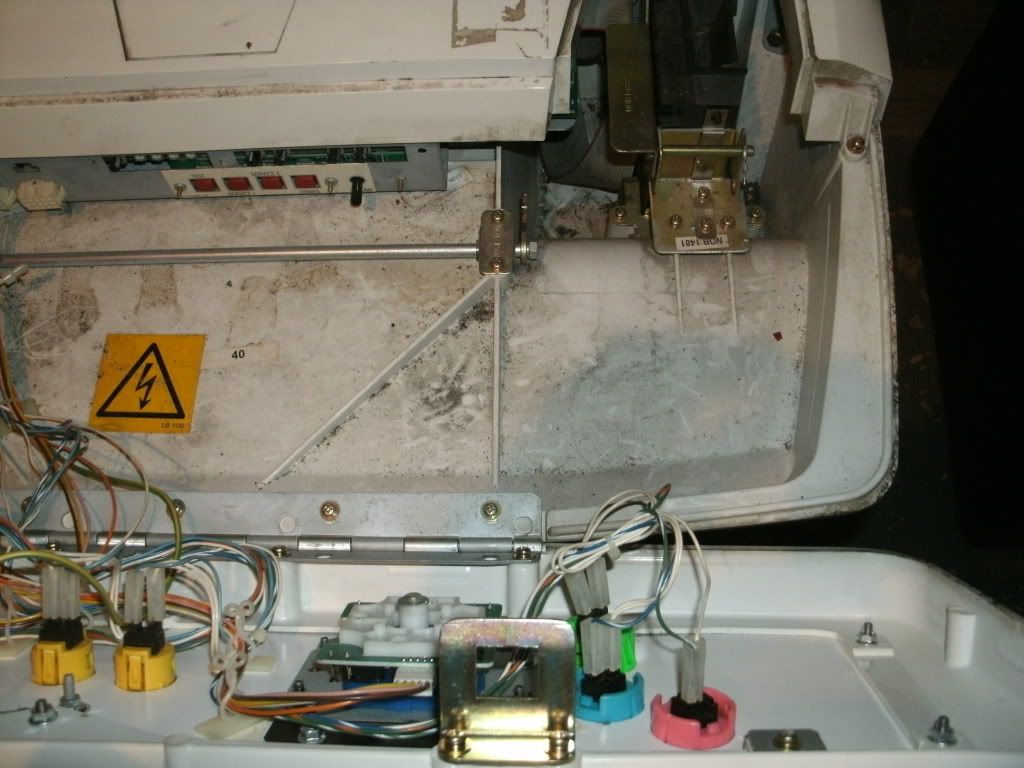
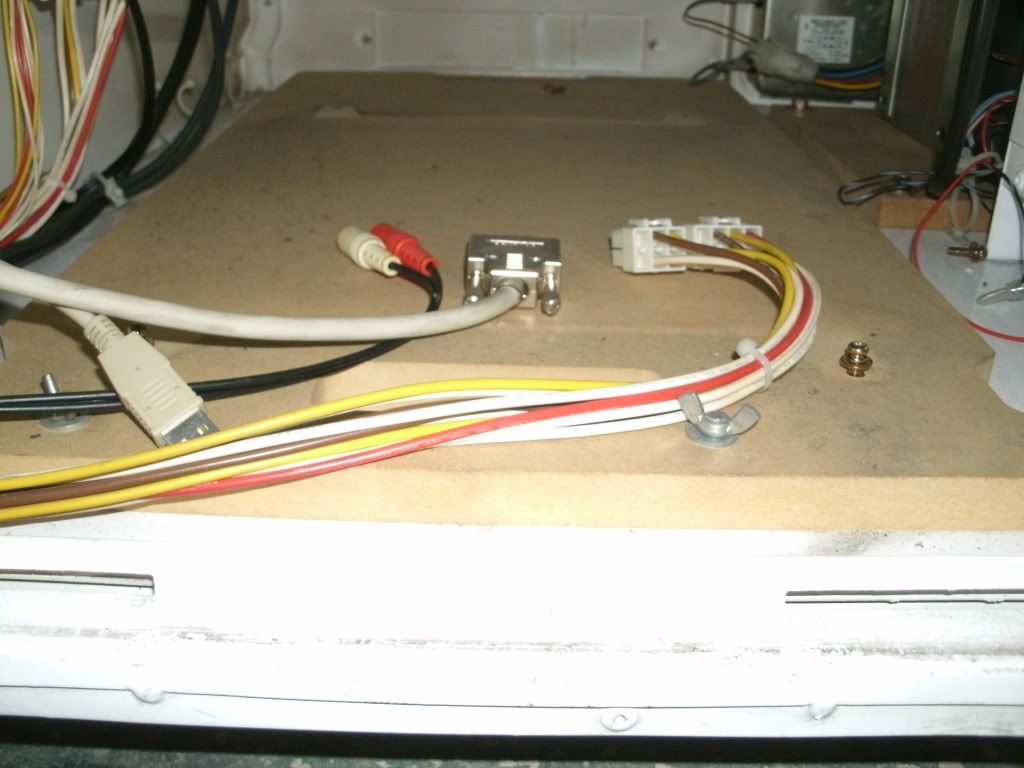
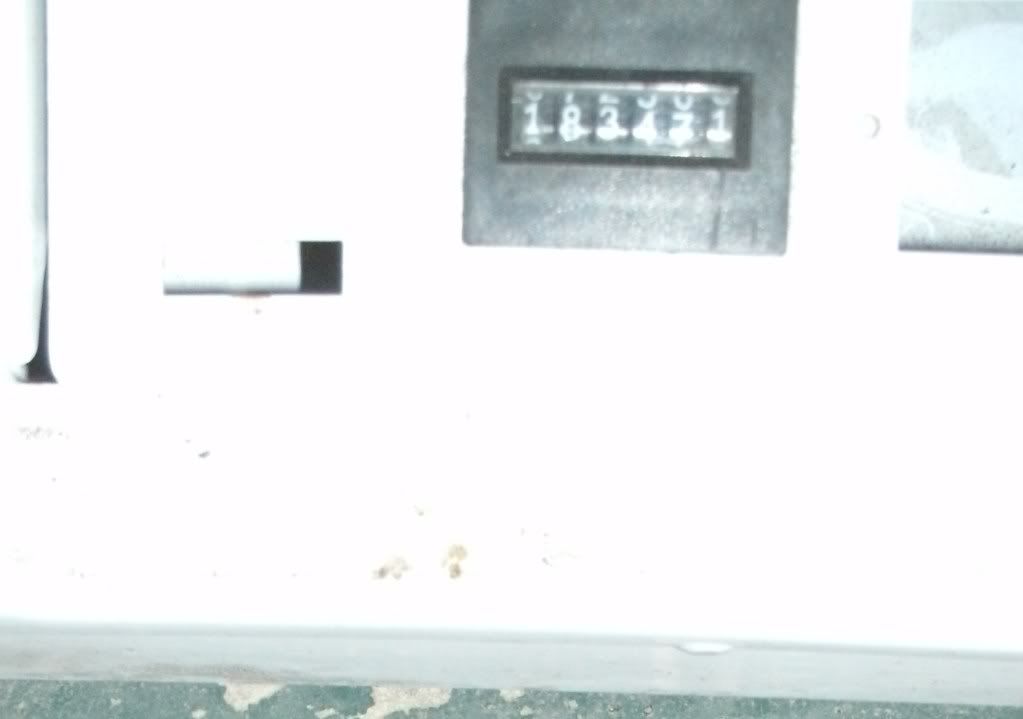
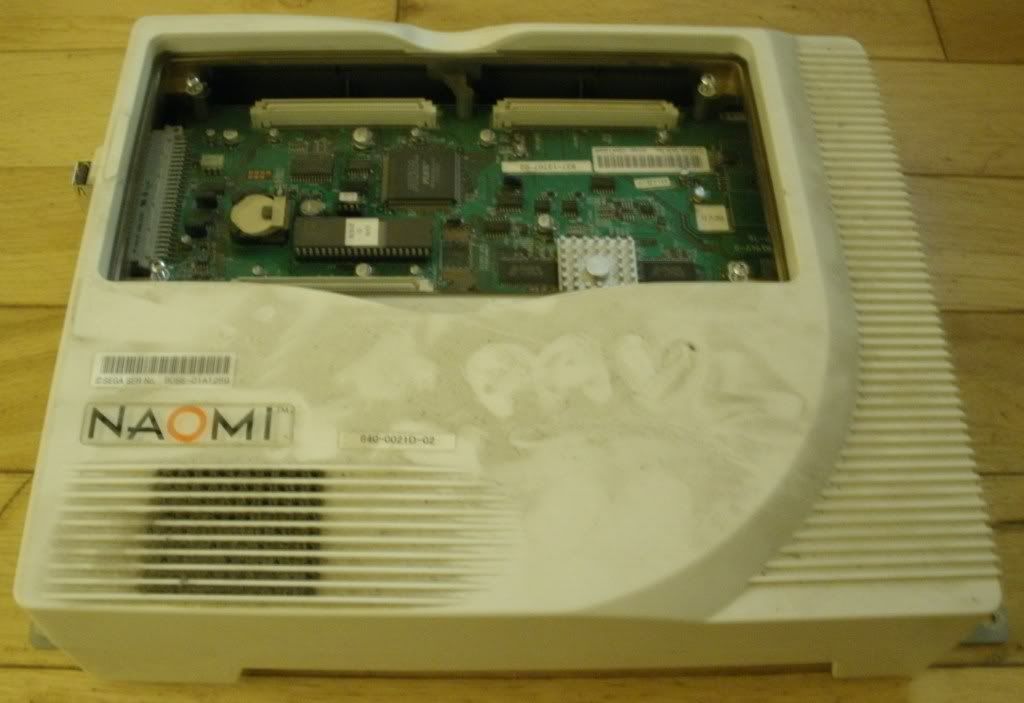
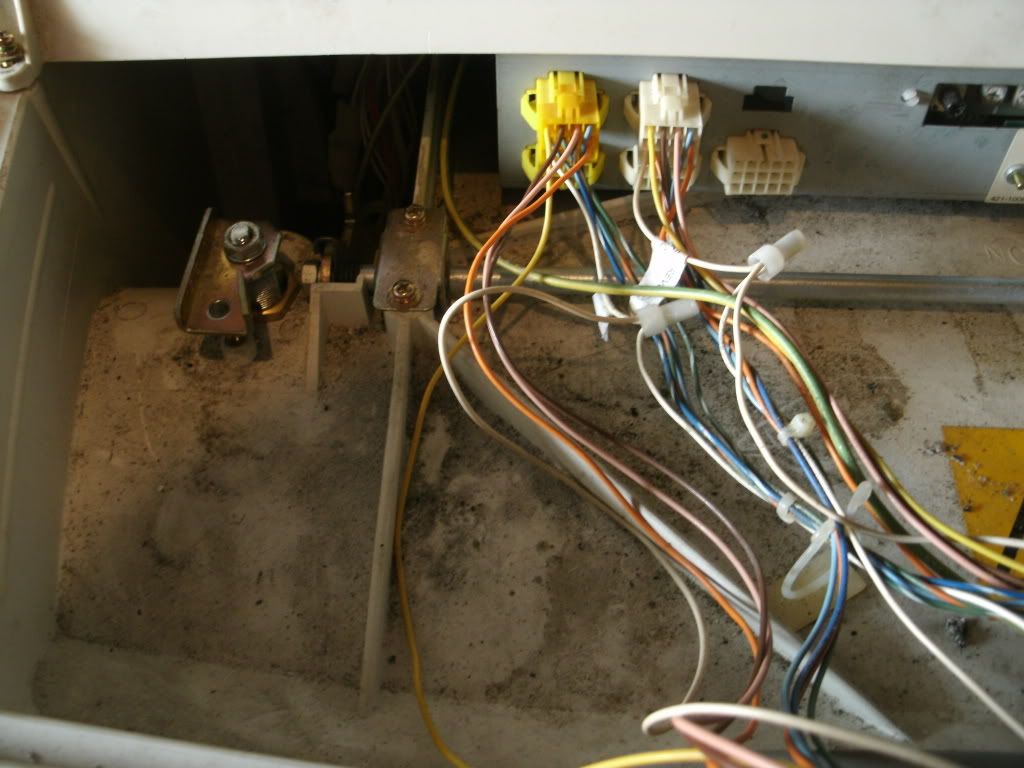
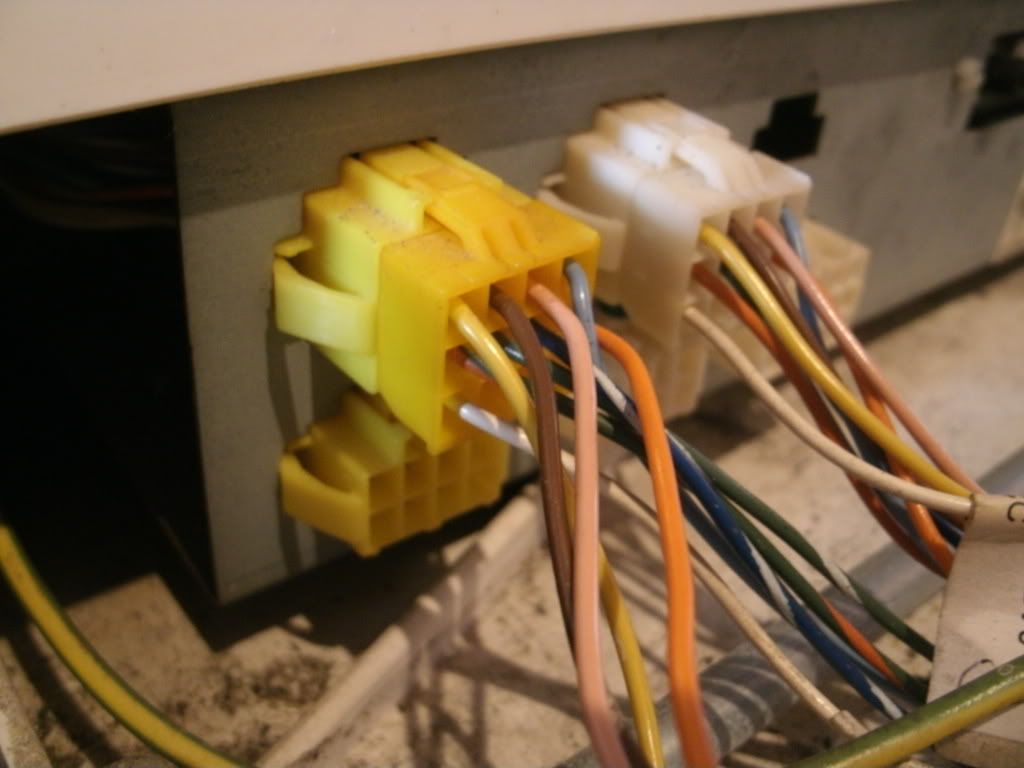
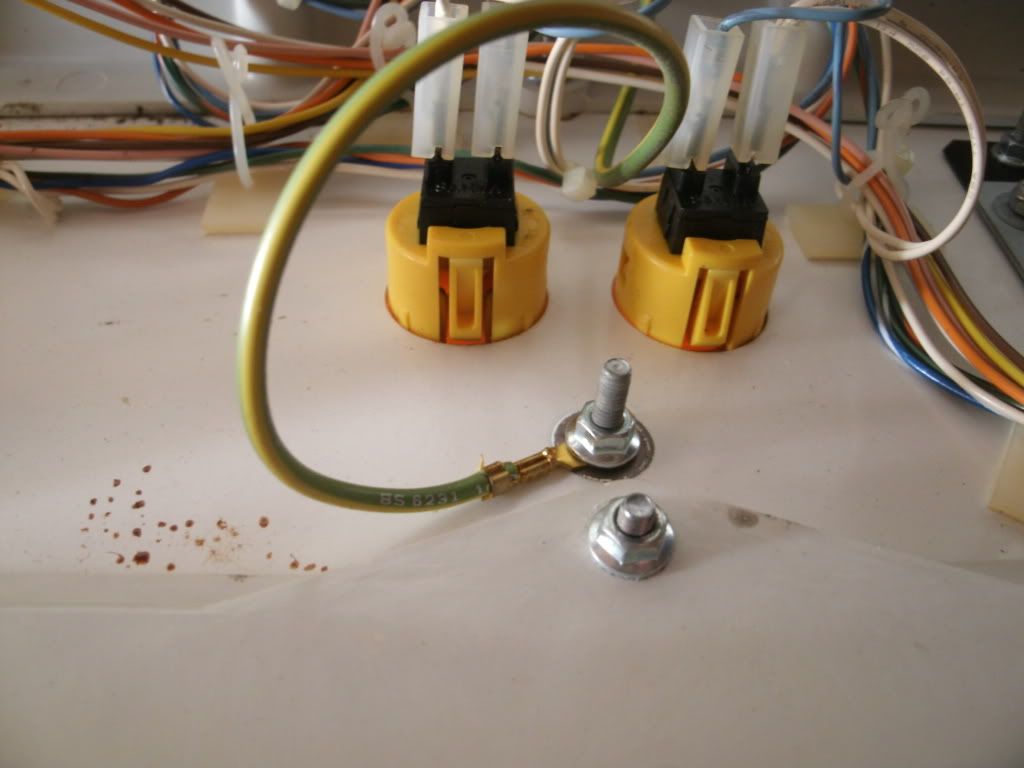
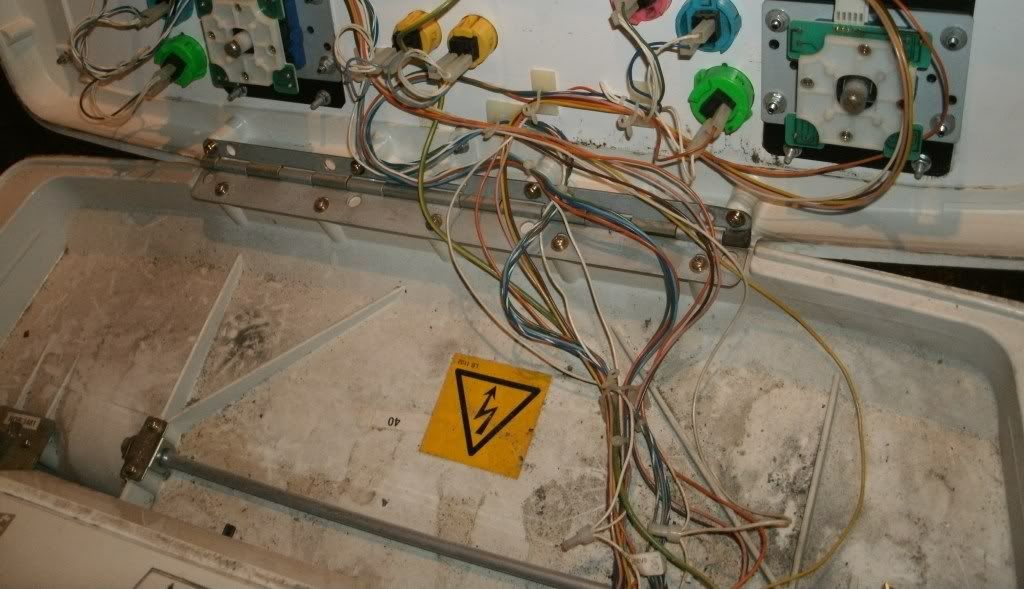
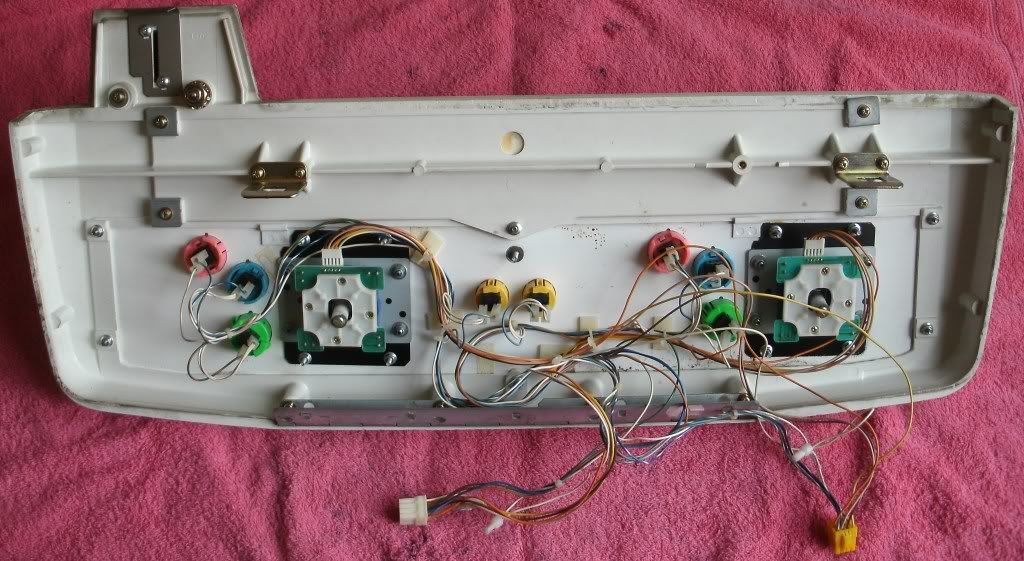
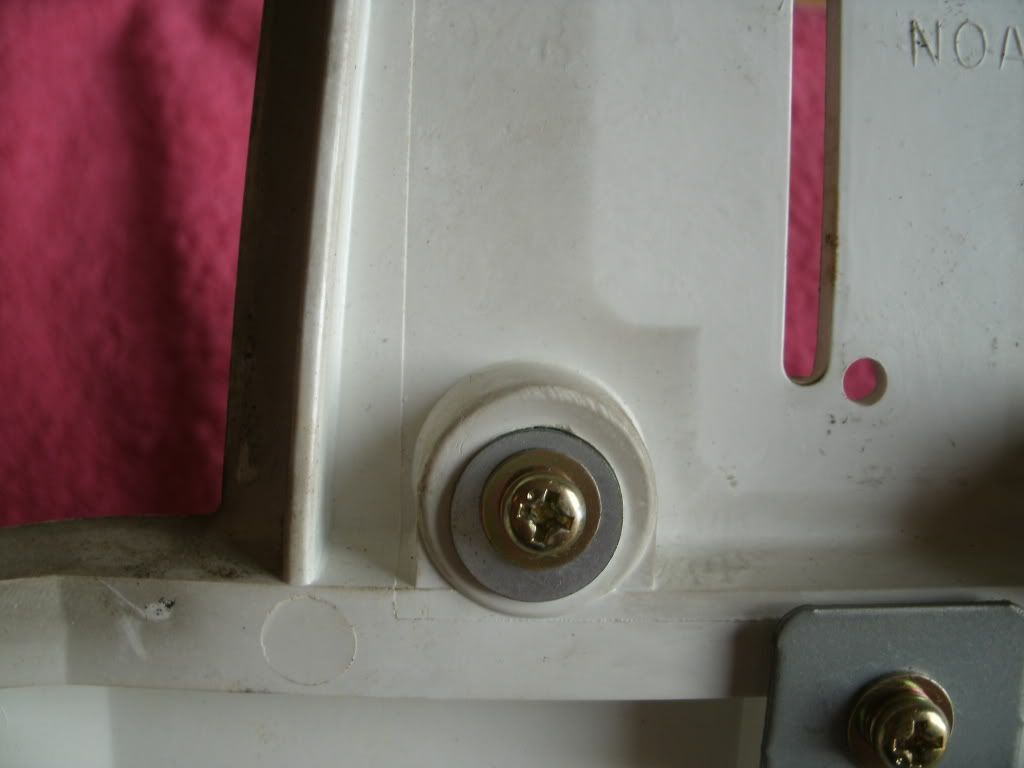
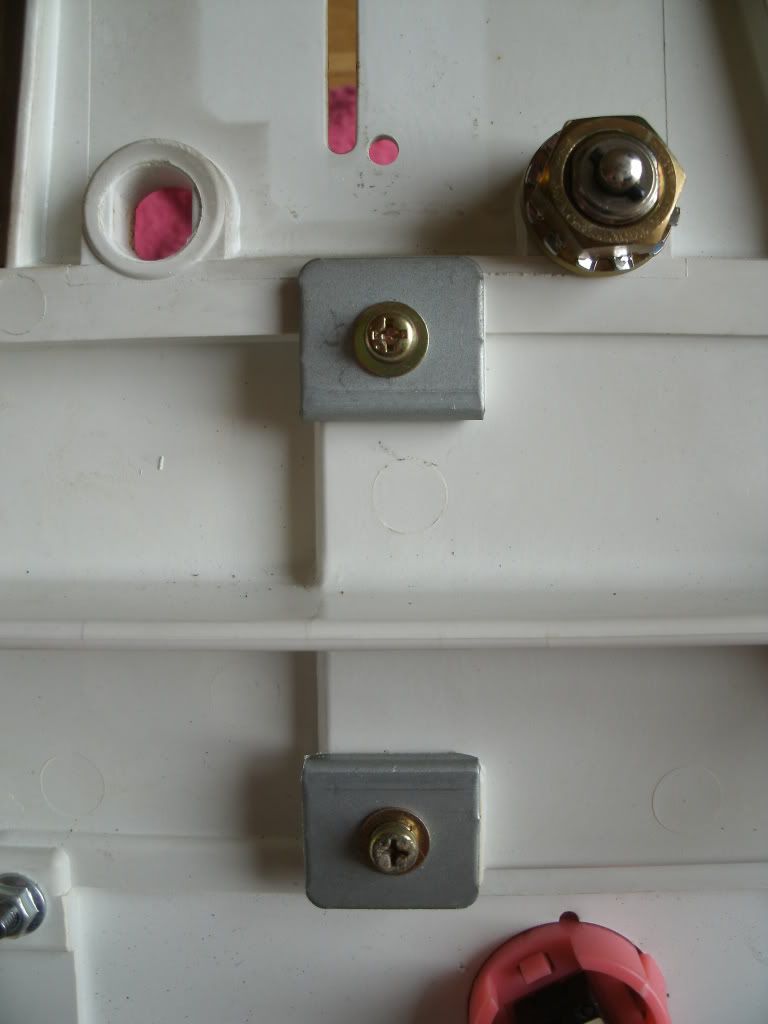
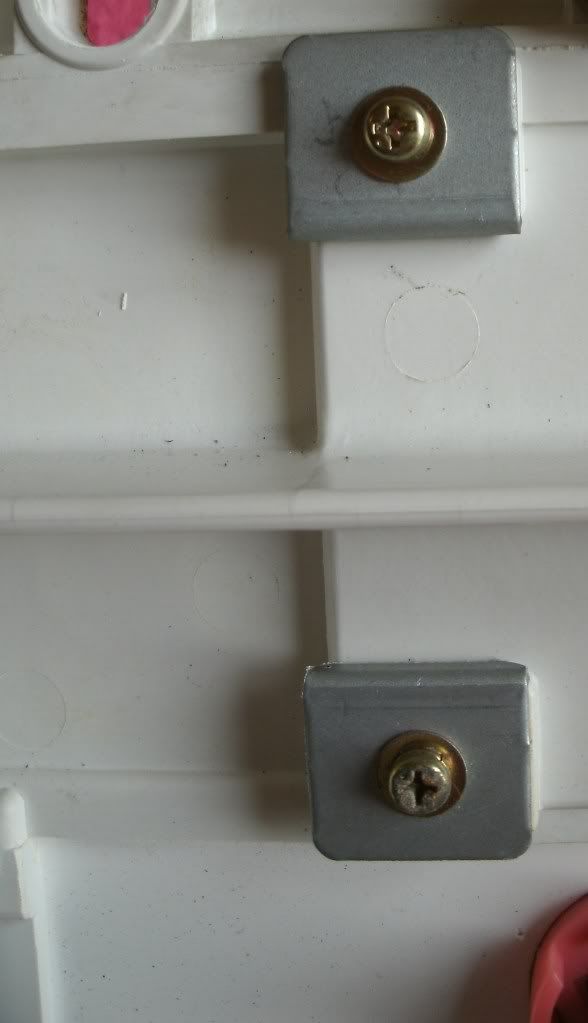
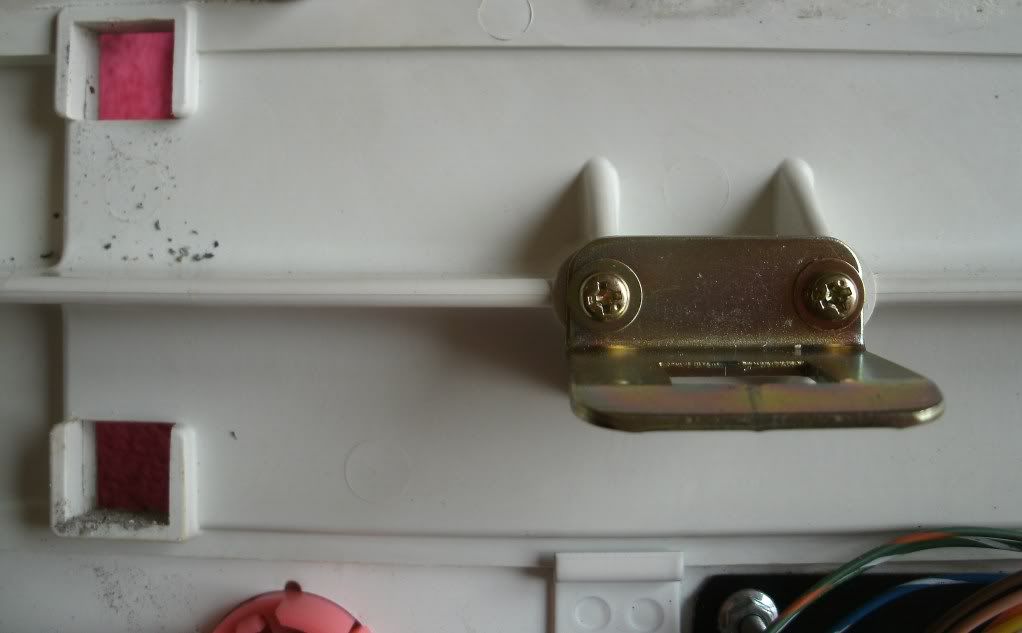
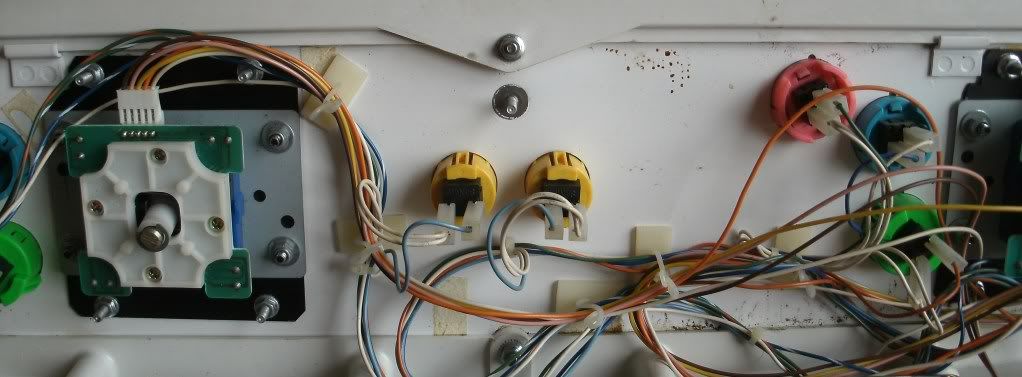
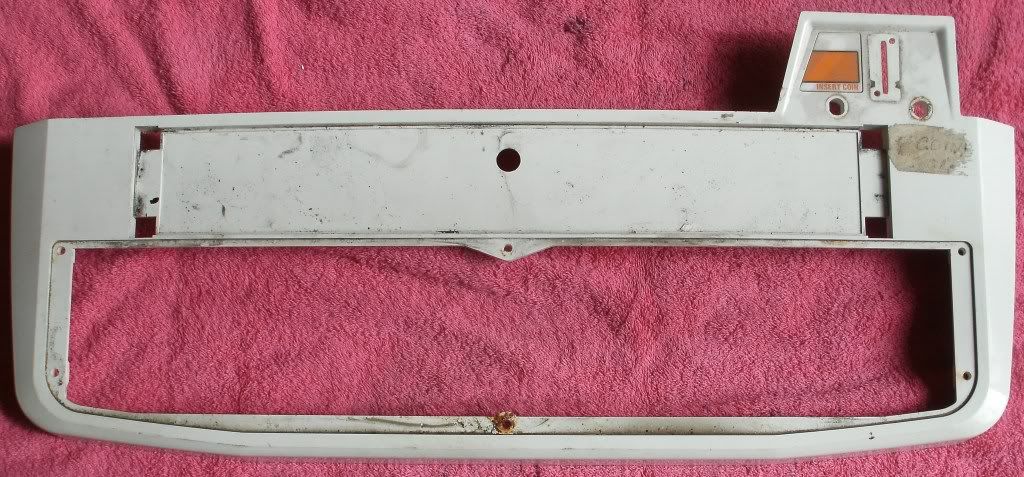
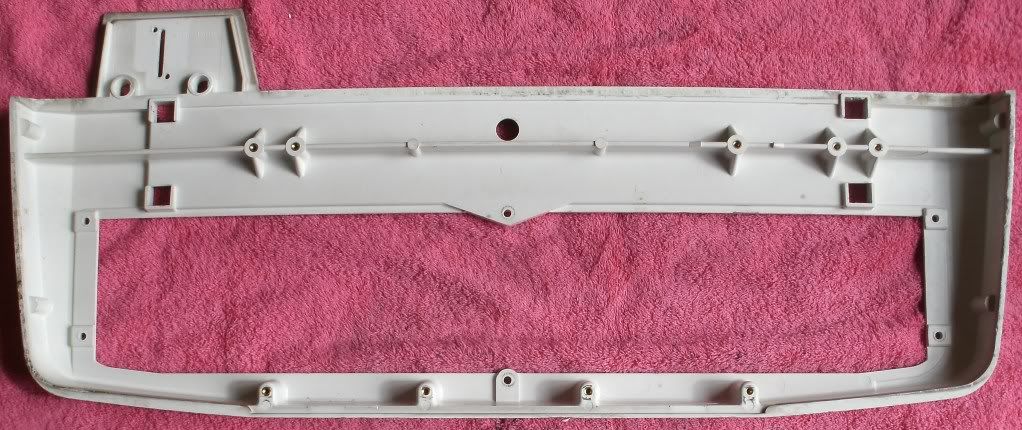
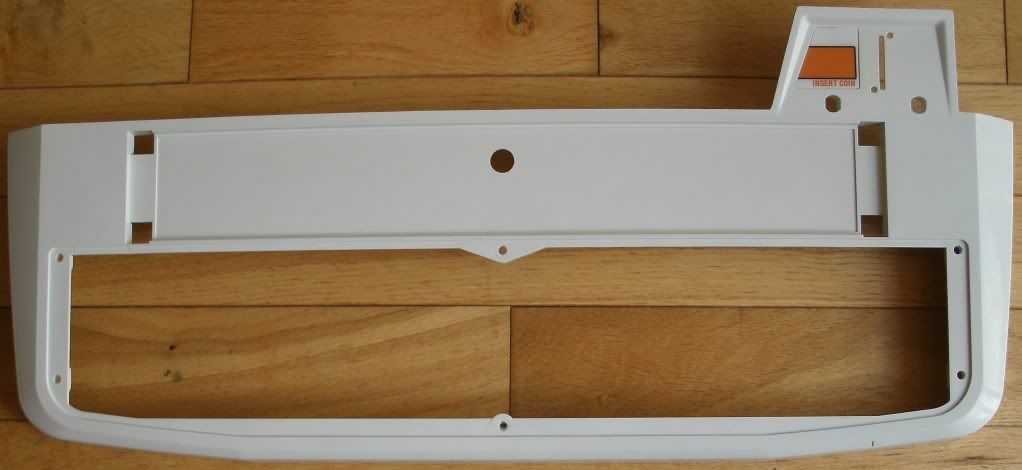
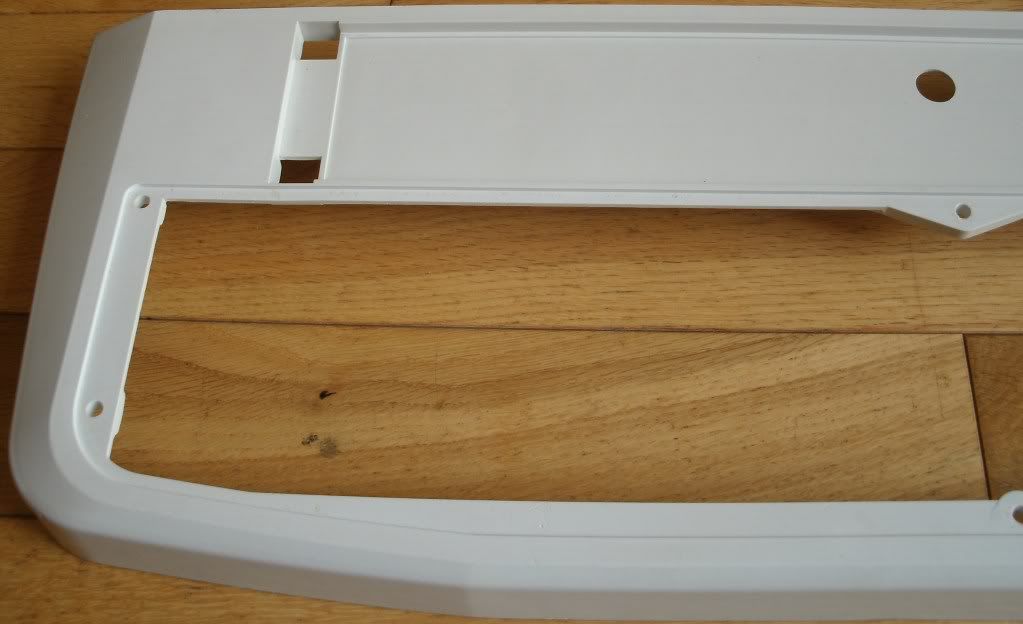
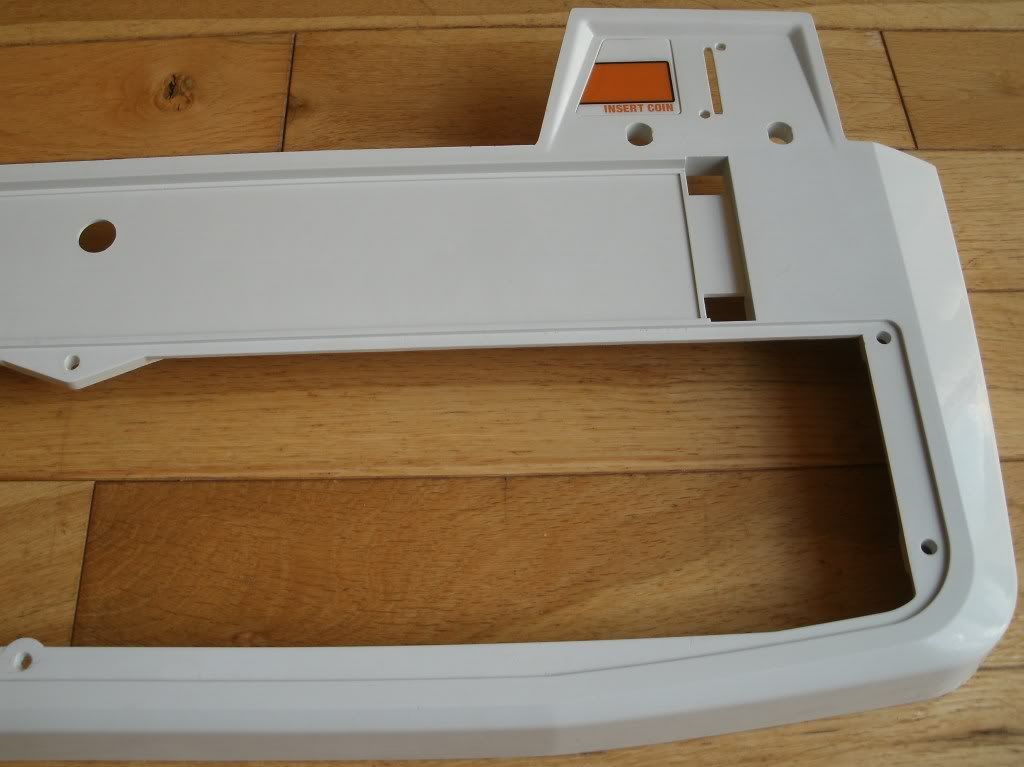
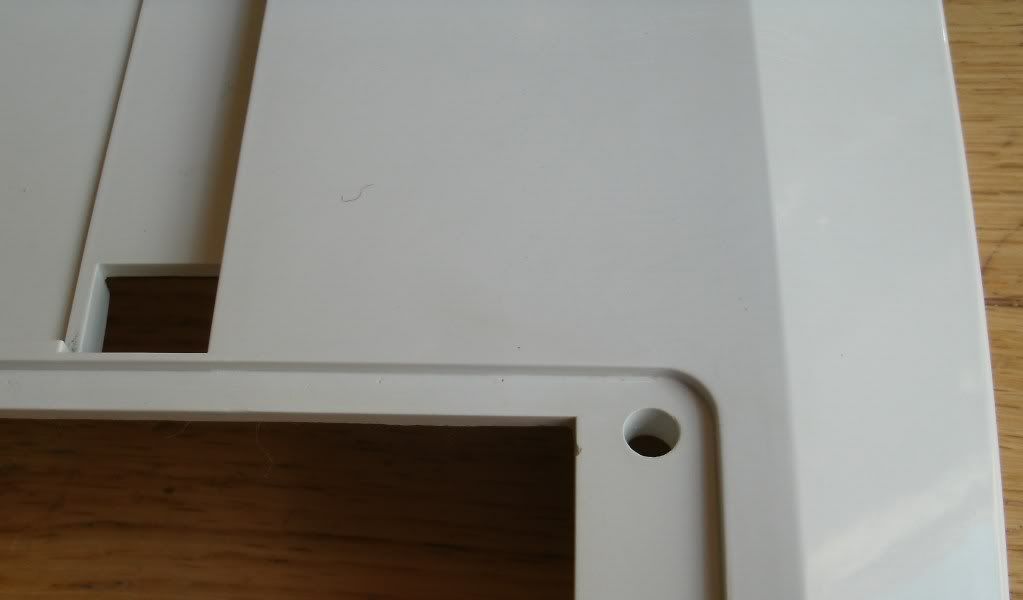
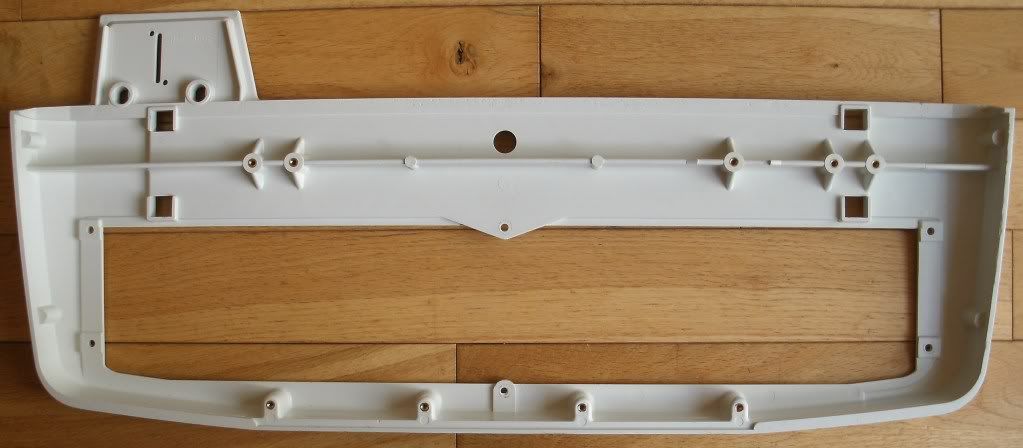
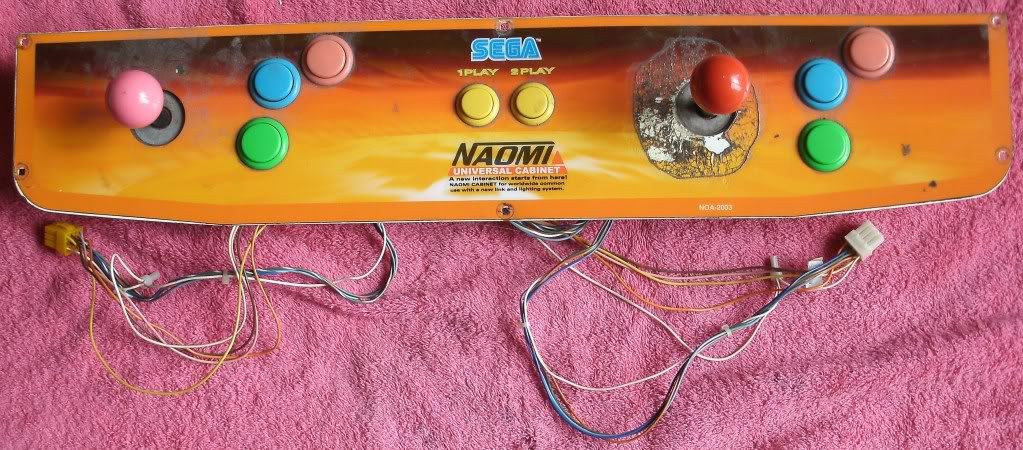
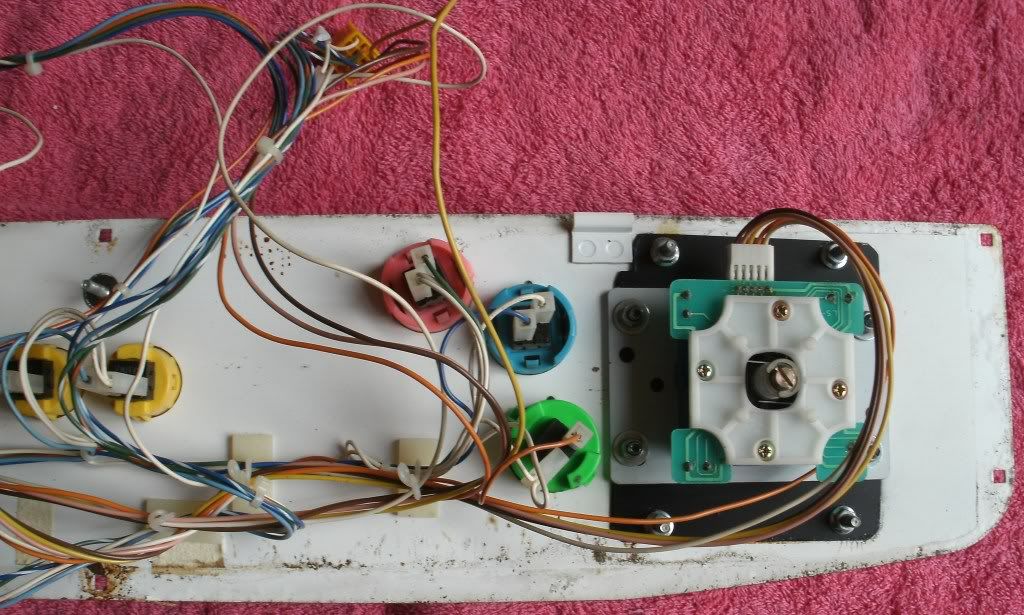
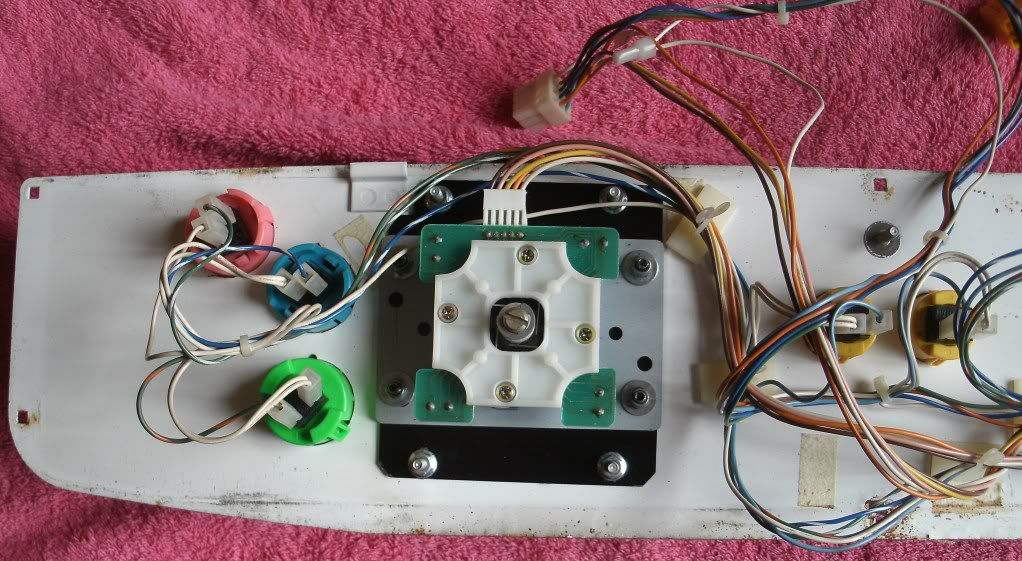
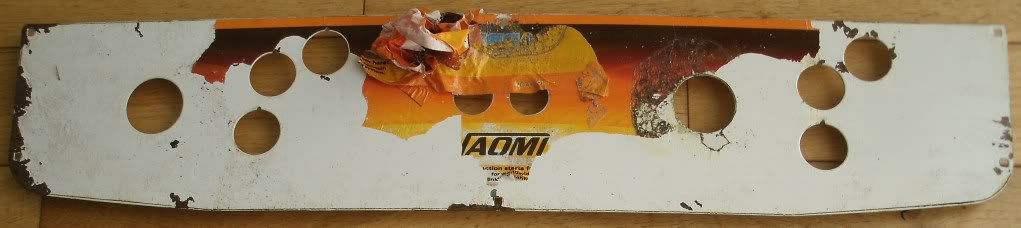
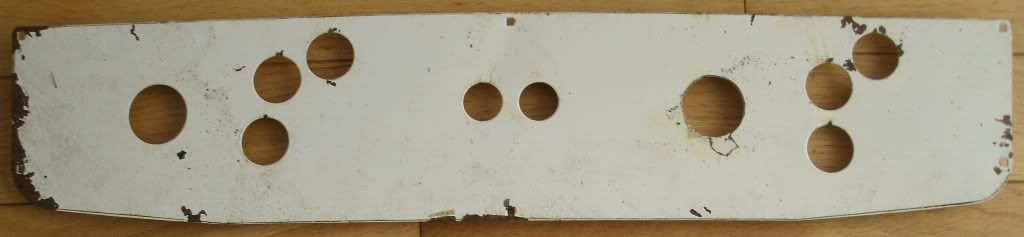
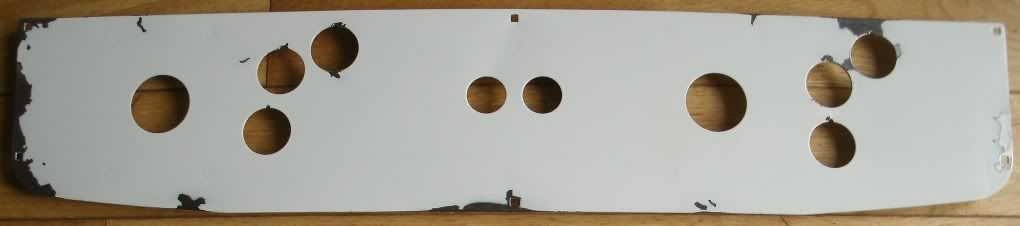
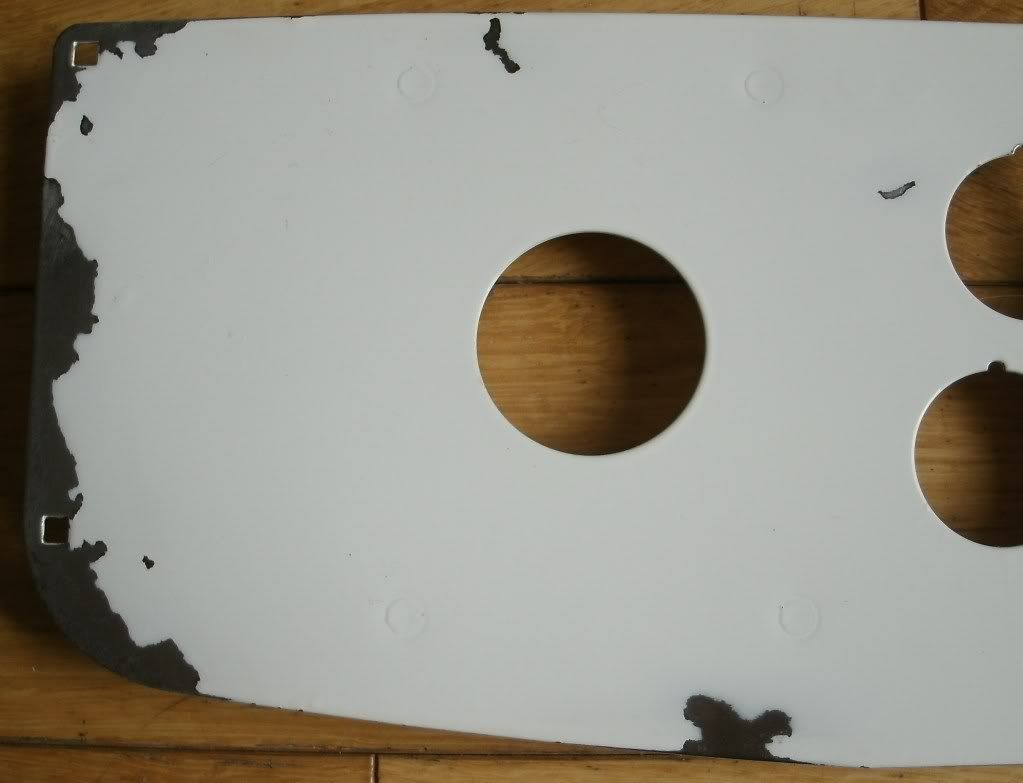
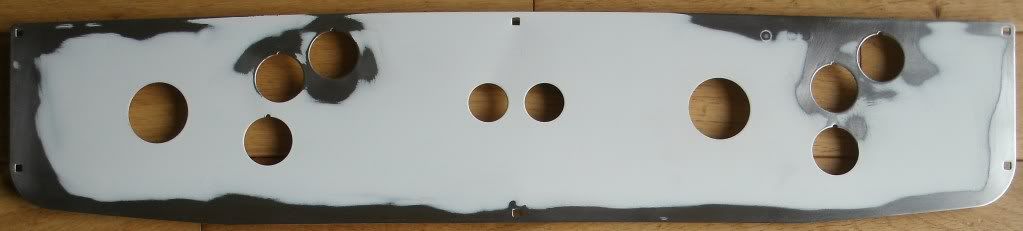
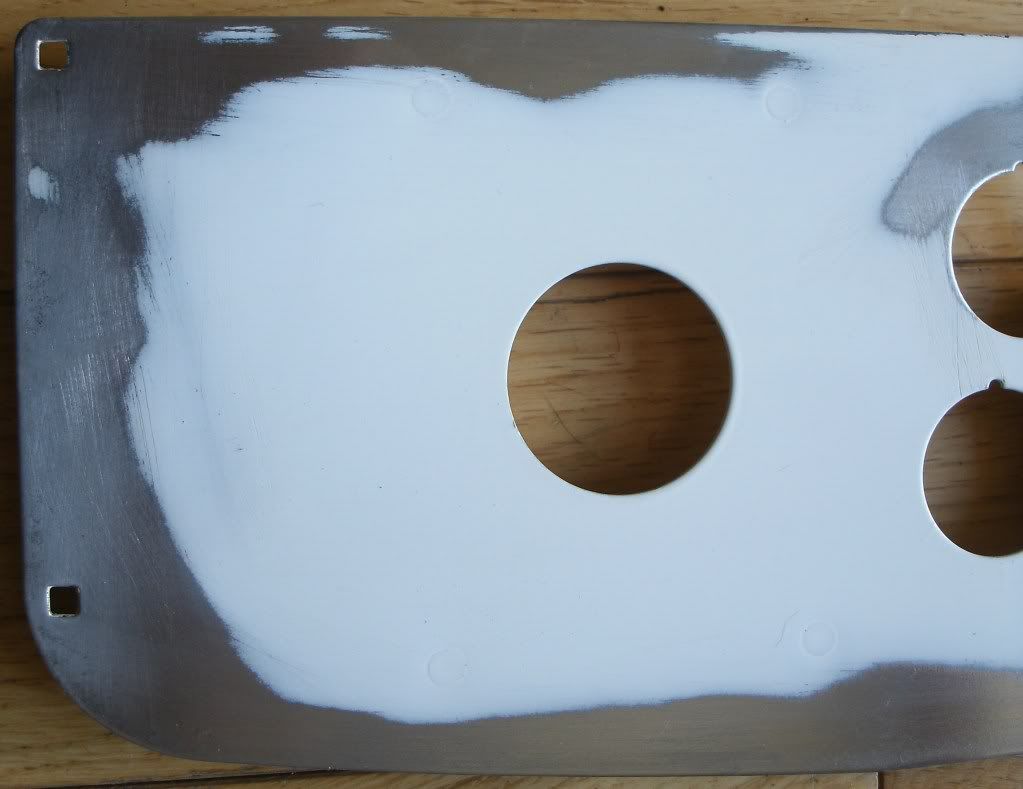
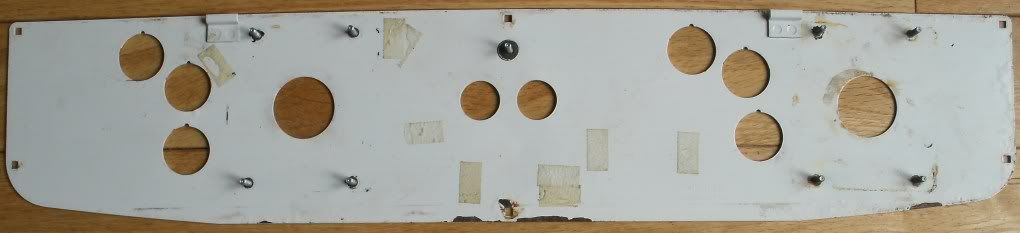
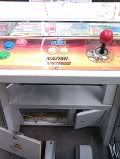
Here's the photographs I took at Mo's place on my phone, expect more photographs when she arrives.
Image

Image

Image

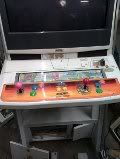
I know every man and his dog seems to have done a Naomi/ Net City/ New Net City resto but what the hell.

So first things first am I going to keep her as an upright or chopping her...

... Easy peasy she's getting the obligatory chop.

Next decision
Am I keeping her as a Naomi or converting her to a Net City or a New Net City...

So what's the main differences between the Naomi, Net City and New New City (if any of the below information is incorrect or I've missed anything off the comparison lists PLMK)

Naomi vs. Net City
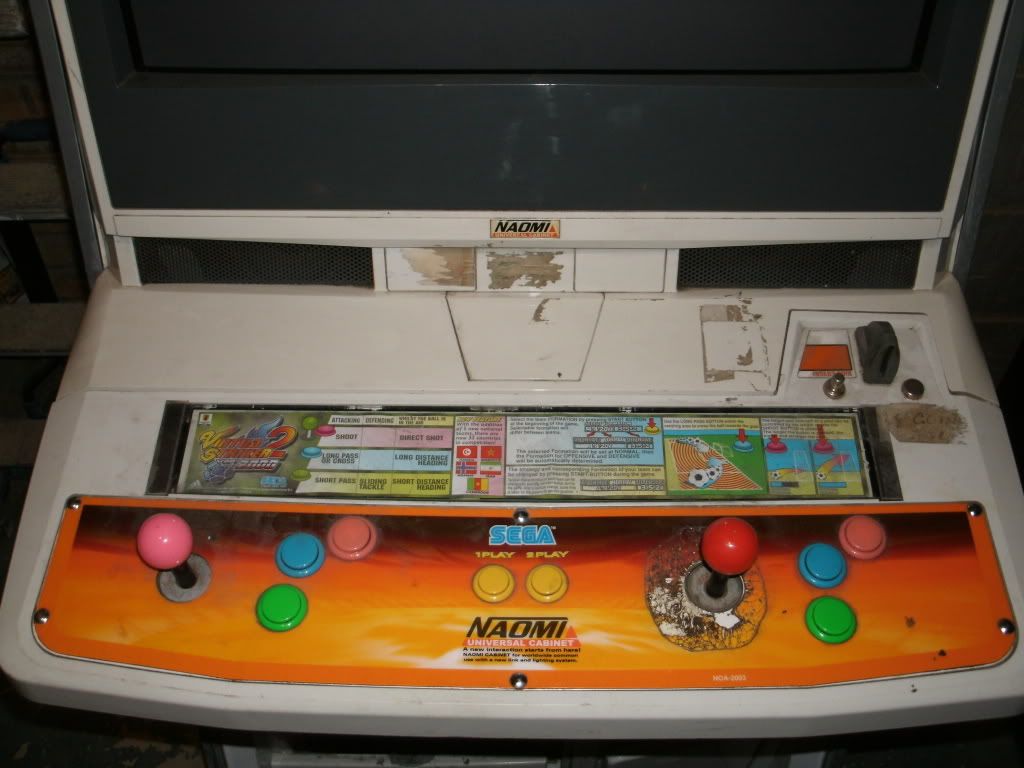
The only real visible differences between the upright Net City and Naomi is the coin entry slot, the artwork and the NC came with a tri-sync 15Khz/24Khz/31Khz monitor where the Naomi came with a 31Khz only monitor. The NC was produced for the Asian and Japanese market and also came in a sit down flavour and the Naomi was for ROW and was upright only.

Naomi vs. New Net City
The main differences between the Naomi and the New Net City is the NNC is a sit down only cabinet, the base is now a slightly different shape, the coin entry slot is of course still a different shape and colour, the artwork is now all bling (black & silver) but most importantly it now boasts an all singing and dancing 100% flat tri-sync 15Khz/24Khz/31Khz monitor.

... Erm this decision is not so easy and TBH I haven't 100% decided. It's a toss up between keeping her as a Naomi or going for the shiny New Net City look. I like the look of both but I'm edging towards the NNC.

I thought Naomi art would be cheaper and easier to source than the New Net City art but I've had a little look online and they seem to be very similar in price but can't find a full art set for either.

So far I can find all the Naomi art except for the insert coin decal and the leg arts. For the New Net City I can find all the art except for the instruction sheet and a 2L12B CP overlay for the HOT 2005 control panel.

Obviously whatever I decide I'll not start replacing any of the art until I've sourced a full set.

If anyone has anything going begging that they think I'll need just drop me a pm, I'll get a full list of the bits I need as soon as the cab arrives.

Well that's about it for now.
Last edited by Paulie on September 3rd, 2015, 8:41 pm, edited 19 times in total.
User avatar
Paulie
Opens wallet, moths fly out
Posts: 2599
Joined: September 28th, 2011, 5:43 pm
Location: East Ardsley, West Yorks
eBay: retro-paulie
Initials: PSG

Re: Sega Naomi restoration (work in progress) Updated 11/4/1

Post by Paulie »

Mo was an absolute star and dropped her off at my place about 8:30 this evening :awe:

Here's some pictures

The Cab
Image

Image

Image

Image

Image

Image

Image

Image

Image

Image

Image

Image

Image

Image

183471 Plays :shock:
Image

The Motherboard
Image

So after a quick once over the only things that seem to be missing are the coin bucket, coin box lock, right leg hoof, both leg levellers and the right hand side top hook. Other than the missing parts it obviously needs some new/ replacement bits including art, a HOT 2005 2L12B control panel and I'm thinking maybe a 1 player panel too, buttons, balltops, maybe sticks and I'm sure there will be plenty of other odds and sods after I've had a good look at her.

Thom looks to have a right hand side top hook for sale, so fingers crossed that's one bit off my list, if anyone has the other bits then you know where I am.

I'm off work tomorrow so I guess the first job is to give her a proper inspection and good clean. I can't wait to get stuck in :awe:
User avatar
baddy
Please Continue...
Posts: 387
Joined: January 28th, 2010, 12:40 am
Location: Sweden, Stockholm
eBay: irishfrog89
Initials: CHI

Re: Sega Naomi restoration (work in progress) Updated 11/4/1

Post by baddy »

Aaaah, a nice naomi like the one I got 2years ago, good luck with the cleaning, many corners and other hard to reach places :p

What system are you gonna put in ?
User avatar
emphatic
Breastfeeds when required
Posts: 5874
Joined: April 7th, 2009, 4:14 pm
Location: Alingsås, Sweden
eBay: jorgen_sjolander
Initials: JOR

Re: Sega Naomi restoration (work in progress) Updated 11/4/1

Post by emphatic »

Really looking forward to see this turn into something beautiful. :D
User avatar
Paulie
Opens wallet, moths fly out
Posts: 2599
Joined: September 28th, 2011, 5:43 pm
Location: East Ardsley, West Yorks
eBay: retro-paulie
Initials: PSG

Re: Sega Naomi restoration (work in progress) Updated 11/4/1

Post by Paulie »

baddy wrote:Aaaah, a nice naomi like the one I got 2years ago, good luck with the cleaning, many corners and other hard to reach places :p

What system are you gonna put in ?
Yeah lots of nook and crannies to clean :palm: The monitor is 31K so I'm going to run Naomi and hopefully Atomiswave alothough I'm not sue how stright forward AW will be so I'll have to do a bit more reading up on that one.
emphatic wrote:Really looking forward to see this turn into something beautiful. :D
I hope I don't disapoint :)
User avatar
Paulie
Opens wallet, moths fly out
Posts: 2599
Joined: September 28th, 2011, 5:43 pm
Location: East Ardsley, West Yorks
eBay: retro-paulie
Initials: PSG

Re: Sega Naomi restoration (work in progress) Updated 11/4/1

Post by Paulie »

This may read like an idiots guide to Sega Naomi Universal cabinets, but I've done a fair bit of reading about these lovely machines and although many people say how easy they are to take apart I've also read that a few people wish that had paid a bit more attention as putting them back together isn't quite as straight forward. I've never dismantled a Naomi before so I'm going to document every screw, nut, bolt and connector I remove just so I don't eff it up when she goes back together. I've no idea how long this project will take, and my memory aint what it used to be, as always the time scale will be down to how much spare cash I have and how easily I can source all the parts I need.

So let's begin...

I've decided that the first job will be to look at the control panel.

The tools that you will need for removing this area are:
1. Screwdriver (cross head)
2. Socket (7mm)

1. Unplug the 2 controller connectors (Yellow & white).
Image

Image

2.Unscrew the bolt that fixes the earth wire the the control panel.
Image

3. Unscrew the 5 cross head screws that attach the hinge to the control panel base.
Image

The control panel upper housing is now free, it really is that easy.
Image

Image


Now to dismantle all the parts from the upper control panel housing.

The tools that you will need for dismantling this area are:
1. Screwdriver (cross head)
2. Socket (7mm)
3. Spanner (17)

1. Remove the 2 cross head screws that fix the coin entry slot to the control pannel. My coin entry slot has a been really badly melted on one corner presumably by cigarettes so I'll replace it with one of the much nicer Japanese style ones.
Image

2. Remove the cross head screw that holds blanking chrome button in place.
Image

3. Remove the nut that holds the chrome coin reject button in place.
Image

4. Remove the 4 cross head screws that holds the move strip glass in place. The 2 mounts and the glass will now be free (make sure you hold the glass whilst removing the screws as it will fall out and you don't want to break it).
Image

Image

5. Remove the 4 cross head screws that hold the 2 control panel latches in place.
Image

Image

6. Remove the 4 cross head screws that hold the hinge to the control panel housing.
Image

7. Remove the 6 coach bolts the fix the control panel to the housing.
Image

And that's that, everything is now free.

I spent just over 3 hours cleaning the control panel upper housing. It doesn't look too bad at all in the before pictures, but it was pretty grim in real life. After I had washed off all the dirt it revealed 3 really yellow burn marks the were between 1 and about 2 1/2" in length. I assume they were from players resting their cigarettes on the panel whilst playing. I used Stella stainless steel cleaner to clean the housing and the cigarette stained polished out beautifully. Then I polished it all up using Novus 3>2>1. It looks really nice now and was well worth all the elbow grease.

Before cleaning
Image

Image

After cleaning and polishing
Image

Image

Image

This area had the 2 largest of the 3 yellow cigarette burns and you can see they have now gone
Image

Image


Next job will be to strip the control panel...
User avatar
emphatic
Breastfeeds when required
Posts: 5874
Joined: April 7th, 2009, 4:14 pm
Location: Alingsås, Sweden
eBay: jorgen_sjolander
Initials: JOR

Re: Sega Naomi restoration (work in progress) Updated 12/4/1

Post by emphatic »

:clap: Awesome job on the upper!
User avatar
Paulie
Opens wallet, moths fly out
Posts: 2599
Joined: September 28th, 2011, 5:43 pm
Location: East Ardsley, West Yorks
eBay: retro-paulie
Initials: PSG

Re: Sega Naomi restoration (work in progress) Updated 12/4/1

Post by Paulie »

Cheers mate :)

After it had, had a really good wash it was still pretty grey/ manky looking and it still had a fair amount of residue from knocks and scrapes but my main worry was that it revealed the nasty fag burns and TBH my heart sank a bit as I know these can be nigh on impossible to remove once the plastic has been badly stained, but after all the polishing it all came up a treat so I'm pretty chuffed :D
User avatar
sombetzki
Posts: 471
Joined: May 11th, 2010, 10:29 am
Location: The Netherlands
Initials: AAS

Re: Sega Naomi restoration (work in progress) Updated 12/4/1

Post by sombetzki »

You did a really nice job on the upper indeed! Makes me wanna dismantle my cp this weekend en give it a good clean!
Really nice, can't wait to see what you do with the rest
Follow me!
Image
User avatar
Spectre
By Spectre
Posts: 1695
Joined: January 22nd, 2009, 5:42 pm
Location: Suffolk, UK
eBay: spectre-uk
Initials: JIM

Re: Sega Naomi restoration (work in progress) Updated 12/4/1

Post by Spectre »

Cool stuff, watching with interest. My Jaomi is currently on hold pending house move in 3 weeks, got to take her apart at some point.
User avatar
kevin2me
Posts: 87
Joined: May 1st, 2011, 4:48 pm
Location: Cork, Ireland
eBay: kevin2me2

Re: Sega Naomi restoration (work in progress) Updated 12/4/1

Post by kevin2me »

Unreal Cleaning man, its looks new compared to before, ill be following suit with my Naomi,
Need to clean whole thing out... Keep up the good work... KUDOS!!!
11 Cabs Arcade Room: 1 Vewlix, 2 AWSDs, 2 NNC, 1 Astro, 1 Naomi gun cab, 1 Taito Cocktail, Initial D/Outrun2SP and Sega Rally Twin.
User avatar
Paulie
Opens wallet, moths fly out
Posts: 2599
Joined: September 28th, 2011, 5:43 pm
Location: East Ardsley, West Yorks
eBay: retro-paulie
Initials: PSG

Re: Sega Naomi restoration (work in progress) Updated 12/4/1

Post by Paulie »

Thanks chaps.

Today's job is to strip, clean and remove any oxidisation from the control panel (part number NOA2002) the overlay is (part number NOA2003).

This is what I am starting with
Image

Reverse P1
Image

Reverse P2
Image

The tools that you will need for dismantling this area are:
1. Socket (7mm)

Firstly disconnect all of the crimps that are attached to the sticks and buttons. Next pop out all of the Sanwa buttons, you just need to squeeze the tabs and push. Now remove the cable tidy thinngys. Now it's time to remove the Seimitsu LS-56-01 sticks, these are attached to the mounting plates by 4 nuts, you will require a socket (7mm) for these. Finally remove the mounting plates which are also held in place by 4 nuts again these require the same socket (7mm). Pop all the bits in a resealable bag, label it and store it safely for reassembly.

Now to remove the damaged control panel artwork.

This simply peels off, well it takes a bit of effort to remove it but you can do it by just getting your fingernail under a loose bit and slowly does it.

Part way through
Image

All gone
Image

It will leave a fair bit of residue but white spirit or something similar will remove all of that really easily.

Now to deal with the oxidisation, I like to use wet and dry for this job. Remember to keep it wet this will minimise the wet and dry from clogging and make the job much easier and work through the grades.

Looks good?
Image

Image

If you thought yes that looks fine then you were wrong! that is NOT what you are looking for at all. If you look again you will see the edges where the oxidation has been removed and the bare metal meets the paint are all angular and sharp looking, that it a tell tale sign that there is still oxidisation under the remaining paint and this of course has to be removed. If you were not to remove it then in time it will bubble and so will that lovely new artwork that you have lovingly applied also when you respray it, it would look like ****.

All prepared for priming as you can see I have removed a much larger area of paint to get it back to good bare metal, you could of course strip all of the paint but it's not necessary
Image

Image

Reverse before preparation
Image

I'll do the reverse, maybe this evening and post a photograph, then it will be ready for priming and respraying.
Last edited by Paulie on April 17th, 2012, 6:03 pm, edited 2 times in total.
User avatar
Rossyra
Supermod
Posts: 7902
Joined: February 12th, 2009, 1:24 am
Location: UK

Re: Sega Naomi restoration (work in progress) Updated 12/4/1

Post by Rossyra »

Good job. :awe:

I would have been interested to read this level of detail regarding how you polished the resin CP surround, what product and tools you used, etc.
Image
User avatar
emphatic
Breastfeeds when required
Posts: 5874
Joined: April 7th, 2009, 4:14 pm
Location: Alingsås, Sweden
eBay: jorgen_sjolander
Initials: JOR

Re: Sega Naomi restoration (work in progress) Updated 17/4/1

Post by emphatic »

Nice work, but those are Seimitsu LS-56-01's rather than SANWA JLF's.
User avatar
Paulie
Opens wallet, moths fly out
Posts: 2599
Joined: September 28th, 2011, 5:43 pm
Location: East Ardsley, West Yorks
eBay: retro-paulie
Initials: PSG

Re: Sega Naomi restoration (work in progress) Updated 12/4/1

Post by Paulie »

Rossyra wrote:Good job. :awe:

I would have been interested to read this level of detail regarding how you polished the resin CP surround, what product and tools you used, etc.
Some people are never bloody happy ;)

Seen as it's you rossypoos I'll let you in to my secrets :shh:

Heres my cleaning products of choice.
Image

I used them in that order L to R and use a clean cloth every time I change product.

After it was all thoroughly washed.

1. Lighter fluid, this removed all the stickers and residue.
Squirt it on the stickers or residue, let it soak in, repeat then peel if it doesn't then just keep repeating if you can't wait use your fingernail and rub with a soft cloth but be careful you don't leave nail marks. This also works wonders on game boxes ie older Nintendo stuff and console boxes too. It does not damage anything or leave any marks and I have never had a sticker on anything that this will not remove without damaging the box, everyone should get a tin.

2.T-cut
Use a soft cloth and rub then clean off the residue it doesn't do a lot but it removes some of the remaining detritus.

NOT SHOWN wet and dry use suitable grades and work through them.
This is only for bigger scratches/ gouges that polishing would not touch. Be very very careful once you have removed any of the surface you CANNOT put it back (well you can but you would have to fill and paint and I doubt many people at home could achieve a satisfactory finish), you have all been warned!!! work in the direction of the scratch very carefully and check your progress after every stroke.

3. My magic stainless steel polish.
This stuff is the nuts! just rub with a soft cloth but you do need to rub a lot and I do mean a lot then just polish up.

Finally 4, 5, 6 .Novus 3>2>1 this is great stuff, before I had used it I had read mixed opinions, some people said it was fantastic and others said it did nothing, after using it myself I have come to the conclusion that it was not used correctly or rather the area being worked was not prepared correctly and exceptions were probably unrealistic as it will only work on very light scratches. Polish #3 in the direction of the scratch, the #2 in a circular motion finally #1 just buff any old way.

and thats it, I do everything by hand the resin CP surround took over 3 hours of hard polishing, Personally I would only use a mop once completely cleaned and buffed the part, basically when re-assembled for buffing up wax/ final sheen.

HTH
P :)
User avatar
Paulie
Opens wallet, moths fly out
Posts: 2599
Joined: September 28th, 2011, 5:43 pm
Location: East Ardsley, West Yorks
eBay: retro-paulie
Initials: PSG

Re: Sega Naomi restoration (work in progress) Updated 17/4/1

Post by Paulie »

emphatic wrote:Nice work, but those are Seimitsu LS-56-01's rather than SANWA JLF's.
Yes they are indeed :oops:

EDIT: Now ammended that little fubar in my post.
User avatar
Rossyra
Supermod
Posts: 7902
Joined: February 12th, 2009, 1:24 am
Location: UK

Re: Sega Naomi restoration (work in progress) Updated 17/4/1

Post by Rossyra »

Very cool, thanks for the write-up.

The lighter fluid is a good tip. 3M sell lighter fluid but call it 'Clean Art'
Image
User avatar
Paulie
Opens wallet, moths fly out
Posts: 2599
Joined: September 28th, 2011, 5:43 pm
Location: East Ardsley, West Yorks
eBay: retro-paulie
Initials: PSG

Re: Sega Naomi restoration (work in progress) Updated 17/4/1

Post by Paulie »

Rossyra wrote:Very cool, thanks for the write-up.

The lighter fluid is a good tip. 3M sell lighter fluid but call it 'Clean Art'
No worries buddy,

Yeah it sounds vaguely familiar. If anyones getting any lighter fluid just get it from a pound shop (that where I now buy mine) as they are all seem to work the same for cleaning purposes regardless of the brand.

That particular stainless steel cleaner is also a must, it just seems to work miricles but you'll have arm like popeye when you've finished tho.
User avatar
Paulie
Opens wallet, moths fly out
Posts: 2599
Joined: September 28th, 2011, 5:43 pm
Location: East Ardsley, West Yorks
eBay: retro-paulie
Initials: PSG

Re: Sega Naomi restoration (work in progress) Updated 17/4/1

Post by Paulie »

Not very exciting but as promised a photograph of the rear of the control pannel now ready for the primer.

Image
User avatar
emphatic
Breastfeeds when required
Posts: 5874
Joined: April 7th, 2009, 4:14 pm
Location: Alingsås, Sweden
eBay: jorgen_sjolander
Initials: JOR

Re: Sega Naomi restoration (work in progress) Updated 17/4/1

Post by emphatic »

Weird, I always tend to get excited by the rear... :awe:
Post Reply