VEGA 9000DX Supergun overview - Lots of Photographs
Posted: March 15th, 2012, 8:34 pm
A few people seem to have liked my little overview type thinngy for the Sigma AV6000 supergun so heres more of the same for my VEGA 9000DX Supergun.
Here we go
Dimensions
Length 540mm
Width 270mm
Height 110mm
Weight
7.3 KG
Sticks
LS32
Buttons
Seimitsu
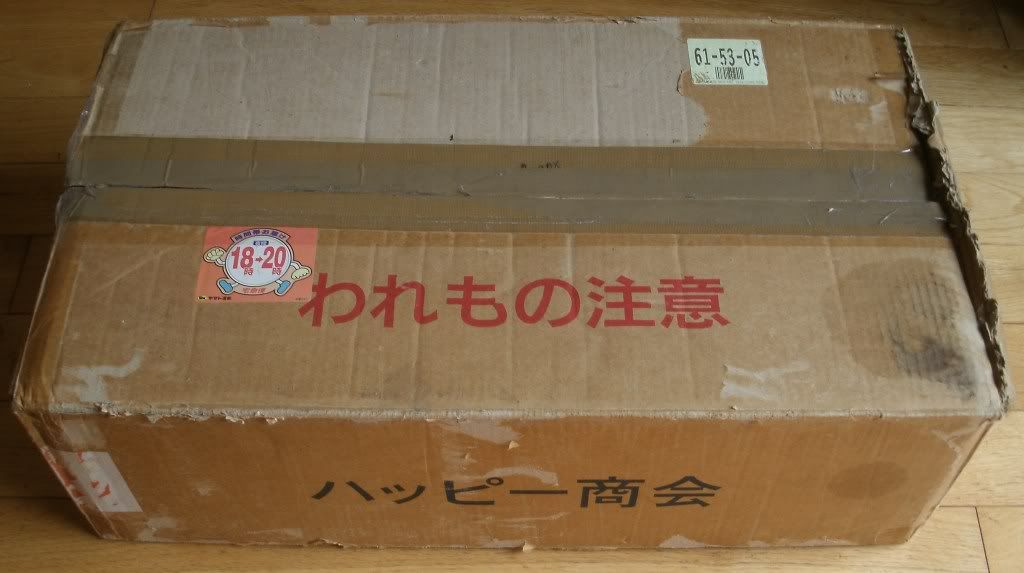
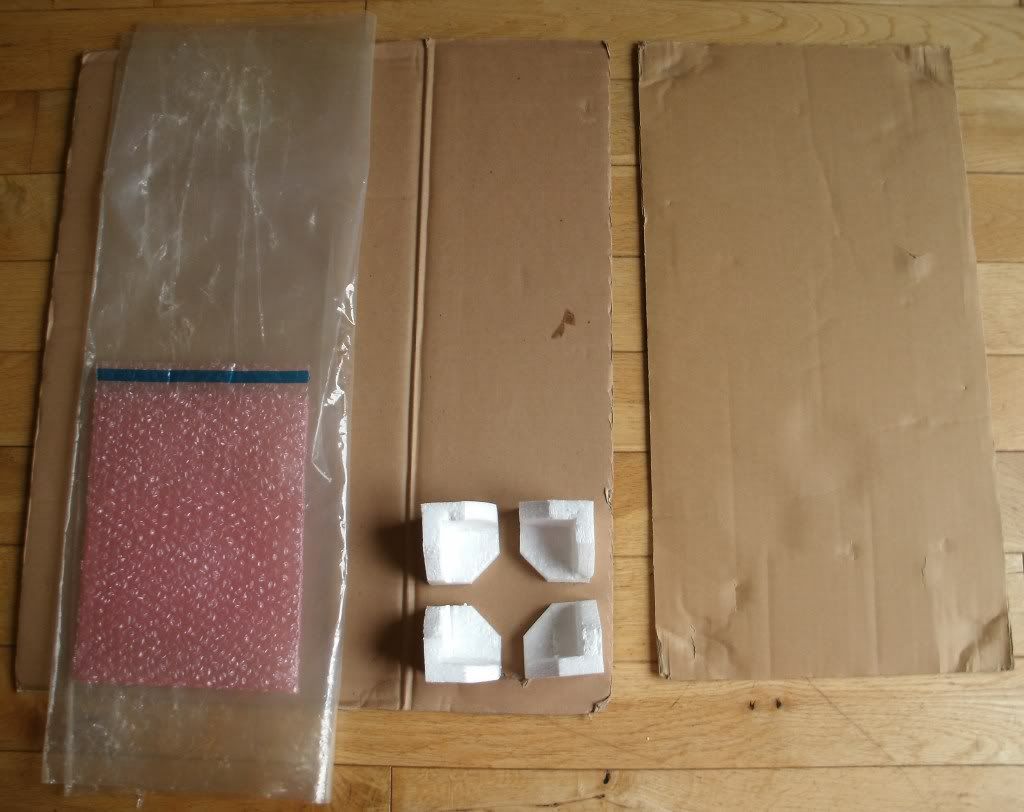
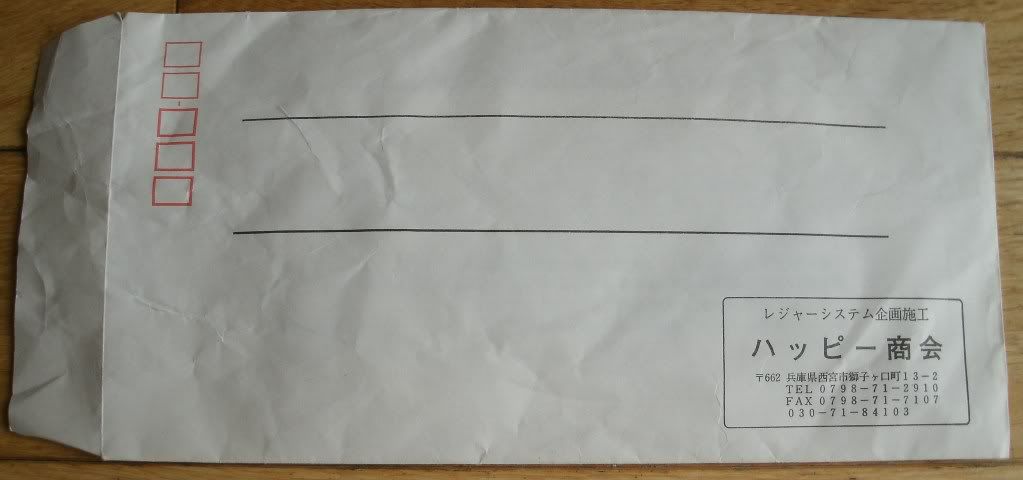
Box
Just a simple brown cardboard box mine is a bit beat up and arrived covered in parcel tape but I have managed to remove all of that with a hair dryer. There's a bit of Japanese writing on the top and front and back of the box (if anyone can translate this PLMK). Inside there are 2 bits of card packing, 4 soft corner protectors, a plastic bag, an antistatic bag and an envelope which contains the instruction sheet.
Outer box
Inner packaging
Manual envelope
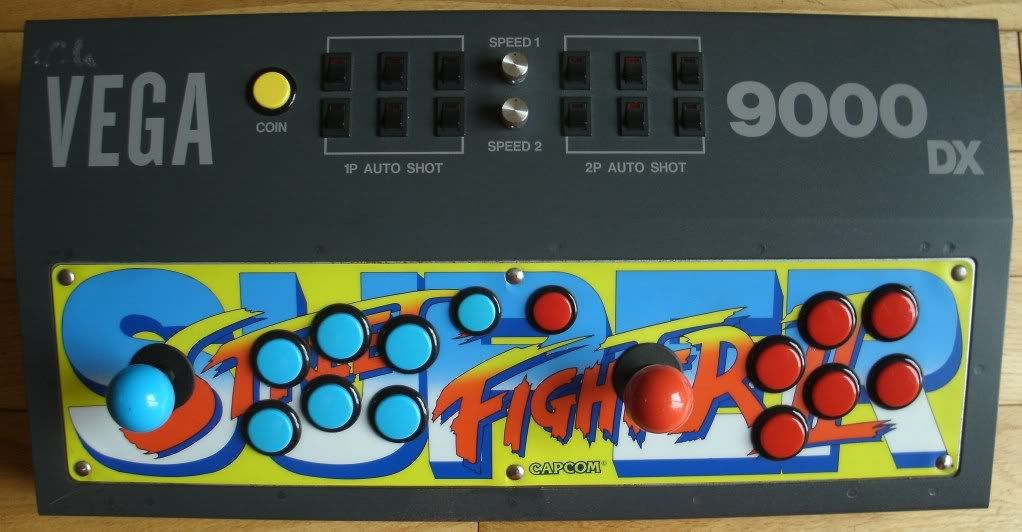
Front/ Top
Just 3 screws to be found on the front. The control panel is a Sega Aero city sized panel which is held in place by 6 wing nuts. The overlay on mine is Super Street Fighter II but there is also a Street Figter II, Street Fighter II Turbo and Vampire Saviour I don't know if there were any other overlays available. Coin button, P1 and P2 button. Each player has 6 buttons and 6 autofire switches with speed control dials. the autofire switches light up when a button is pressed.
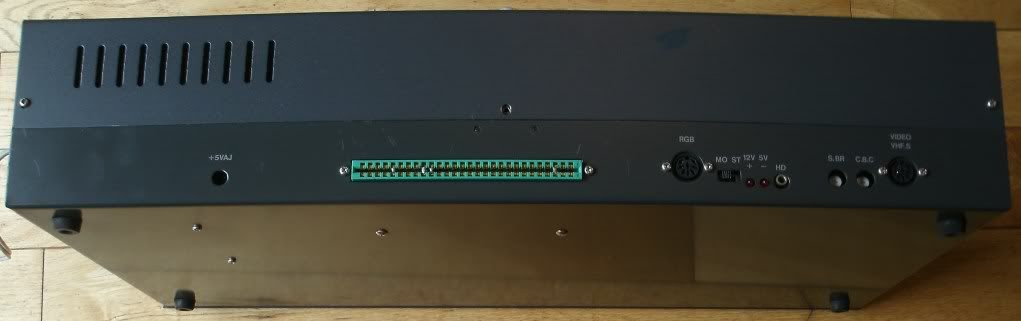
Back
This is where the +5VADJ, the connector for the proprietary keyed Vega loom, RGB, MO ST, 12V+ LED, 5V- LED, HD, S.BR, C.B.C and VIDEO VHF-S are located.
+5VADJ There is a small hole and within the recess is an unmarked white pot which is the +5V adjustment pot
Loom connector The Vega loom connector is keyed in two places as the connectors come on two separate fingerboards. The larger of the two fingerboards is for all the regular gubbins and the second smaller connector is for the Capcom kick harness.
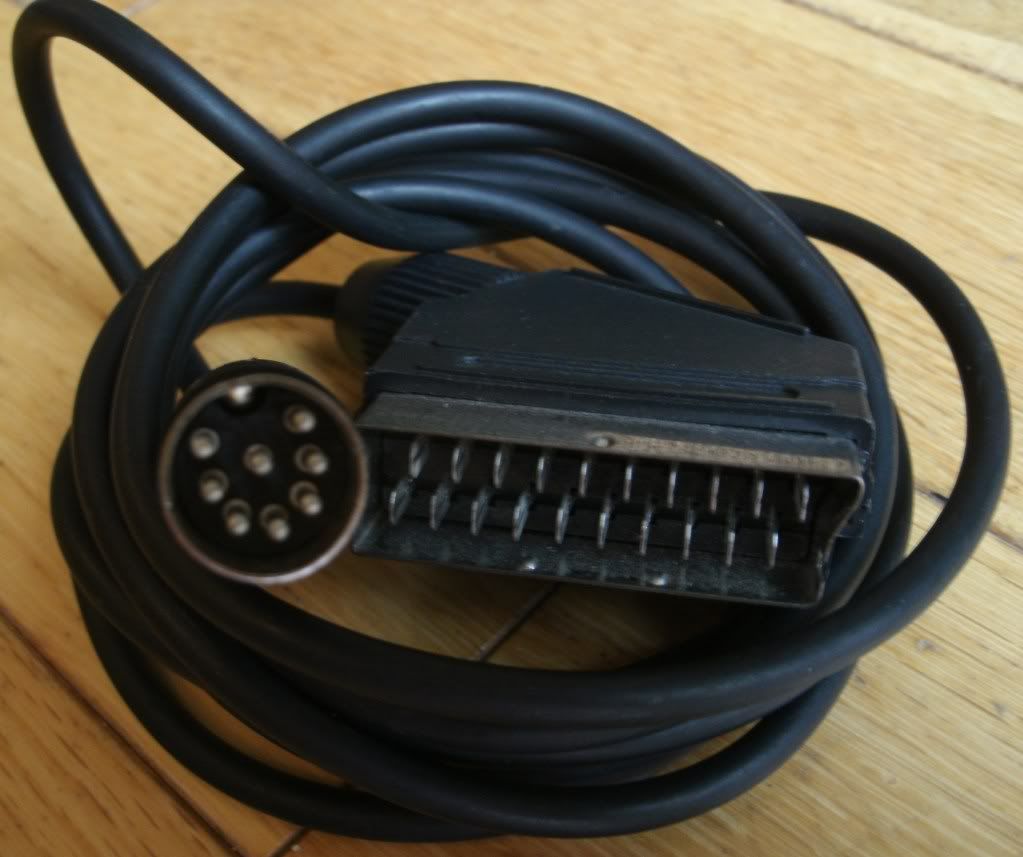
RGB RGB output. The European RGB scart cable is interchangeable with the Sigma AV6000/ AV7000 and Raijin which is sold here http://www.retrogamingcables.co.uk/sigma-av7000"
MO ST Stereo / Mono switch
12V+ LED LED light for the 12V+
5V- LED LED light for the 5V-
HD Headphone jack
S.BR S Video or AV brightness control only
CBC Colour burst correction, adjusts colour hue and intensity which sharpens the image.
VIDEO VHF-S S video or AV output
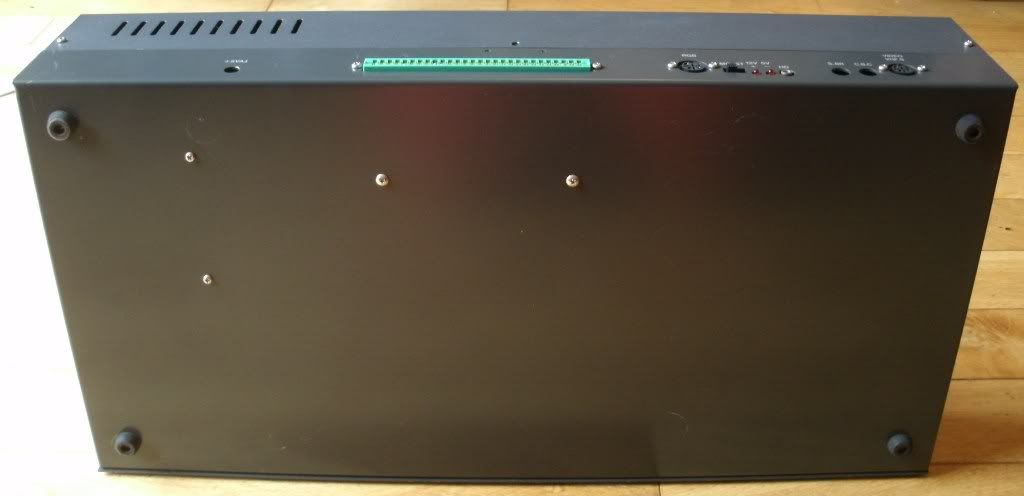
Bottom
Other than 4 rubber feet and a few screw heads there's not a lot to see.
Left hand side
Nothing at all on this side.
Right hand side
This is where the power switch, fuse and the power cord are located.
Power switch on/off power switch, a small red light comes on when the unit is switched on.
Fuse Easy access to the screw in fuse
Power cord This non detachable, as you would expect this is hard wired in the power supply.

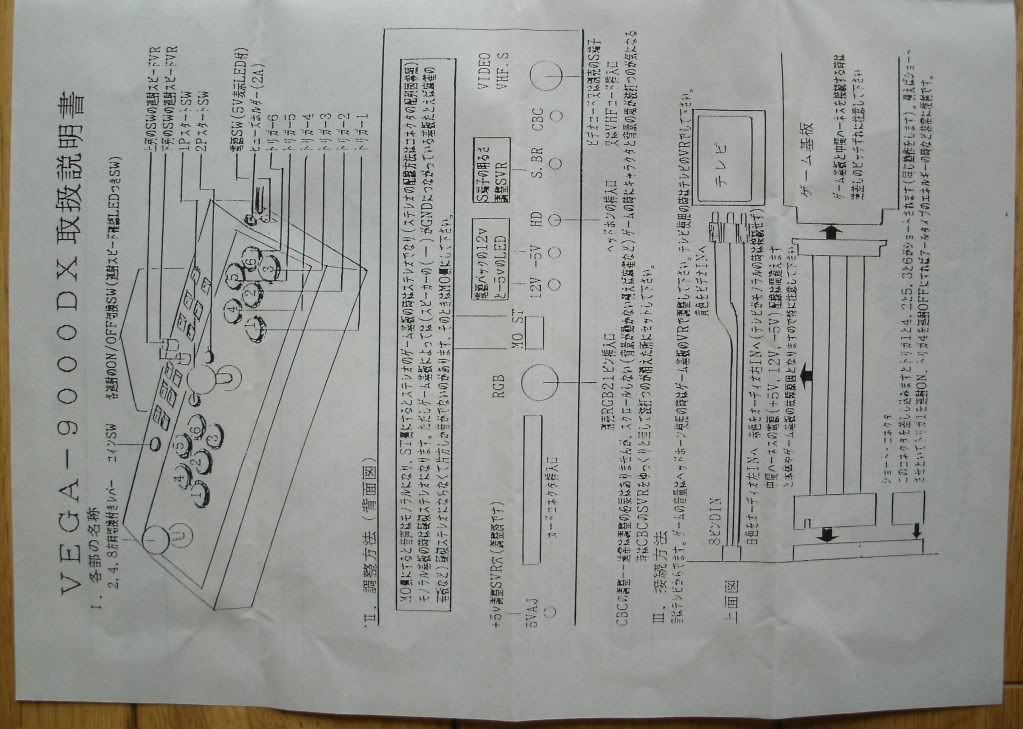
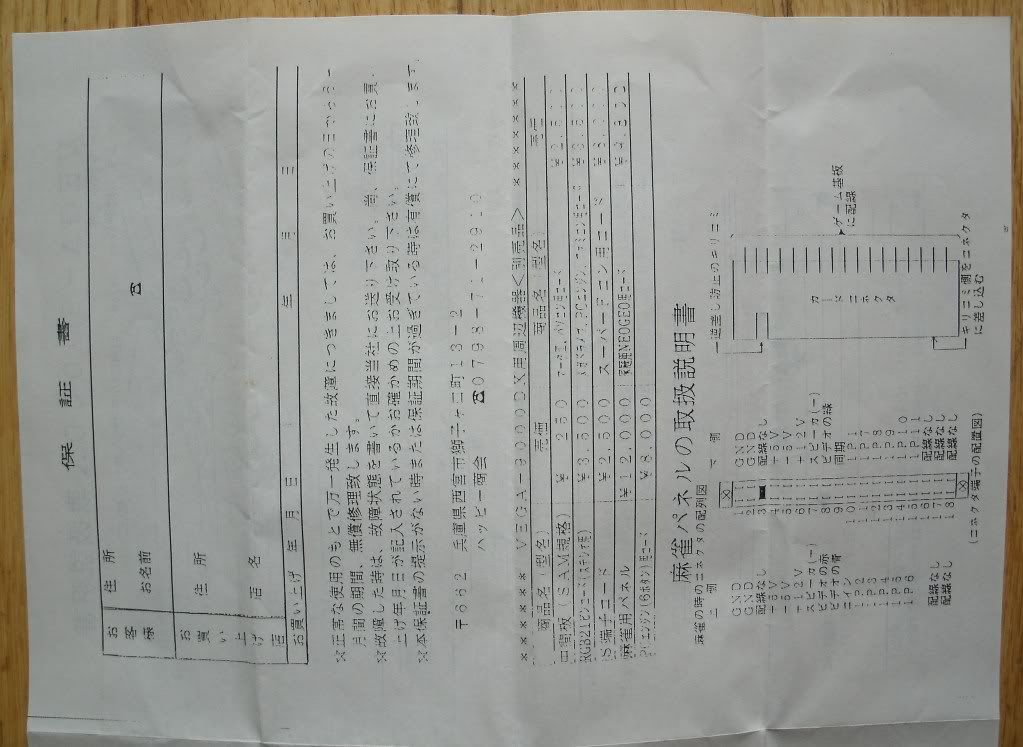
Instructions


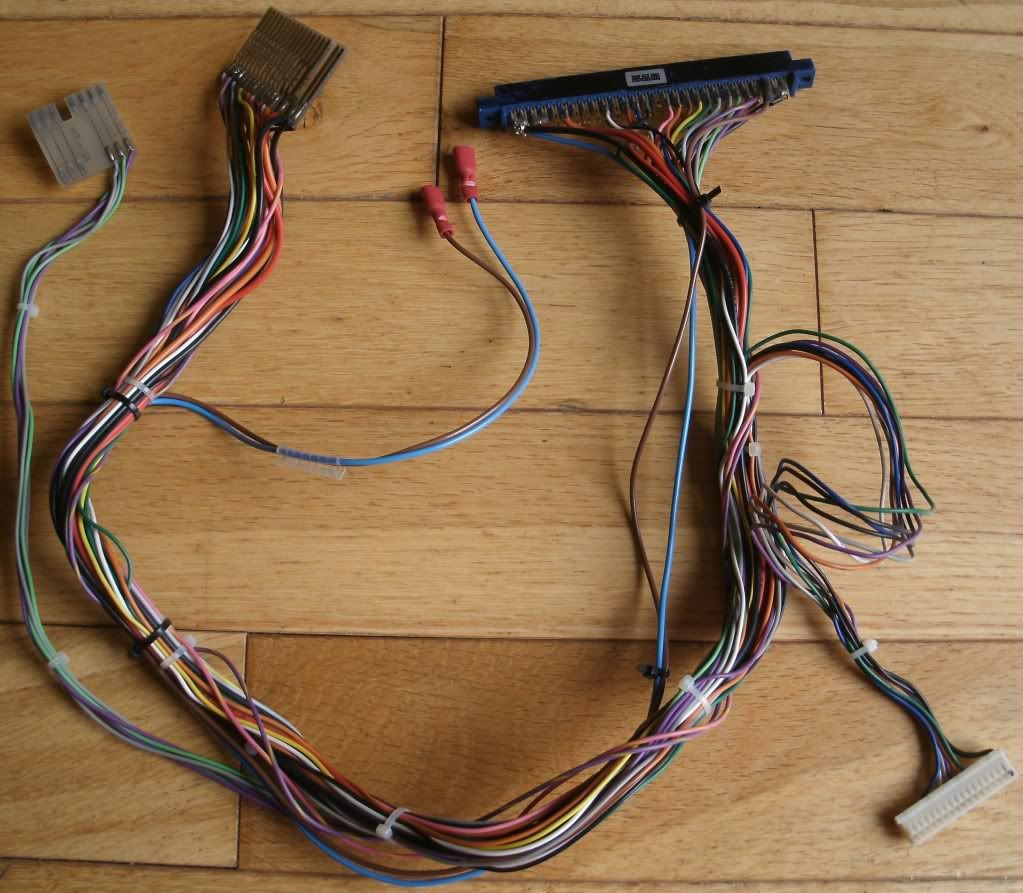
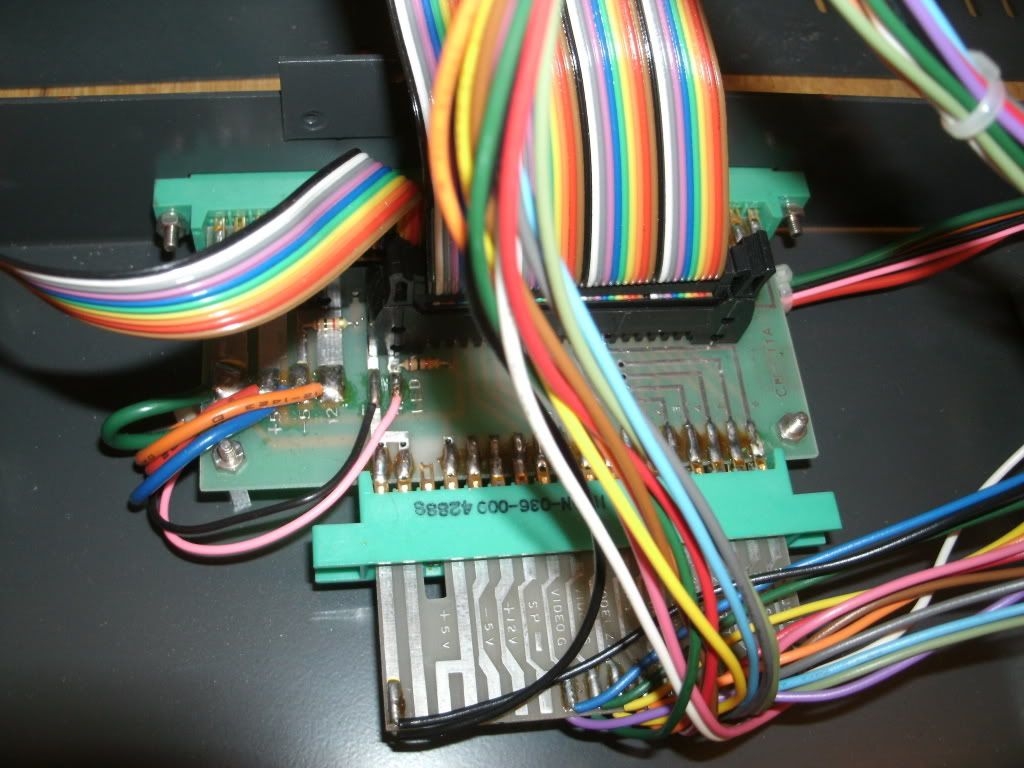
Loom (note - it's had wiring added for an extra button see 2 extra crimp connectors added to pins 1&2 GND blue wire and 26 brown wire which I need to remove and tidy up the terrible soldering on these bits)
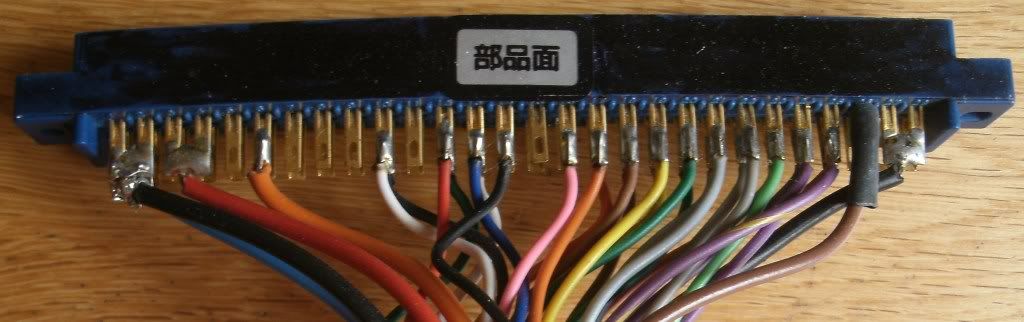
JAMMA edge connector (parts side)
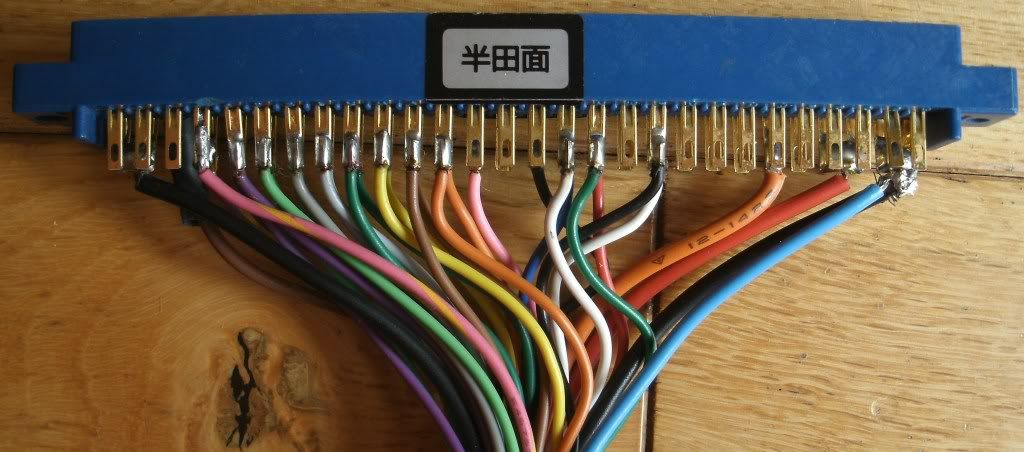
JAMMA edge connector (solder side)
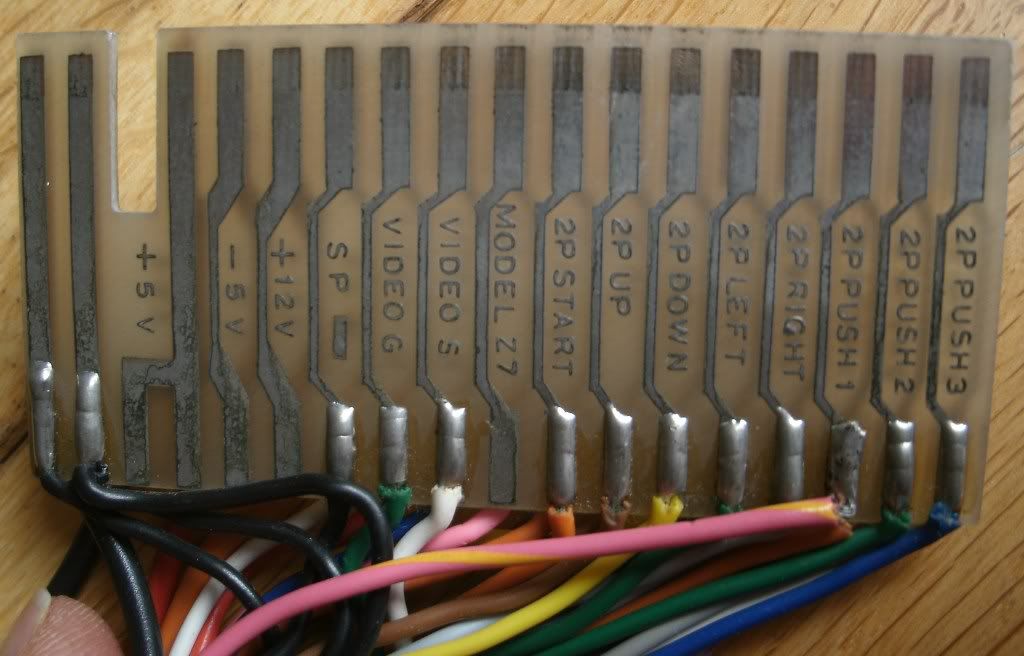
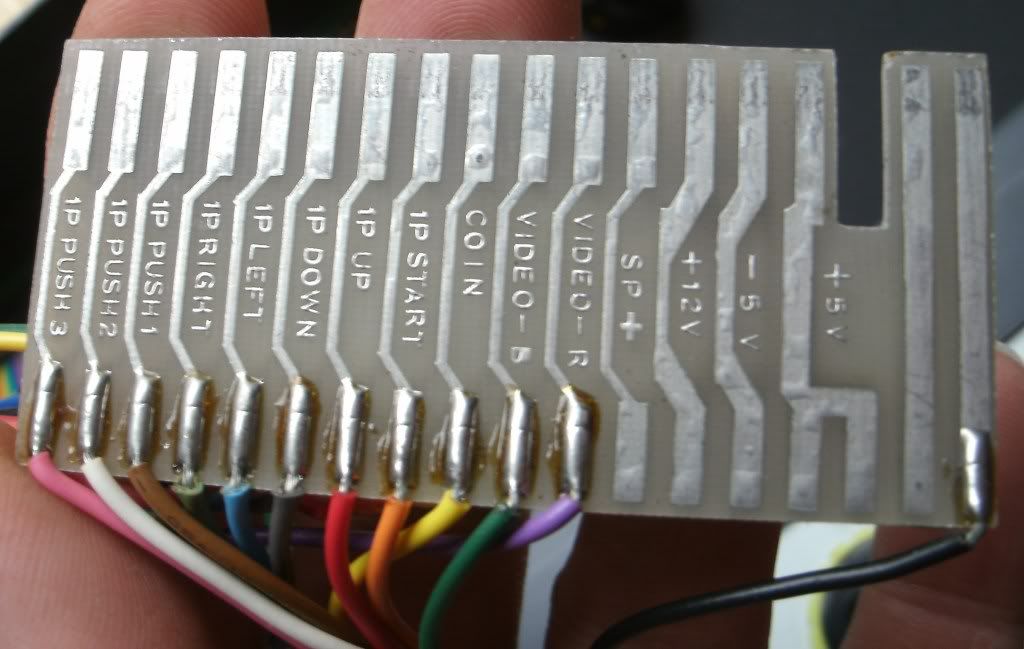
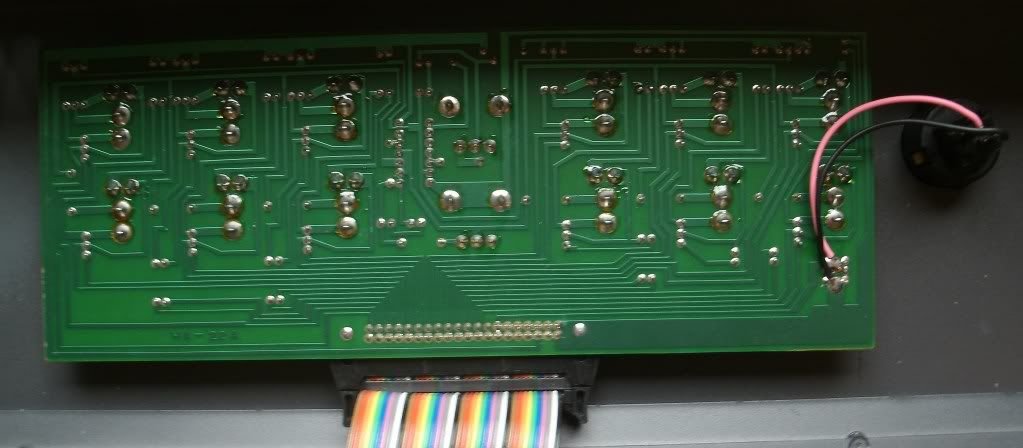
Fingerboard (parts side)
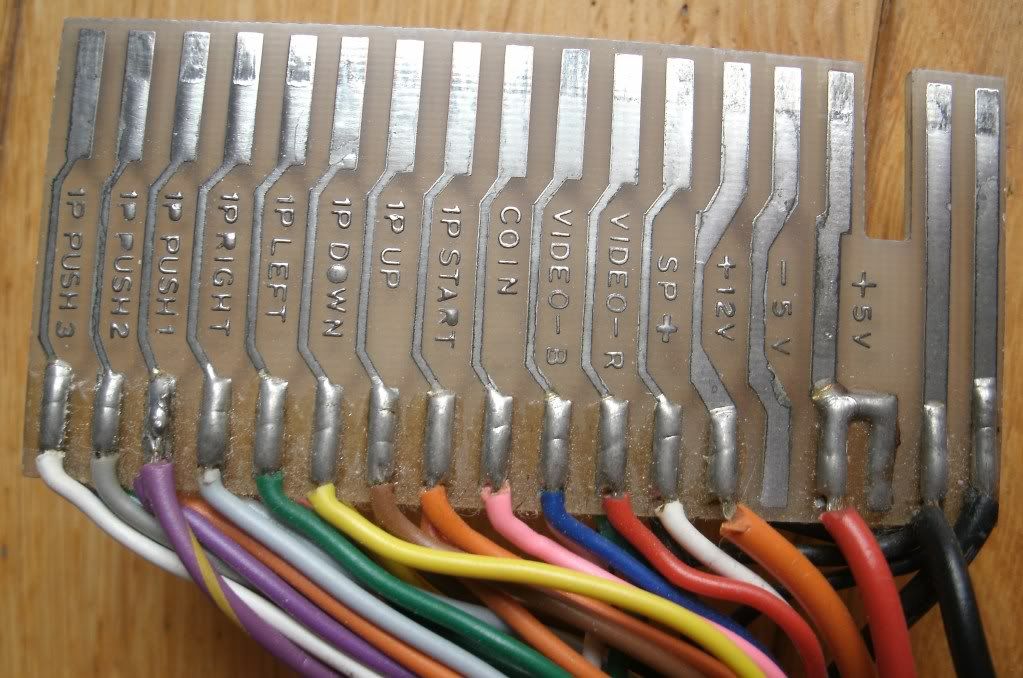
Fingerboard (solder side)
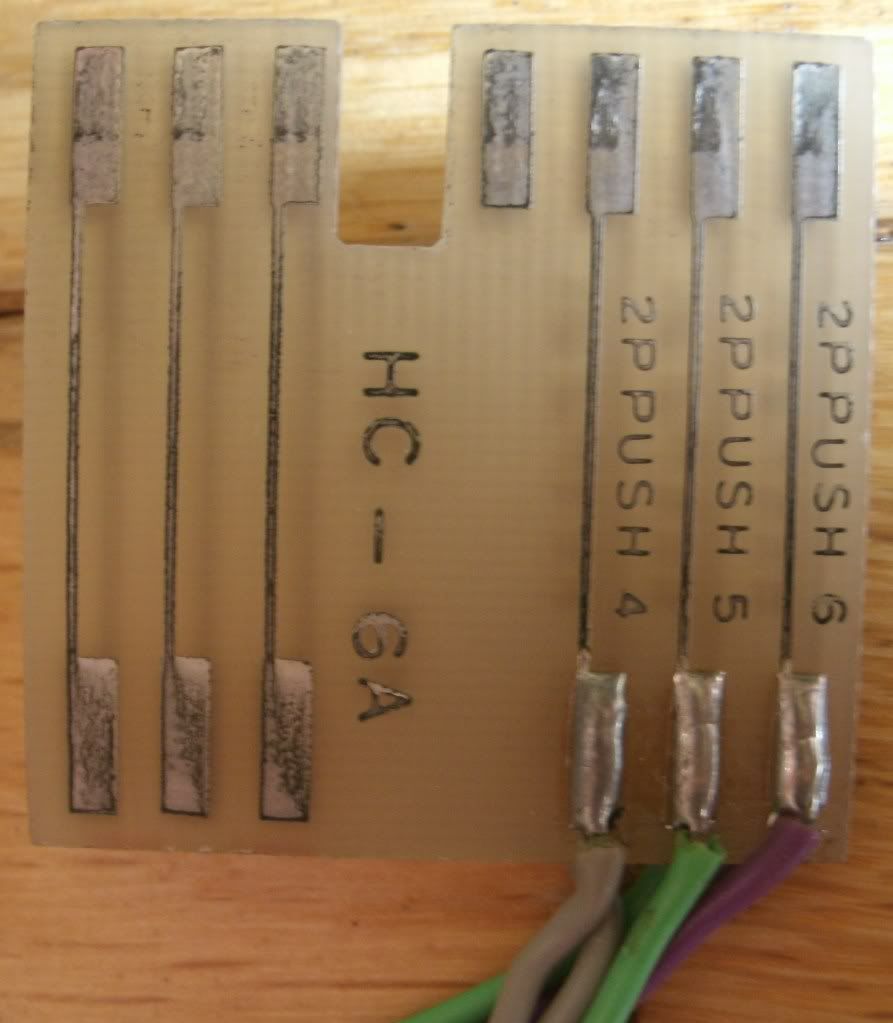
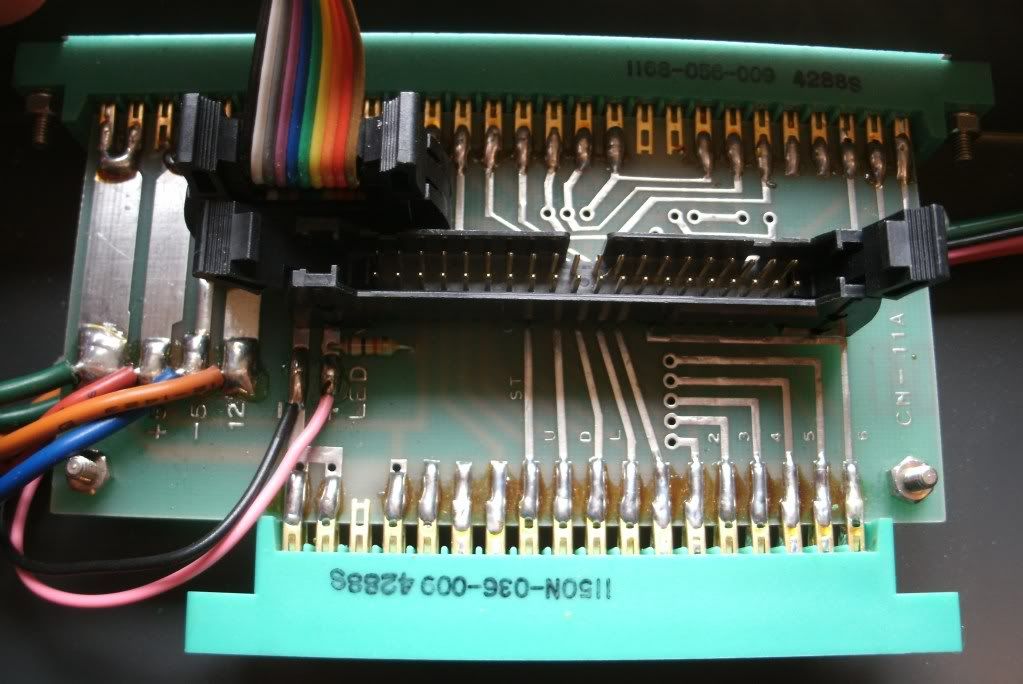
Fingerboard kick harness (parts side)
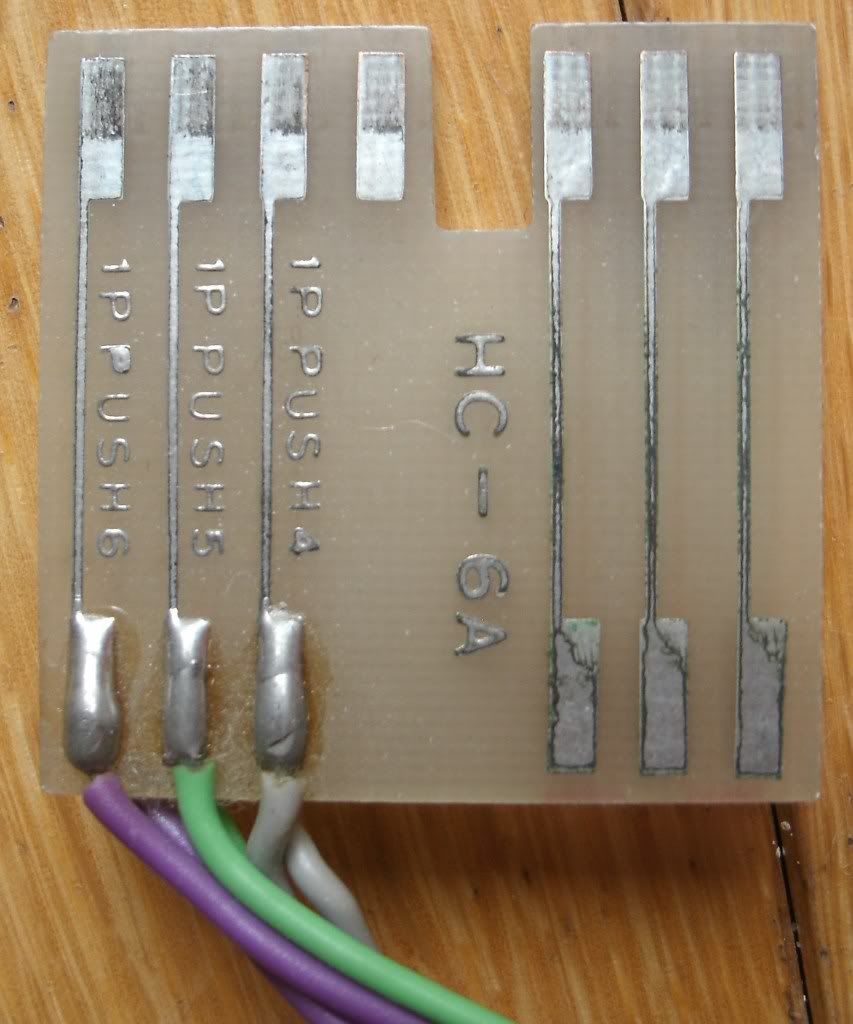
Fingerboard kick harness (solder side)
Scart cable
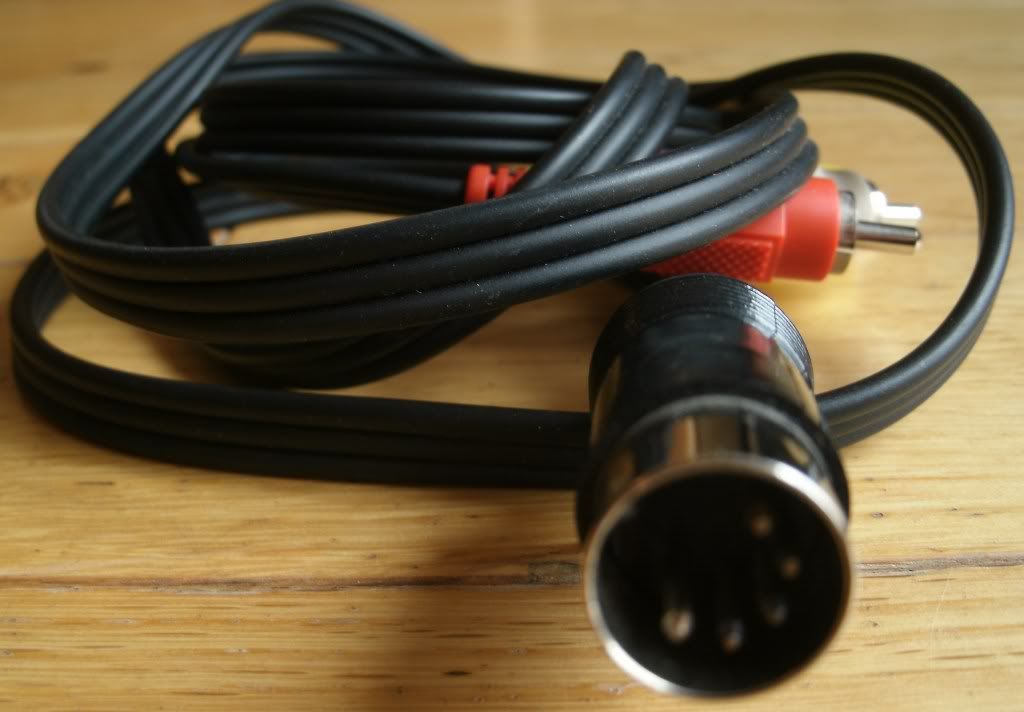
AV cable
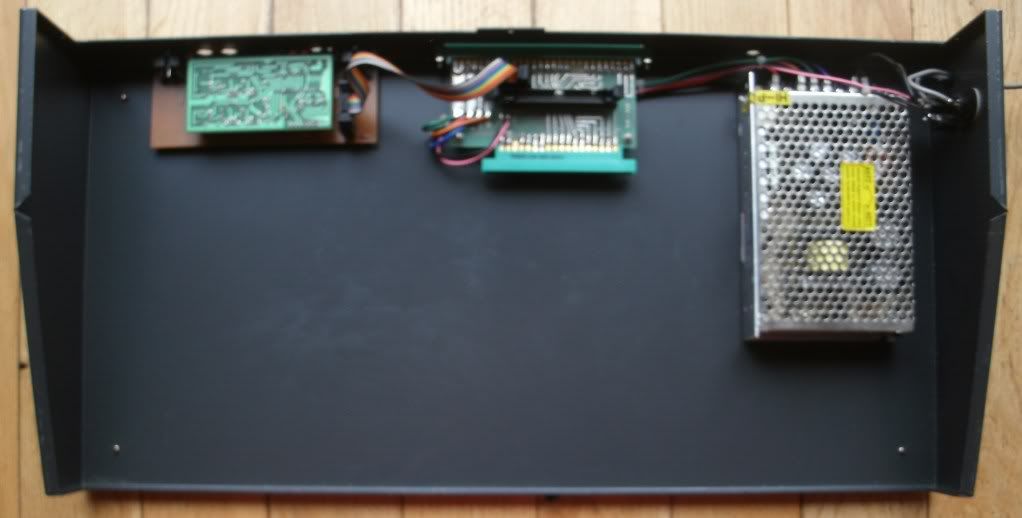
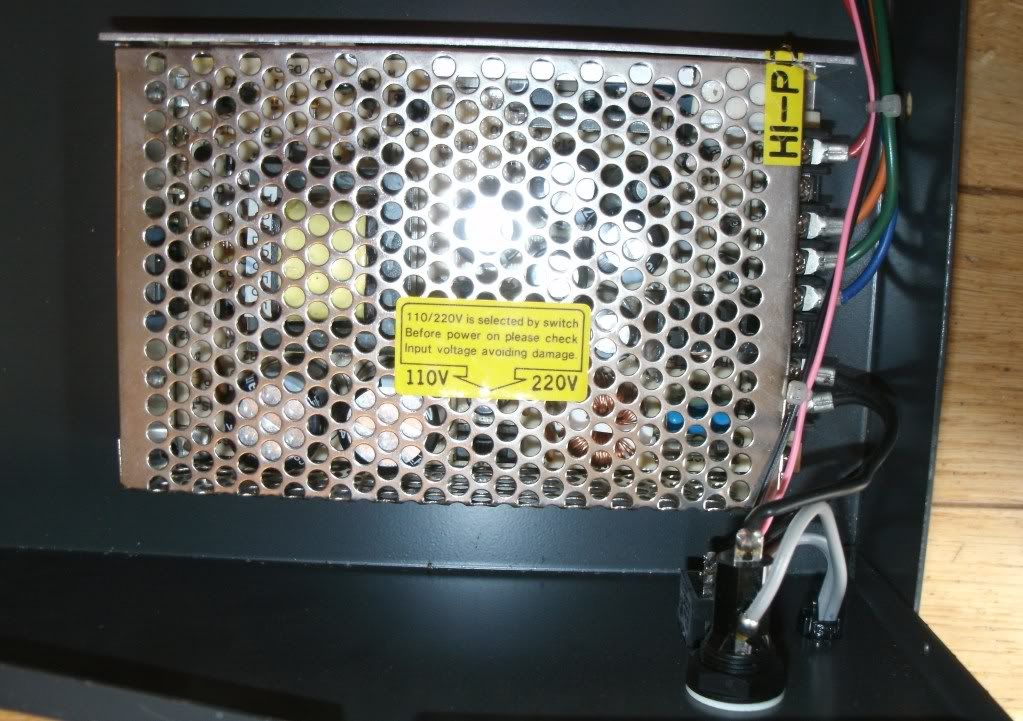
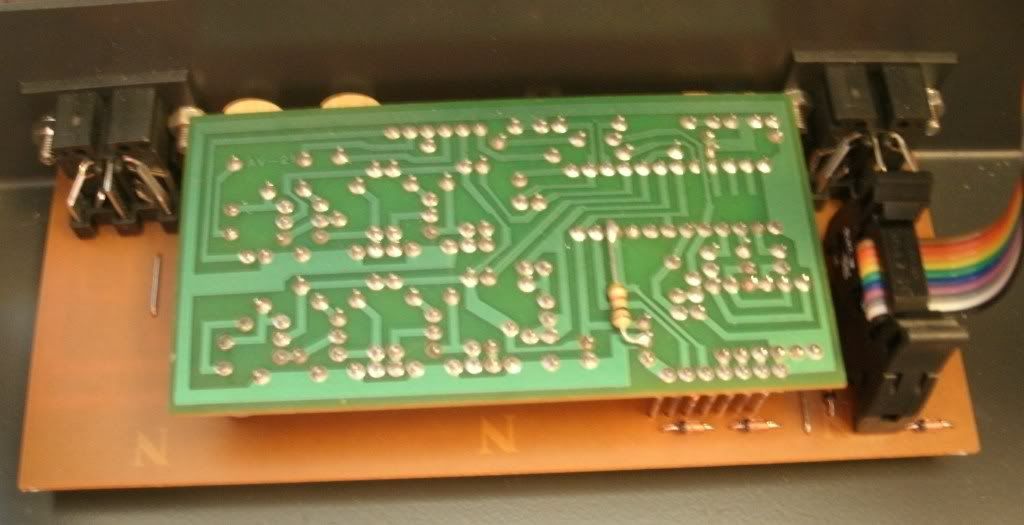
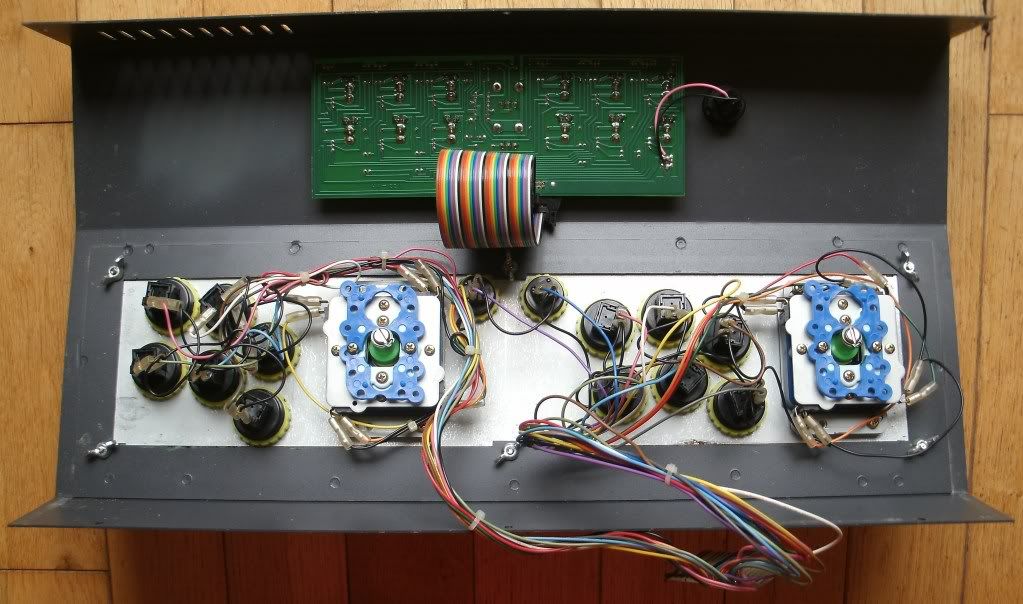
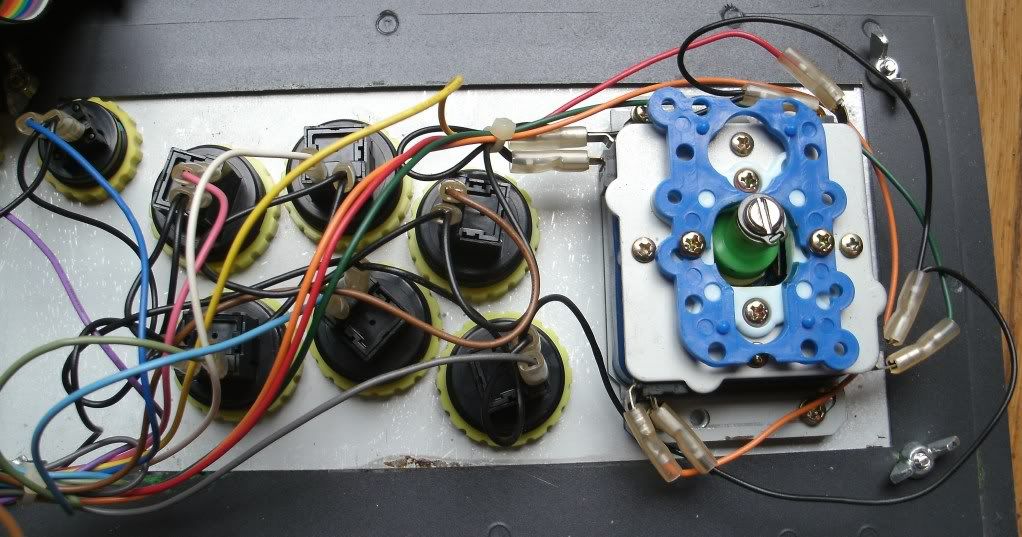
Insides
Base
Upper

Here we go
Dimensions
Length 540mm
Width 270mm
Height 110mm
Weight
7.3 KG
Sticks
LS32
Buttons
Seimitsu
Box
Just a simple brown cardboard box mine is a bit beat up and arrived covered in parcel tape but I have managed to remove all of that with a hair dryer. There's a bit of Japanese writing on the top and front and back of the box (if anyone can translate this PLMK). Inside there are 2 bits of card packing, 4 soft corner protectors, a plastic bag, an antistatic bag and an envelope which contains the instruction sheet.
Outer box
Inner packaging
Manual envelope
Front/ Top
Just 3 screws to be found on the front. The control panel is a Sega Aero city sized panel which is held in place by 6 wing nuts. The overlay on mine is Super Street Fighter II but there is also a Street Figter II, Street Fighter II Turbo and Vampire Saviour I don't know if there were any other overlays available. Coin button, P1 and P2 button. Each player has 6 buttons and 6 autofire switches with speed control dials. the autofire switches light up when a button is pressed.
Back
This is where the +5VADJ, the connector for the proprietary keyed Vega loom, RGB, MO ST, 12V+ LED, 5V- LED, HD, S.BR, C.B.C and VIDEO VHF-S are located.
+5VADJ There is a small hole and within the recess is an unmarked white pot which is the +5V adjustment pot
Loom connector The Vega loom connector is keyed in two places as the connectors come on two separate fingerboards. The larger of the two fingerboards is for all the regular gubbins and the second smaller connector is for the Capcom kick harness.
RGB RGB output. The European RGB scart cable is interchangeable with the Sigma AV6000/ AV7000 and Raijin which is sold here http://www.retrogamingcables.co.uk/sigma-av7000"
MO ST Stereo / Mono switch
12V+ LED LED light for the 12V+
5V- LED LED light for the 5V-
HD Headphone jack
S.BR S Video or AV brightness control only
CBC Colour burst correction, adjusts colour hue and intensity which sharpens the image.
VIDEO VHF-S S video or AV output
Bottom
Other than 4 rubber feet and a few screw heads there's not a lot to see.
Left hand side
Nothing at all on this side.
Right hand side
This is where the power switch, fuse and the power cord are located.
Power switch on/off power switch, a small red light comes on when the unit is switched on.
Fuse Easy access to the screw in fuse
Power cord This non detachable, as you would expect this is hard wired in the power supply.
Instructions
Loom (note - it's had wiring added for an extra button see 2 extra crimp connectors added to pins 1&2 GND blue wire and 26 brown wire which I need to remove and tidy up the terrible soldering on these bits)
JAMMA edge connector (parts side)
JAMMA edge connector (solder side)
Fingerboard (parts side)
Fingerboard (solder side)
Fingerboard kick harness (parts side)
Fingerboard kick harness (solder side)
Scart cable
AV cable
Insides
Base
Upper