At the end of last year I bought two SEGA Astro City cabinets on a neogeo.com group order (thanks not_sonic!) with the intention of putting some consoles inside without altering the original Jamma wiring so that I could easily put an arcade PCB in if I ever decided to take the plunge and buy a new Cave game or something I couldn't play on the consoles. Keeping the cabinets in their original condition was important so that they still function as exactly they normally would and so that I could easily resell these if I ever needed to. The only major change I did to the cabinets was replacing the original monitor chassis with Wei Ya 3129a chassis because there were plenty of hi-res shooters and fighters I wanted to be able to play. This had the added benefit of making sorting out the video for this project much, much easier, but with the downside that the Wei Ya's geometry isn't as good as the stock chassis' (it's completely tolerable though, click here for a comparison).
Before cleaning these things up and replacing the joysticks and buttons, they didn't look quite so hot, and this is after a preliminary scrubbing:
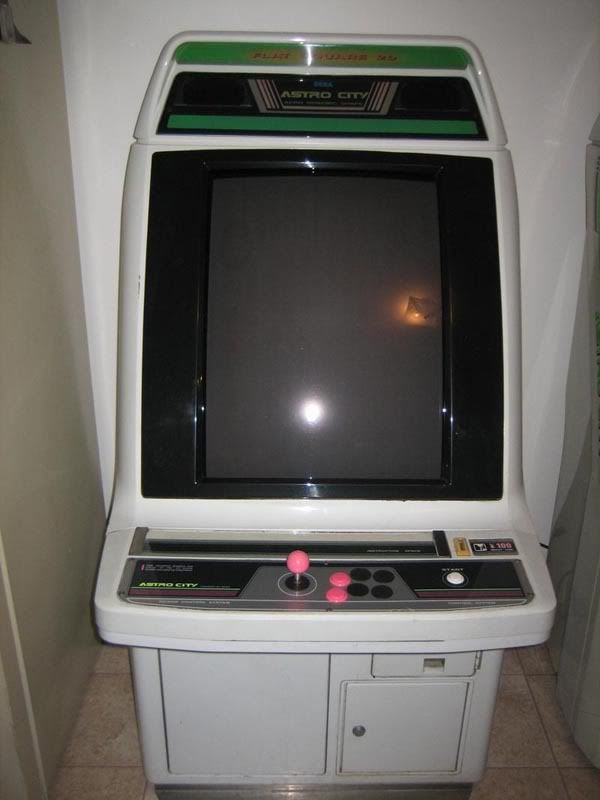
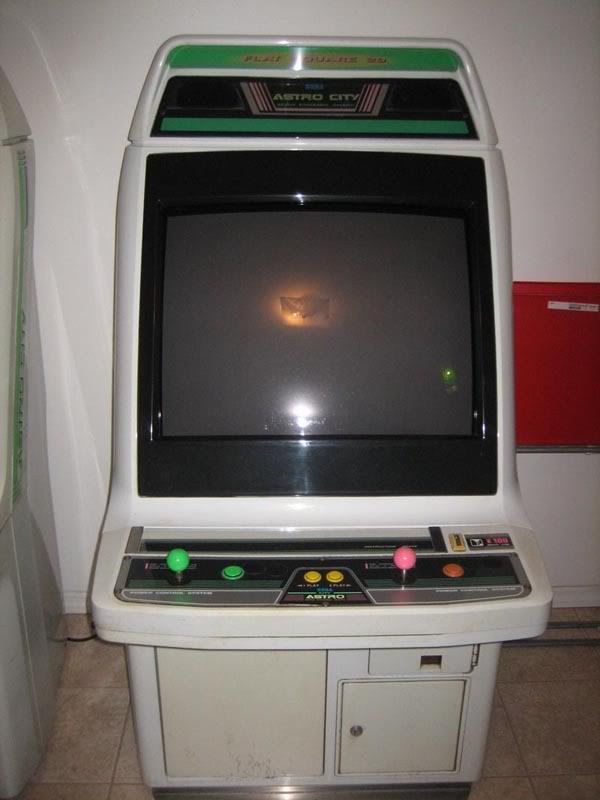
Yellowed, dirty, scratches on the monitors, rusty control panels, and the insides were completely filthy. Cleaning them up took plenty of time and elbow grease.
To get all my consoles hooked up to cabinets, there were two things I had to get sorted: the A/V and the controls. Because the Wei Ya chassis have a dsub VGA input, all I had to do was get the consoles to output 15-31KHz on a VGA cable. That can be done easily enough for PC, Dreamcast (here's a guide on modding your Dreamcast VGA Box for 15/31KHz), Wii, and PS2 (I used the Ultimarc cable, although that only supports 15KHz). For the audio I used some kind of car stereo amp I found on eBay, and for the controllers I used PSX padhacks (and controller adapters). I already had great adapters for the Dreamcast, Gamecube (which also work on the Wii), and PC USB, so I was all set.
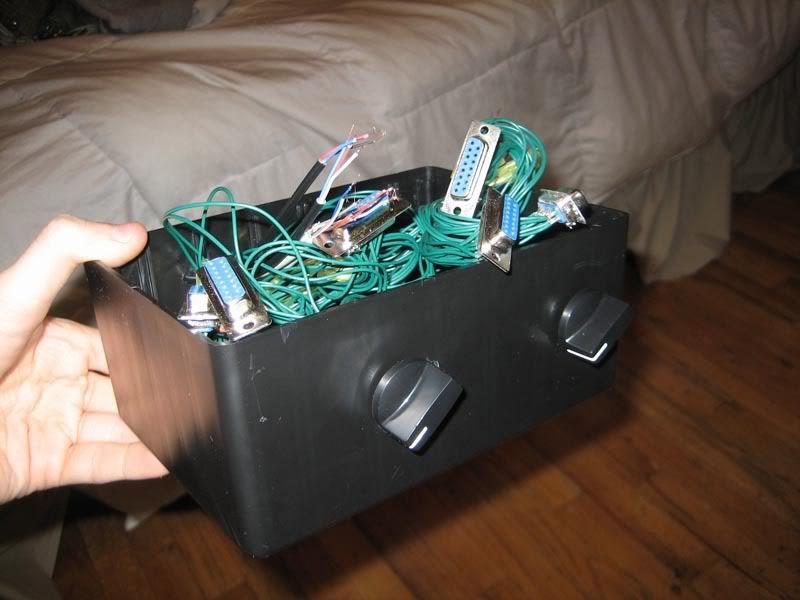
What I did then was to get two Jamma fingerboards and put them in project boxes with the edges protruding and wired up to the padhacks accordingly. I also put the stereo amp inside with the knobs sticking out the front for easy volume/bass/treble access. The amp is powered with 12V from the Jamma edge. These simple little boxes take 1/8 stereo cable audio input and amplify it (in stereo) through to the stock Astro speakers, and take the joystick and buttons (with kick harness) input and route it to the PSX controllers. To interface with the cab's audio and kick buttons I had to use the proper connectors, which you can find here on Akihabarashop.jp. The audio requires a 4 pin female and the kick requires a 10 pin male.


Now onto the wiring. Since I wanted to be able to use the PC and consoles in either of the cabs, I had to route a bunch of cables between the two. Here's where I had to do a minor modification to the cabinet. I hacksawed the 30mm hole on the back power panel out to the edge of the plate so that I could run wires through that had large heads (dsub, PSX controller, etc.). What I would have to do is run the monitor input, audio input, PSX controller, PC video ouput, and PC USB/PSX adapter cables from the vertical cab to the horizontal cab. That left me with a big mess of wires in the horizontal cab, but the ability to connect the controls of either cab into any console and then run the audio and video from that console to either cab. The only step left now was to clean it all up and use Y cables so that I could run one console on both cabinets for versus cabinet style play.
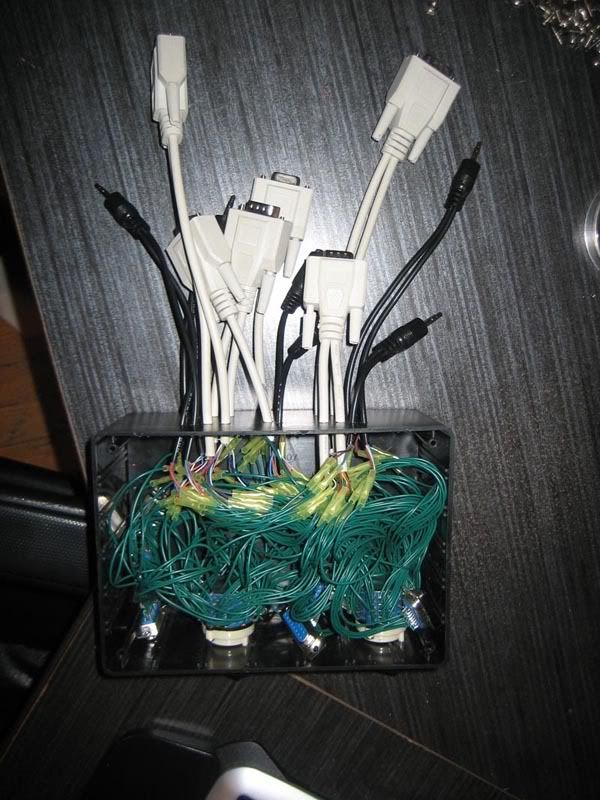
I couldn't find proper A/V switchbox that would do what I needed without a lot of modification, so I just made my own from two DB15 4-port switch boxes and some 1/8 stereo Y cables and VGA Y cables. The Y cables simply split the audio and video up and send it to both of the switches, and each switch has a female audio and video output. I can independently select any of the four consoles to be routed to either of the cabinets. The controllers have to be manually changed however.
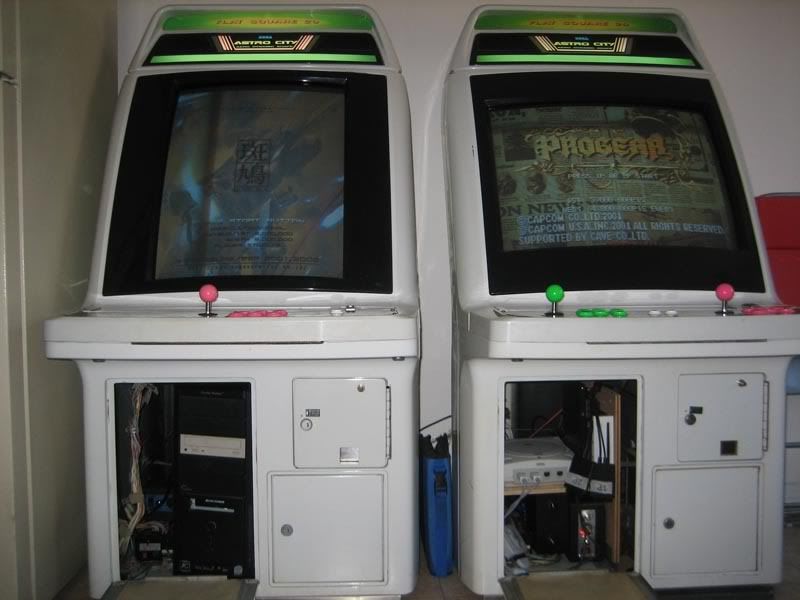
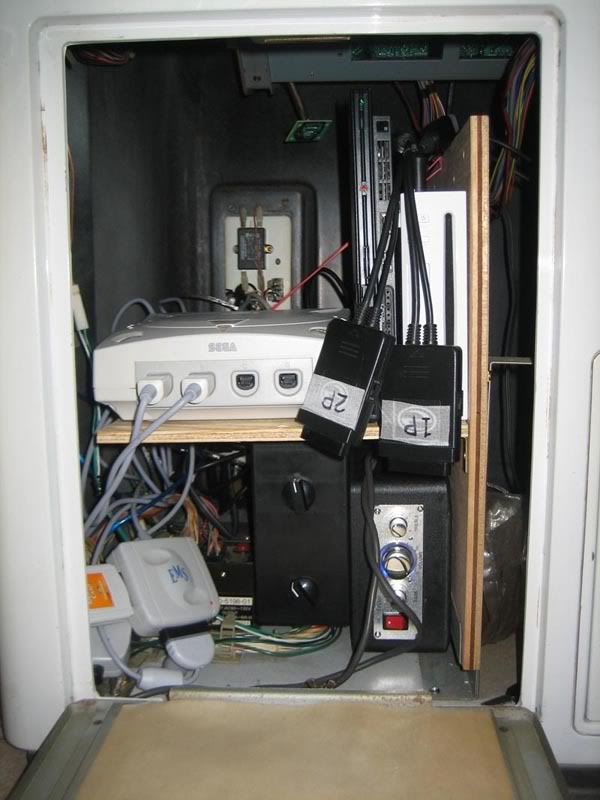
The final challenge was to actually fit all these consoles and the adapters inside the cabinets. You would think there would be a lot more room in here, but between the PSU, the PCB board, and the coin box, you're not left with much. Luckily the PS2 (slim version), Dreamcast and Wii are all quite small. The consoles needed to be fit in so that I could easily access the disc drives as well, and there just wasn't room to sit them on the floor of the cab. Instead I built a shelf onto the PCB board which is suspended with wire to keep it level. It's a tight fit, but it works and I can open the drive doors for the Dreamcast and PS2 without impediment. All of the consoles are plugged into the same power strip as the cabs so that I can power everything on with the flip of one switch.
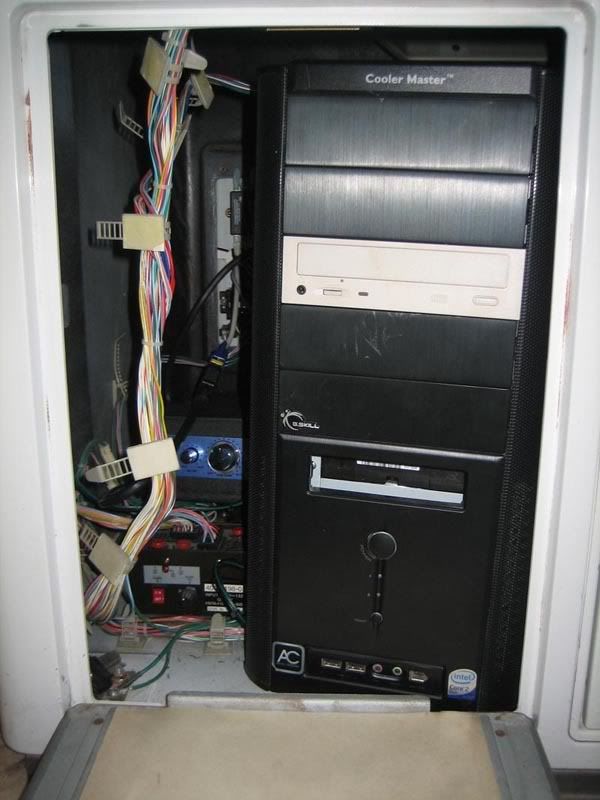
For the PC, I was originally thinking I would have to take it out of the case and mount it onto the PCB board behind the consoles with the PSU on the floor of the cab. There were a few problems with this: it was a little too messy for me, I was worried about it getting too warm in there (the monitors produce quite a bit of heat), and I wasn't even sure it would all fit. I found that if I took the PCB board and mount out of the other cab, the entire PC tower could just sit inside. Temperatures have been staying completely reasonable after extended play.
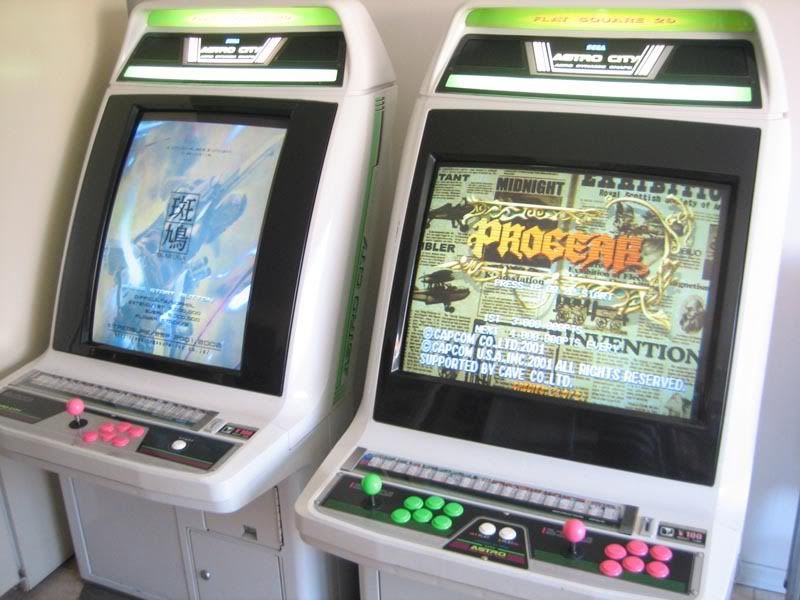
And here are the highlights of what I can play on these cabs:
MAME (running a custom version of cabmame right now)
GGPO (here's a video of how that works)
Doujin PC Shooters (Touhou, Trouble Witches, Aba, etc.)
Cave PS2 ports (click here for a shmups thread on getting Mushi and Ibara running in 240p)
Naomi Dreamcast ports
Tatsunoko vs. Capcom
I could make another post this long detailing how I got the PC setup, but the short story is that it has a 7600GT for the GPU with Soft15KHz installed, and the processor is a 1.6GHZ Core2Duo, so it should be able to handle Street Fighter IV once that is released for the PC. I am using GameEx for my frontend, which can be switched form horizontal to vertical, and I'm very happy with it.
Thanks for looking! Hopefully this information will be helpful to some people that want to do something similar.
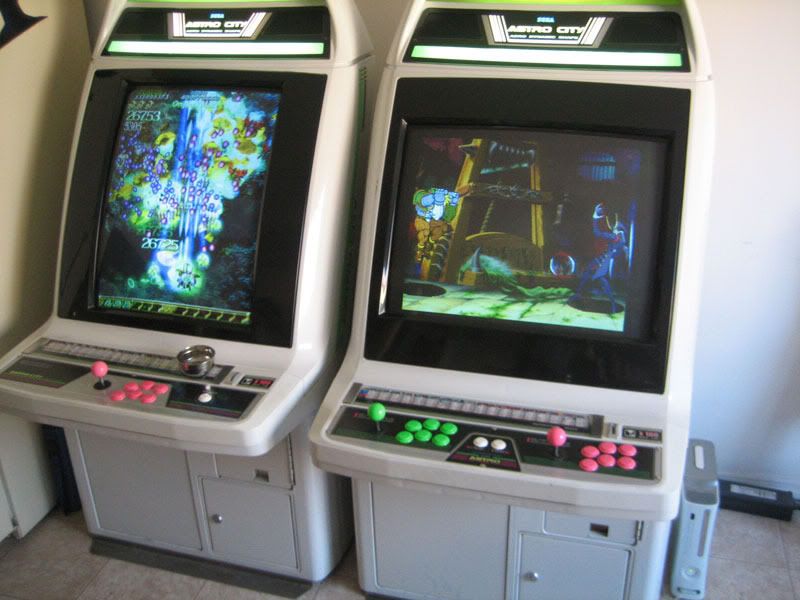
edit: XBOX 360 Update!
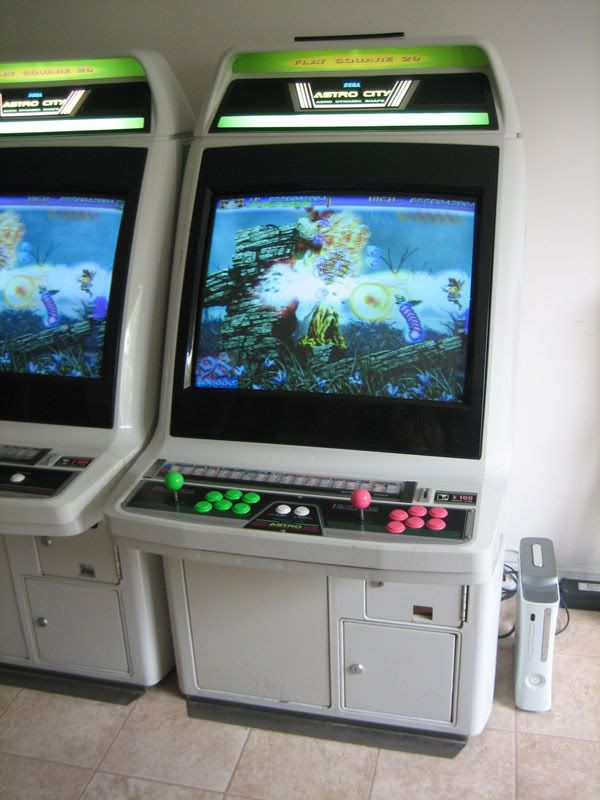
I figured I'd update this since I snapped some pics of the whole thing running with a 360 throw into the mix. Since I only have four inputs to play with, I used an A/V splitter so the 360 and the Wii share a connection. I have to unplug one if I'm using the other (which means the Wii usually just stays unplugged) or the A/V signal will be slightly dulled (and who knows if it's bad to feed a signal back into either of the systems). A small price to pay though for having Deathsmiles and Mushi Futari available to play in hi-res mode on the cabs.
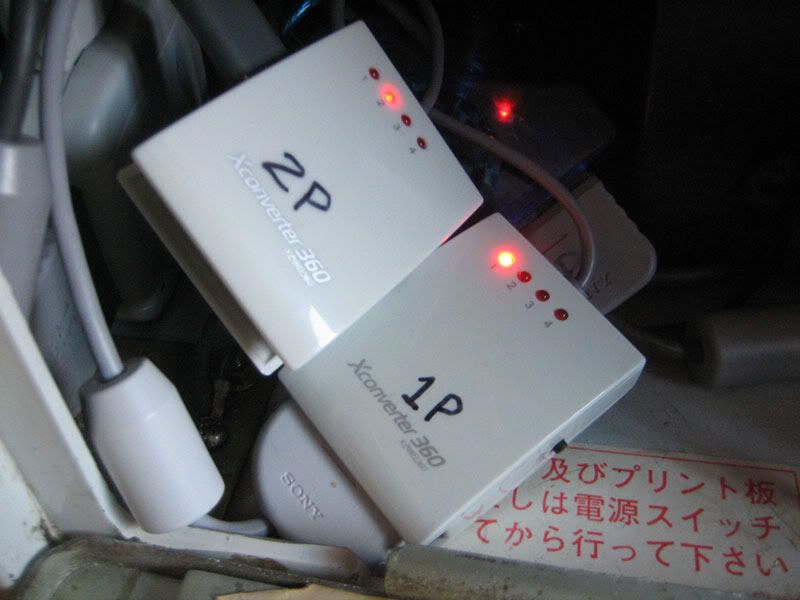
For the controls I am using some really nice adapters I bought from someone in Korea on the SRK forums. The XConverter 360s do a great job. No lag, no weird input dropping or hanging (the Mayflash Max Shooters I bought before were having some issues), and they are nice and small. Of course they still require a wired 360 controller be connected to them like all other 360 adapters, but they are just tucked away behind the coin box.
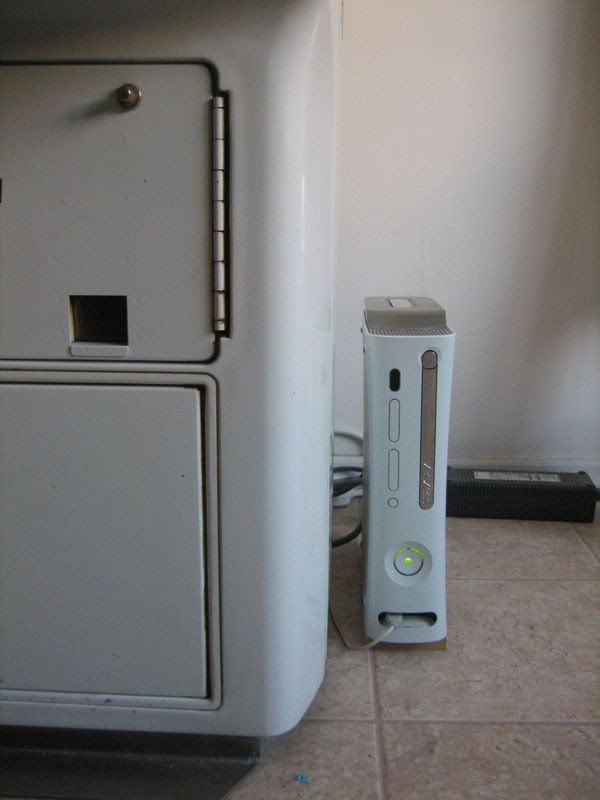
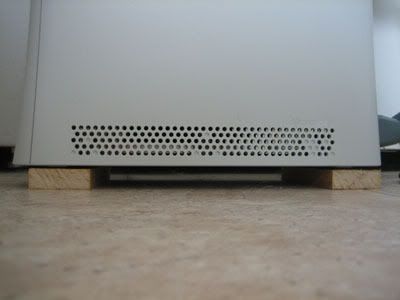
The cab is full with the other consoles, and I'd be worried about the 360 overheating anyways, so I put it next to the cabs and on top of two small wooden blocks to allow for maximum airflow (there are air vents on the bottom as well).
Mushi Futari Black Label and Deathsmiles in hi-res
And I'll leave you with this short video: