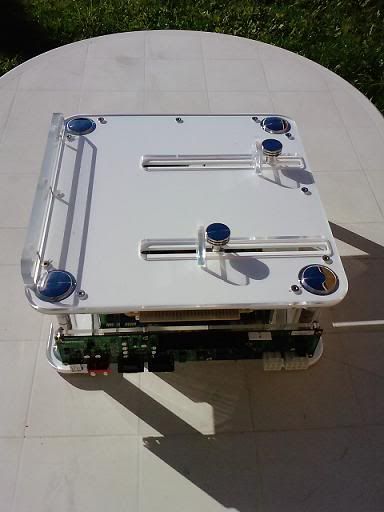
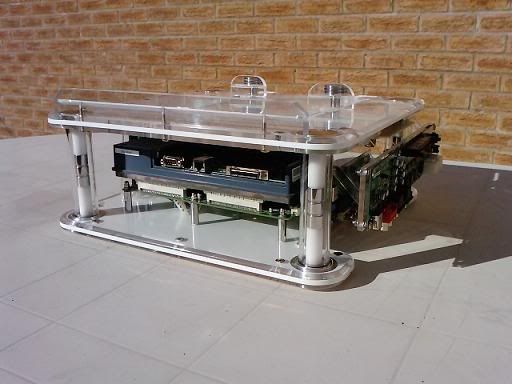
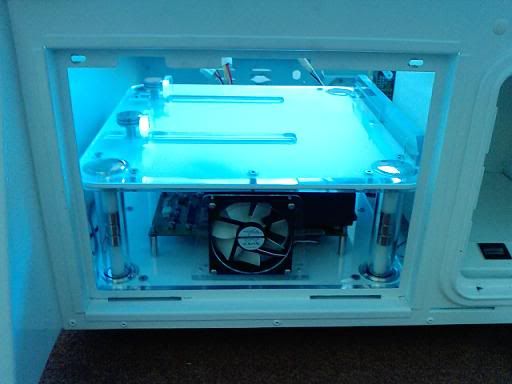
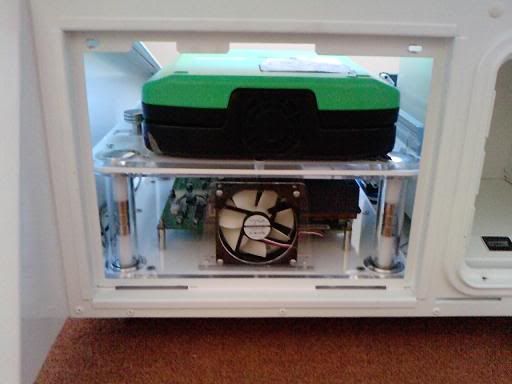
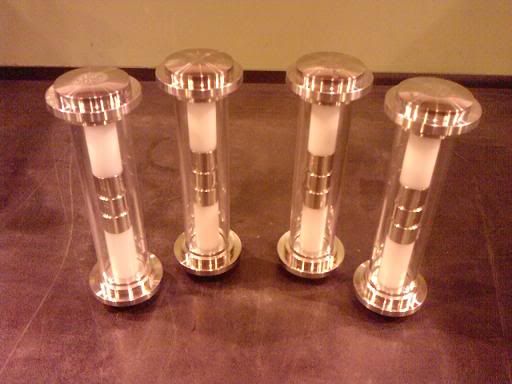
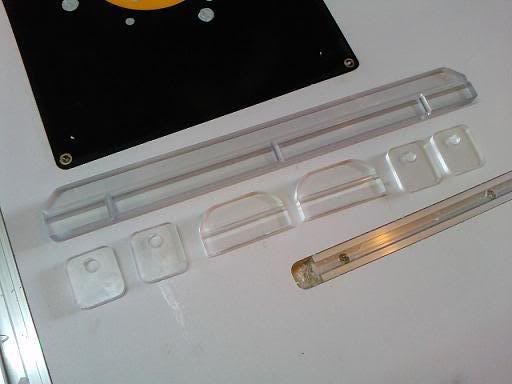
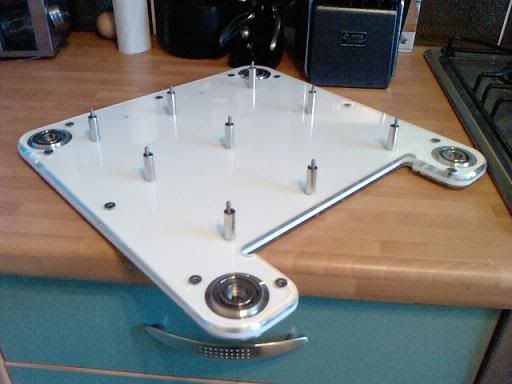
It consists of two tiers of acrylic. Each tier is made three 5mm sheets, one white and two clear. The tiers are supported by some columns made from stainless steel, clear acrylic tube and white Delrin.
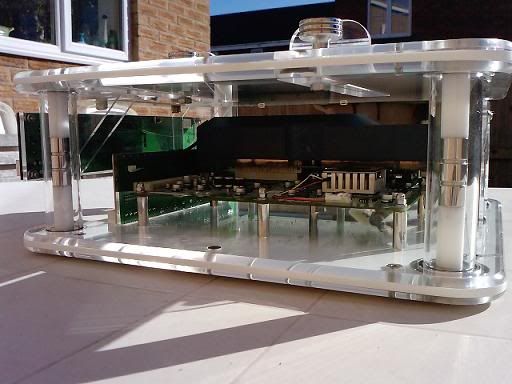
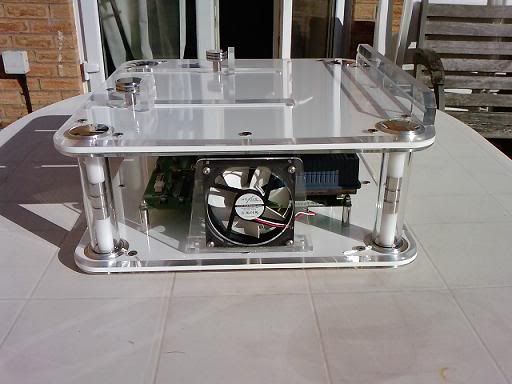
The item on the bottom tier is a decased Naomi motherboard. I had to decase the motherboard to reduce the height required between the two tiers so that it would fit in the base of the Naomi. I added a fan in an acrylic enclosure to keep it cool.
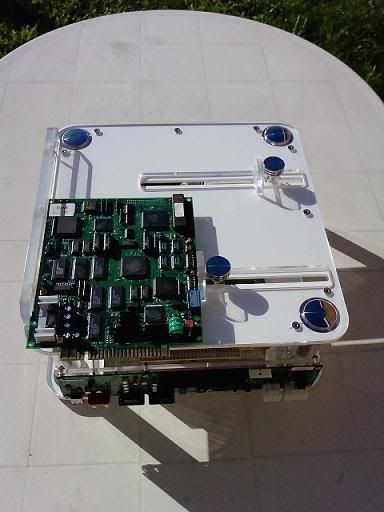
The top tier holds PCBs. I made two sliding clamps so that it will hold my smallest and largest boards whilst keeping the Jamma edge at the rear of the holder.
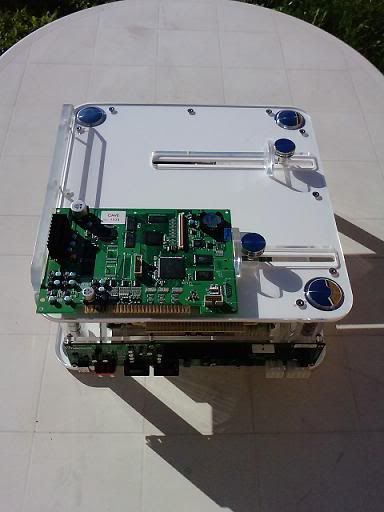
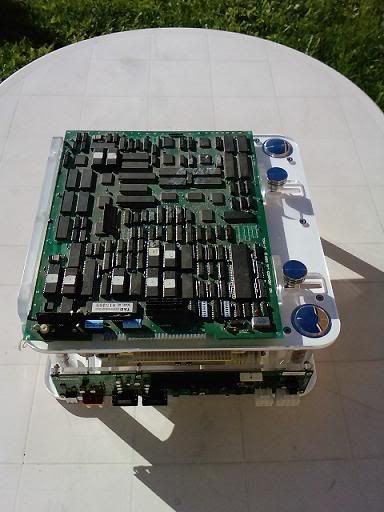
The vertical PCB attached to the top tier is a Namco Jamma>JVS adapter. Its mounted vertically due to space constraints.
Here are a couple of photos of the holder in the cab:
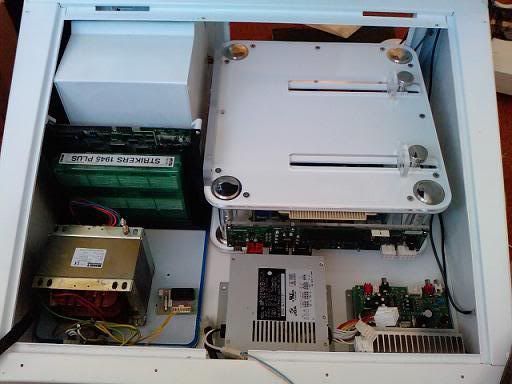
As you can see I have removed the PSU ATX/amp cradle to allow the holder to fit. The PSU and amp will be relocated to the back of the cabinet on an acrylic base. The transformer will be mounted to an acrylic base and a one slot MVS mobo wil sit behind that.
I mounted a Jamma fingerboard to the bottom of the PCB holder as you can see here:
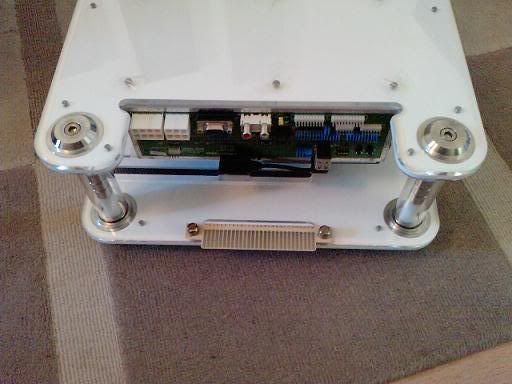
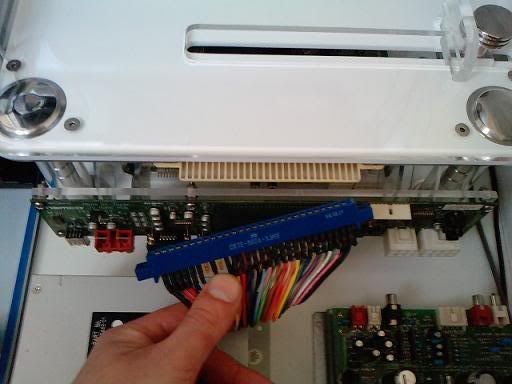
The fingerboard will be wired to the MVS mobo so that I can swap between Jamma and MVS by moving the edge connector of the Namco adapter to the mounted fingerboard.
The dimensions of the holder were quite tricky to determine as it needed to be tall enough to swap Naomi Carts but short enough to fit in the base. It also needed to be long enough to hold my largest PCBs but not leaving space at the rear of the cabinet for the other components.
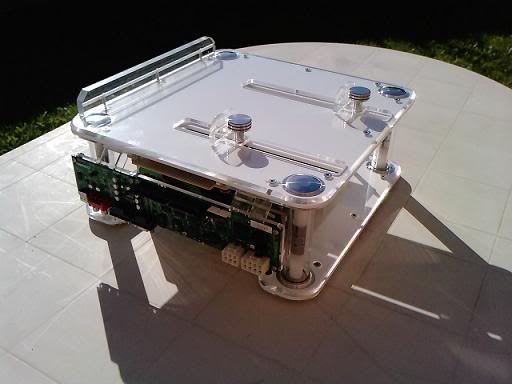
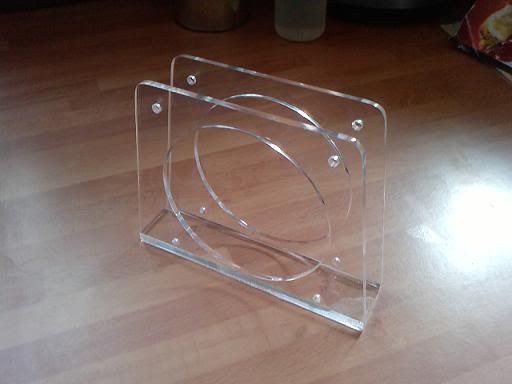
It will just accommodate the largest thing I plan on running, CPS2 boards:

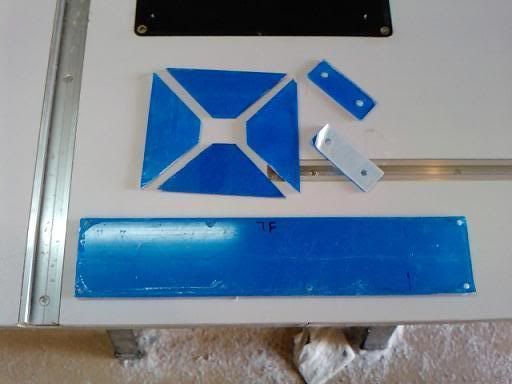
Here are a few other random photos from the build:
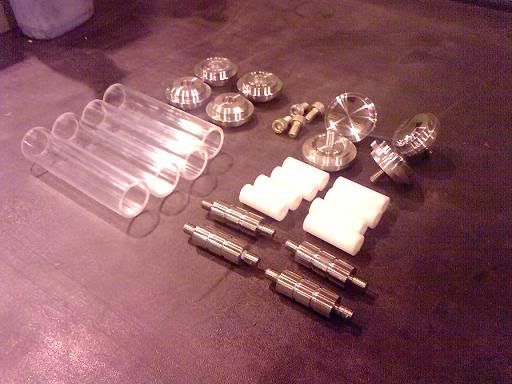
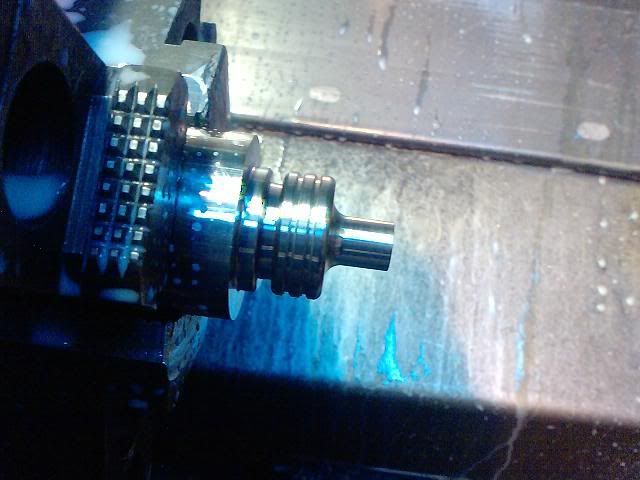


The stainless steel parts were CNC turned. Everything else was hand routed.
There is still **** loads to do in the project but the PCB holder was quite a large part of it and I can get on with the next parts now